Eveningwear Alterations
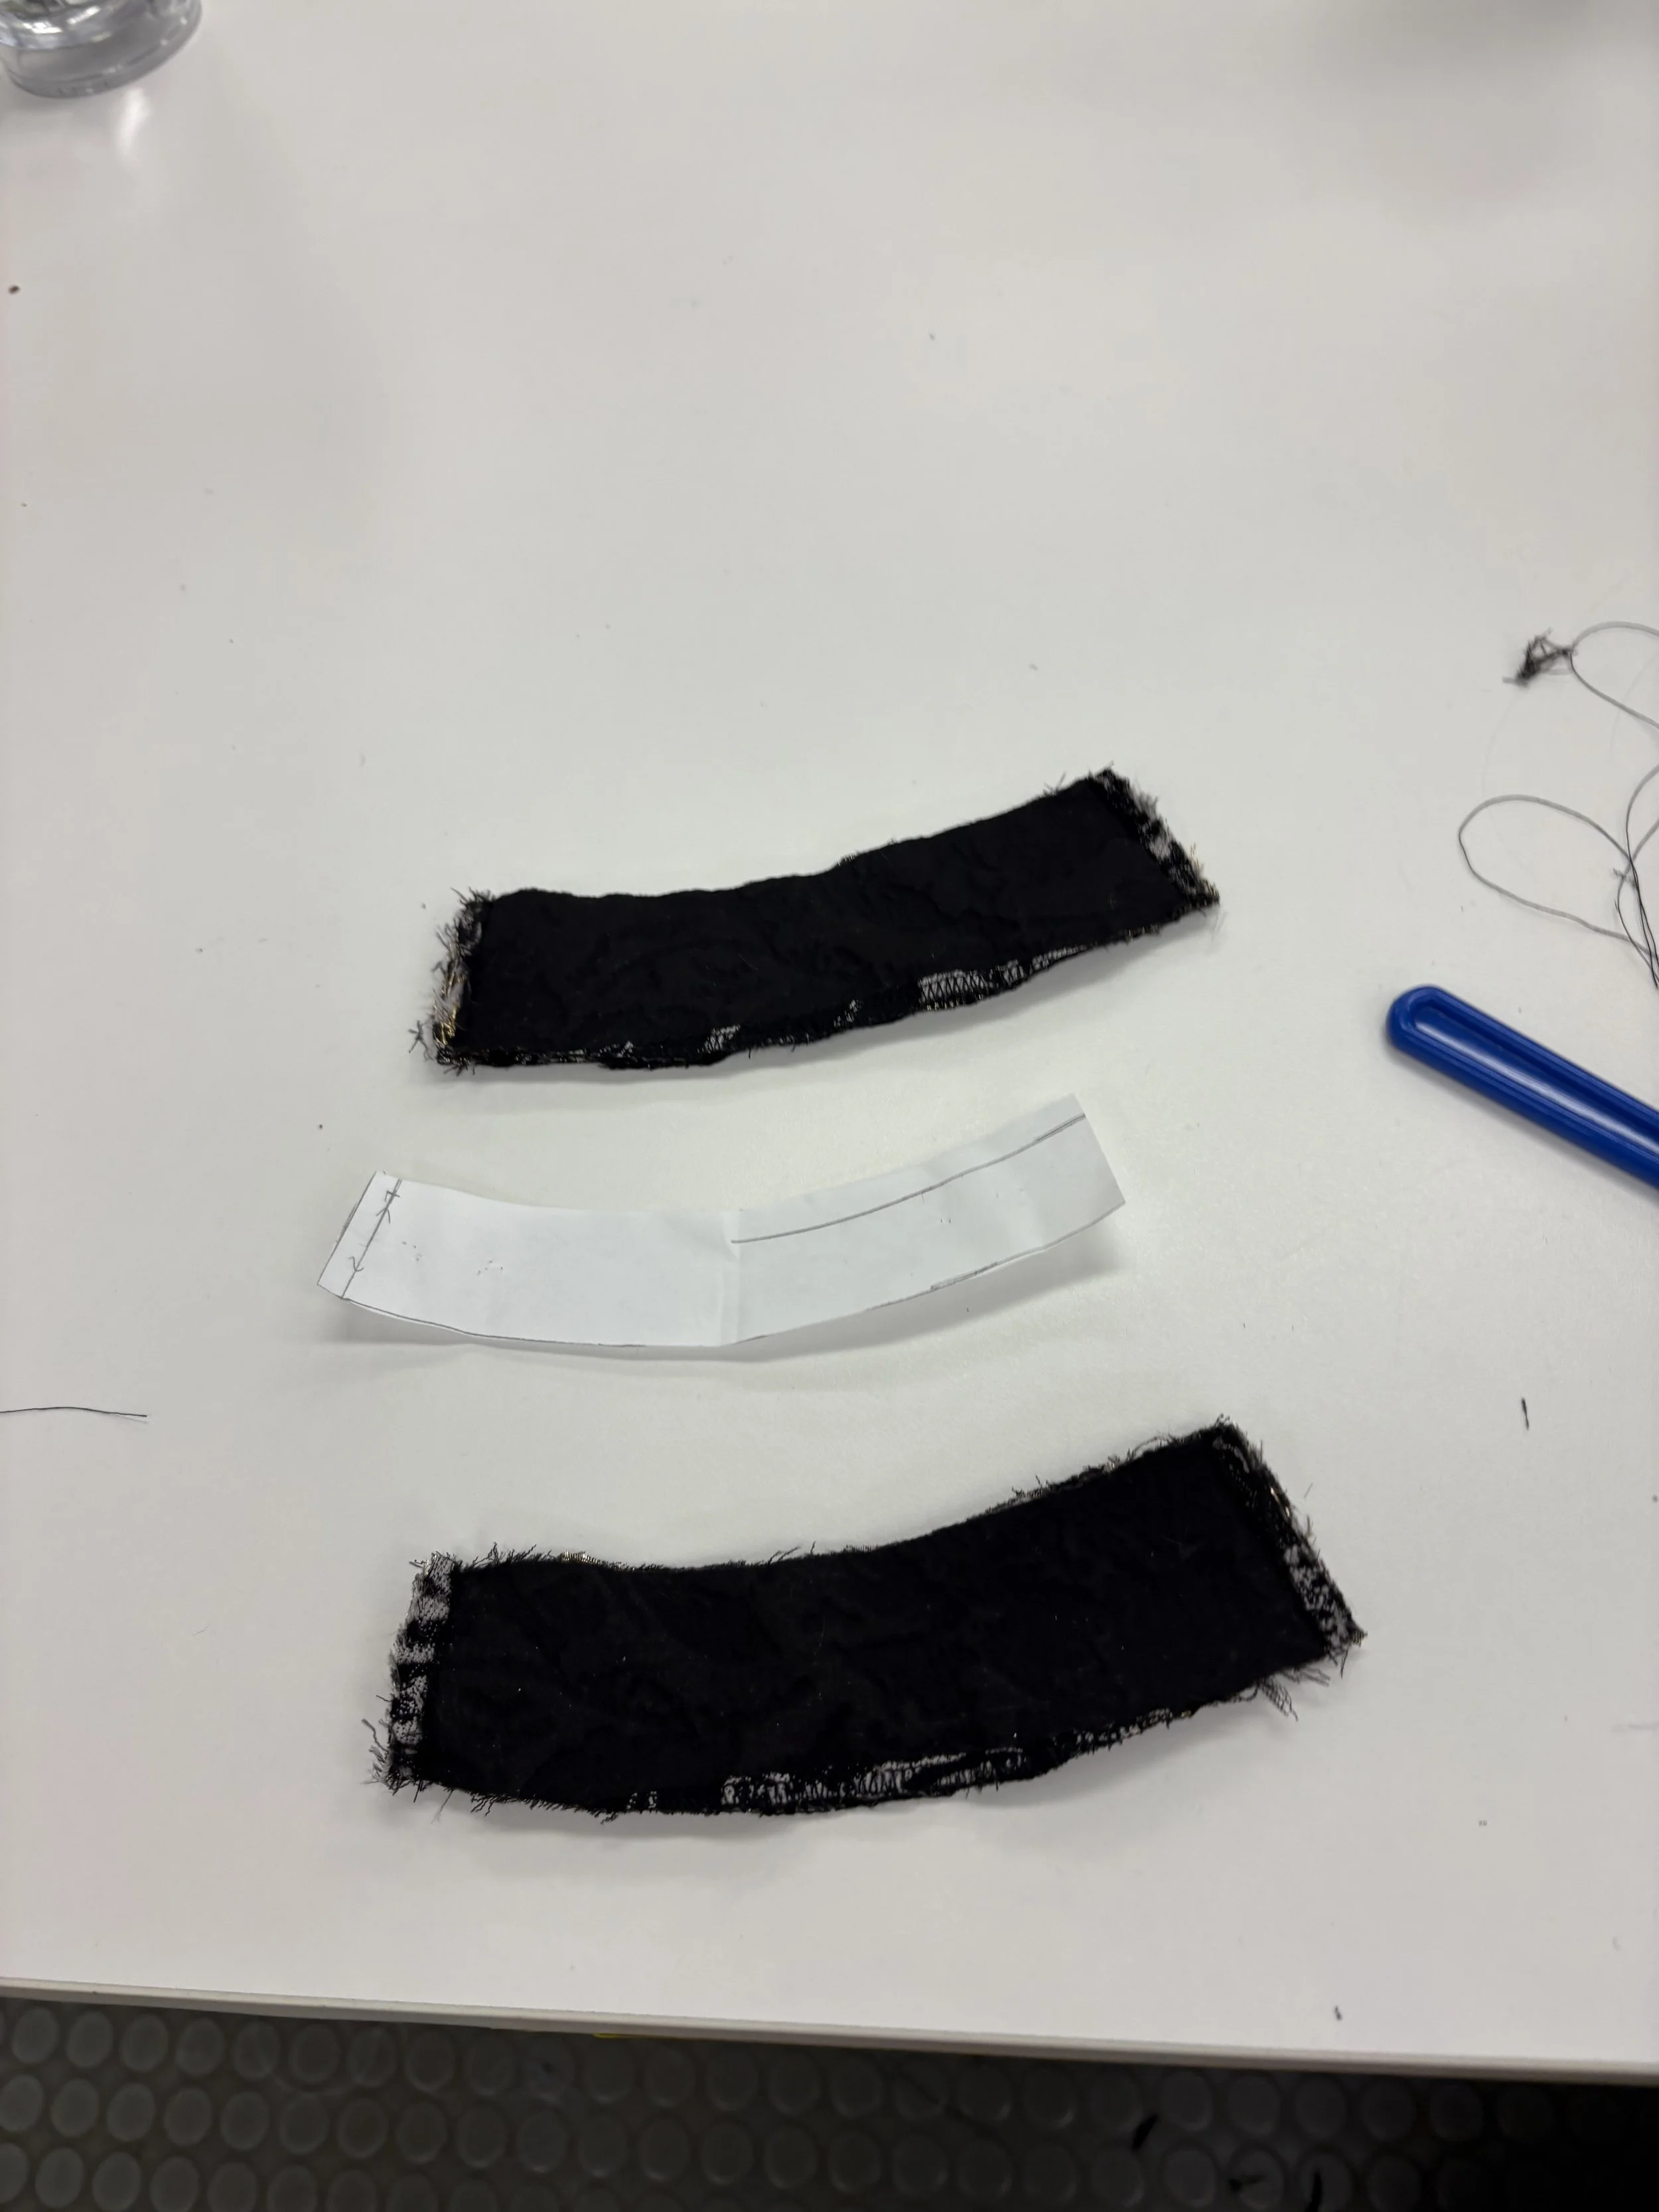
The dress pictured above needed to be hemmed and she requested that any leftover fabric from the hem be used to lengthen the sleeves however I could. Pictured above is the pattern I made to create a slightly flared cuff.
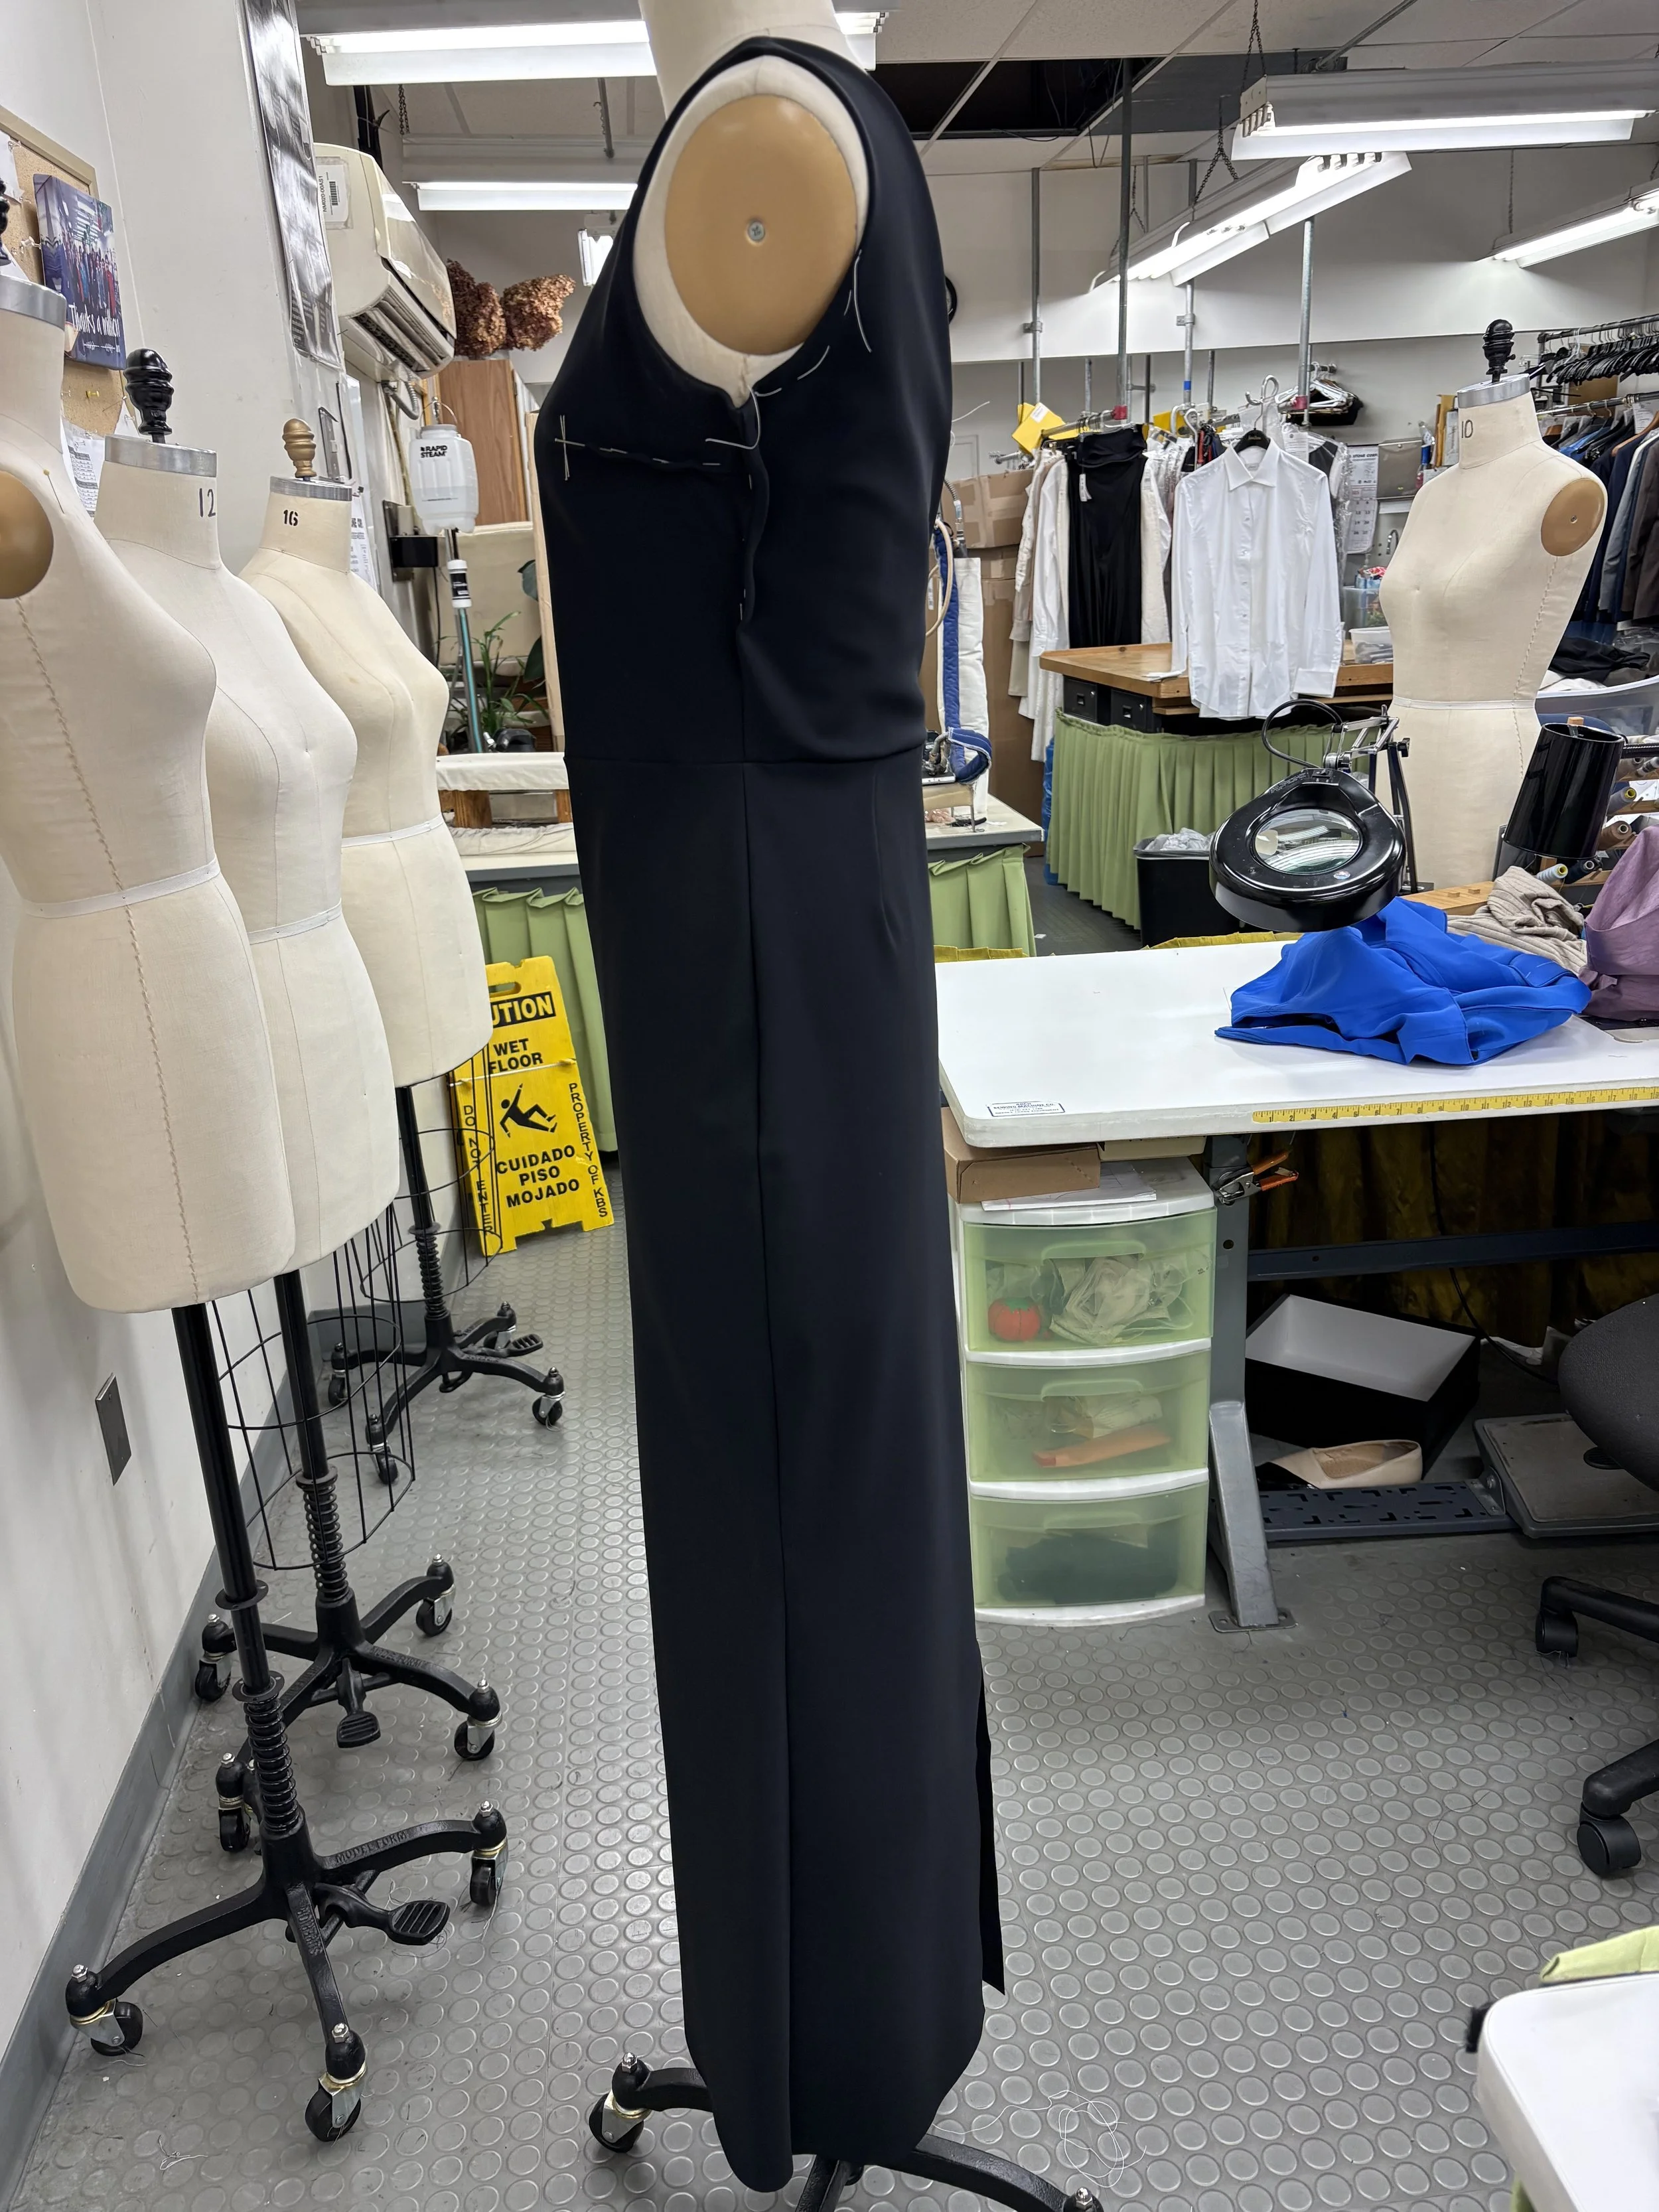
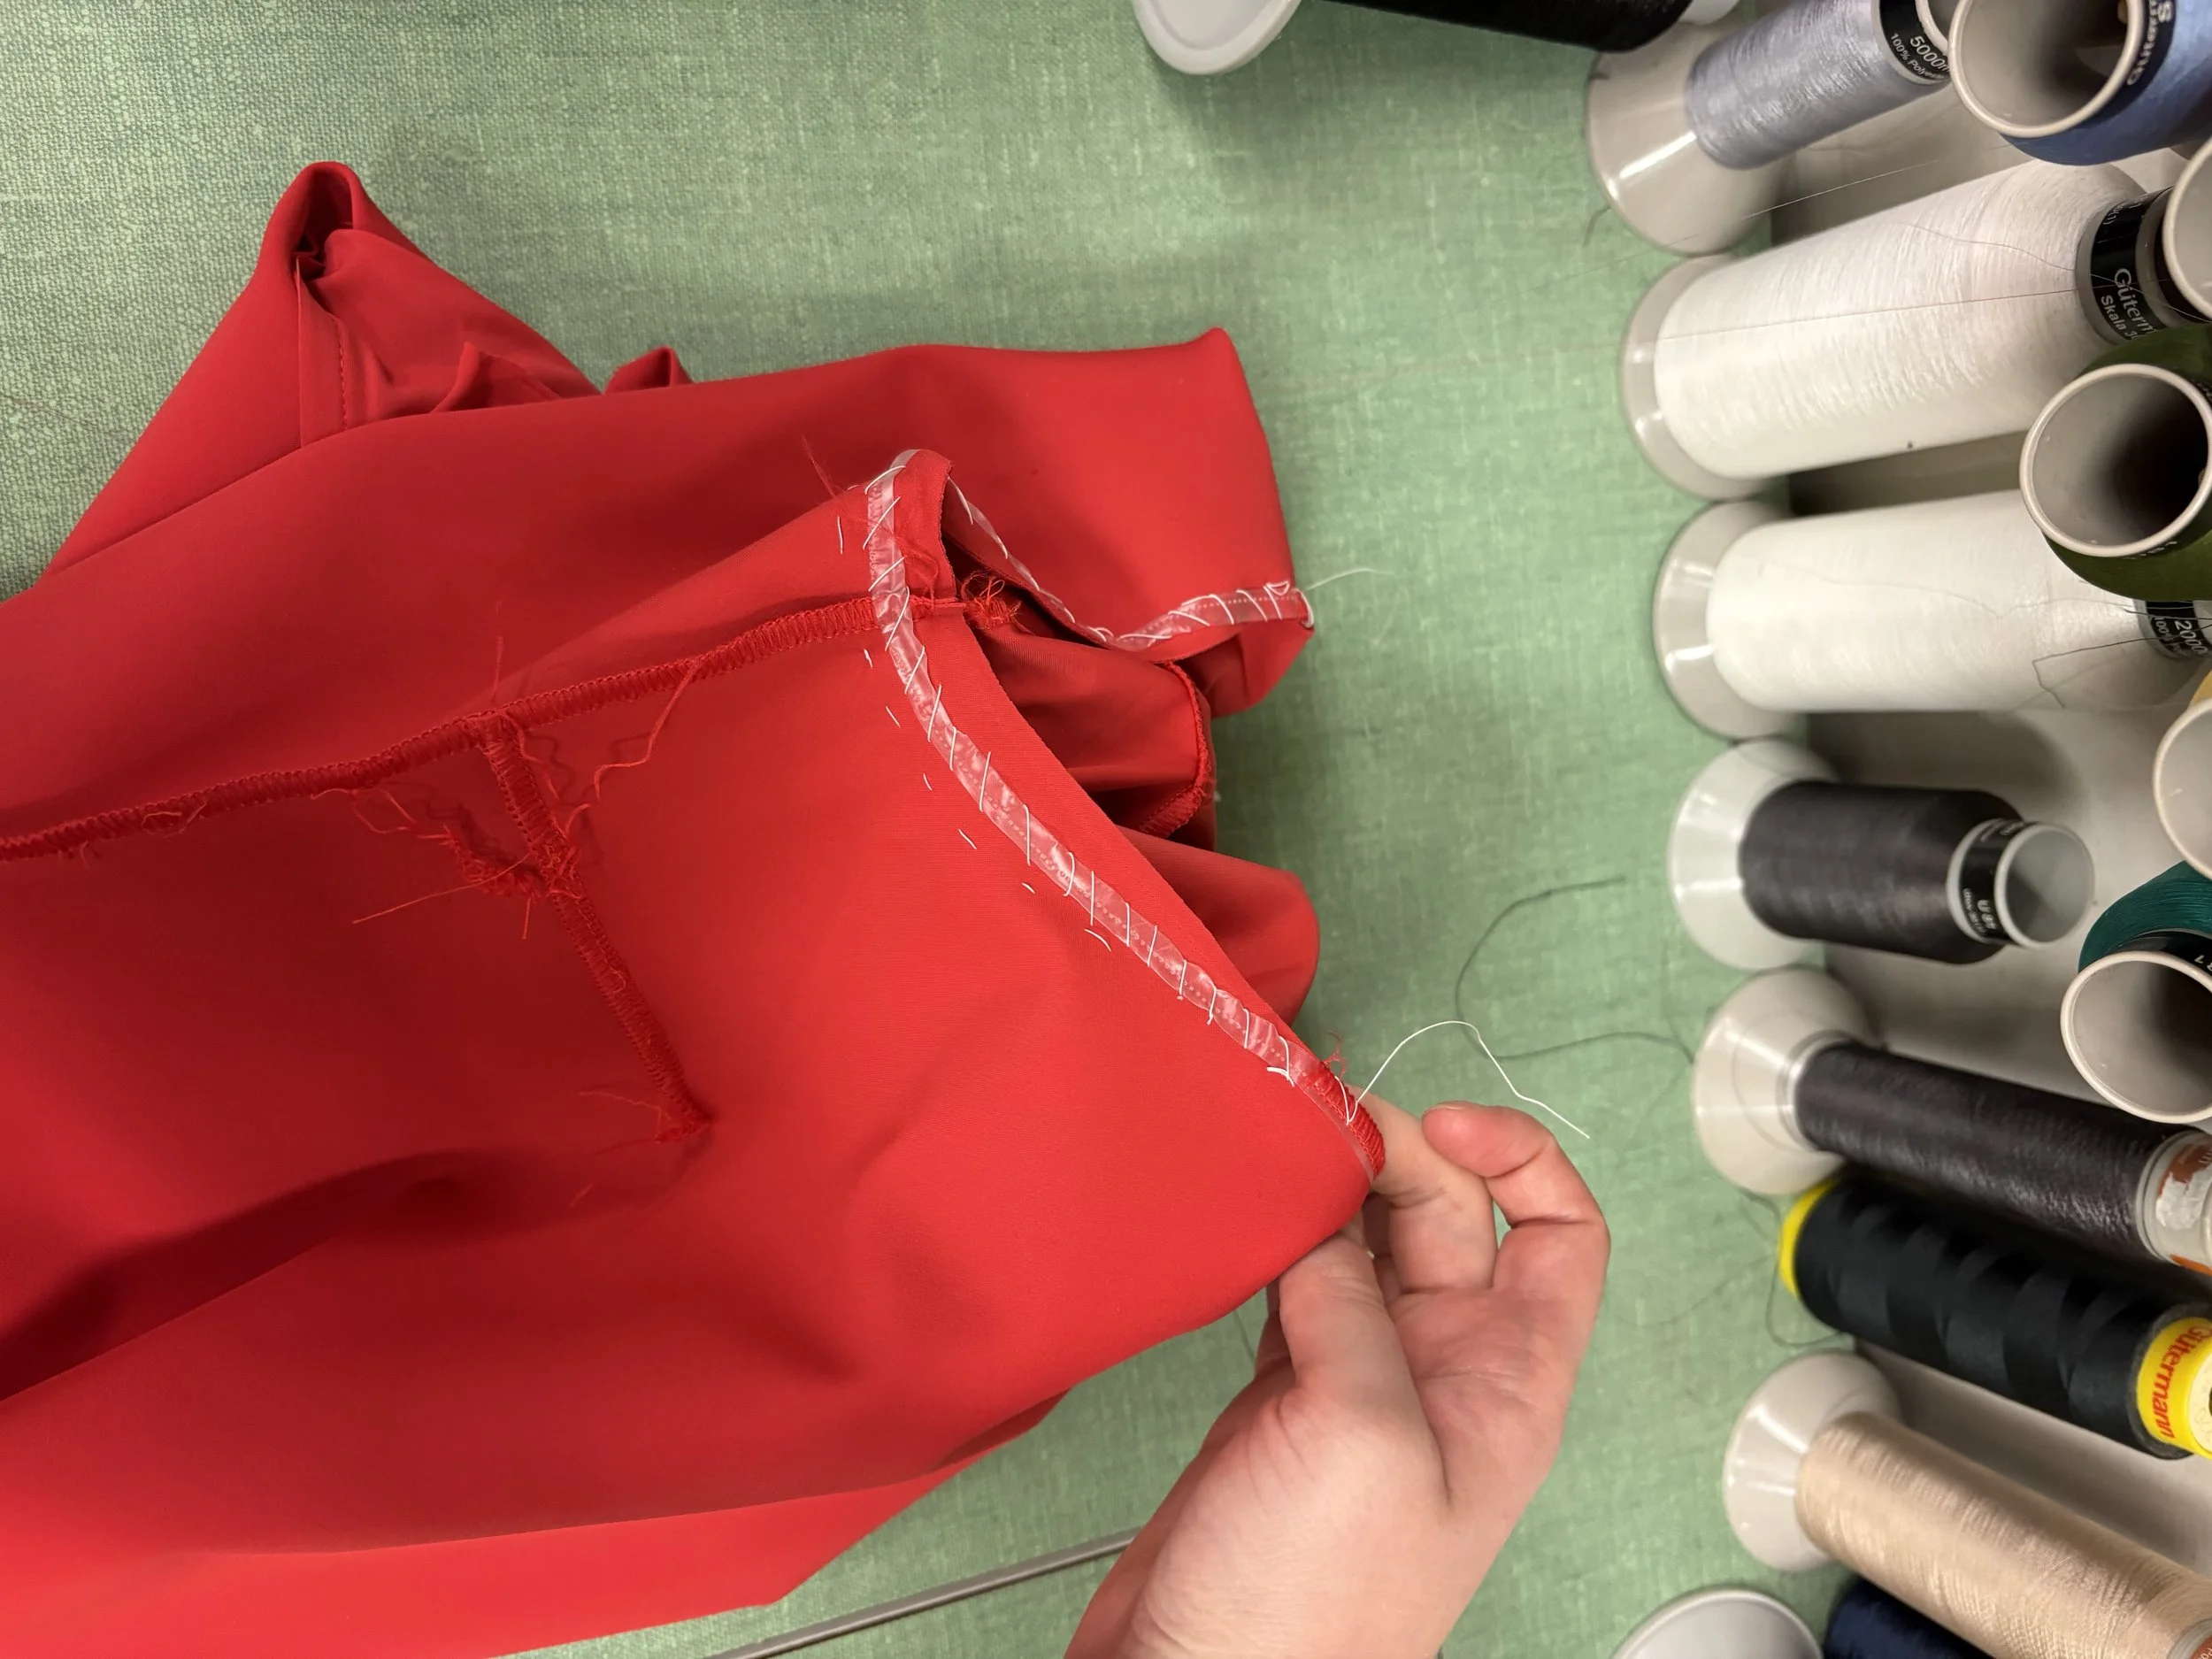
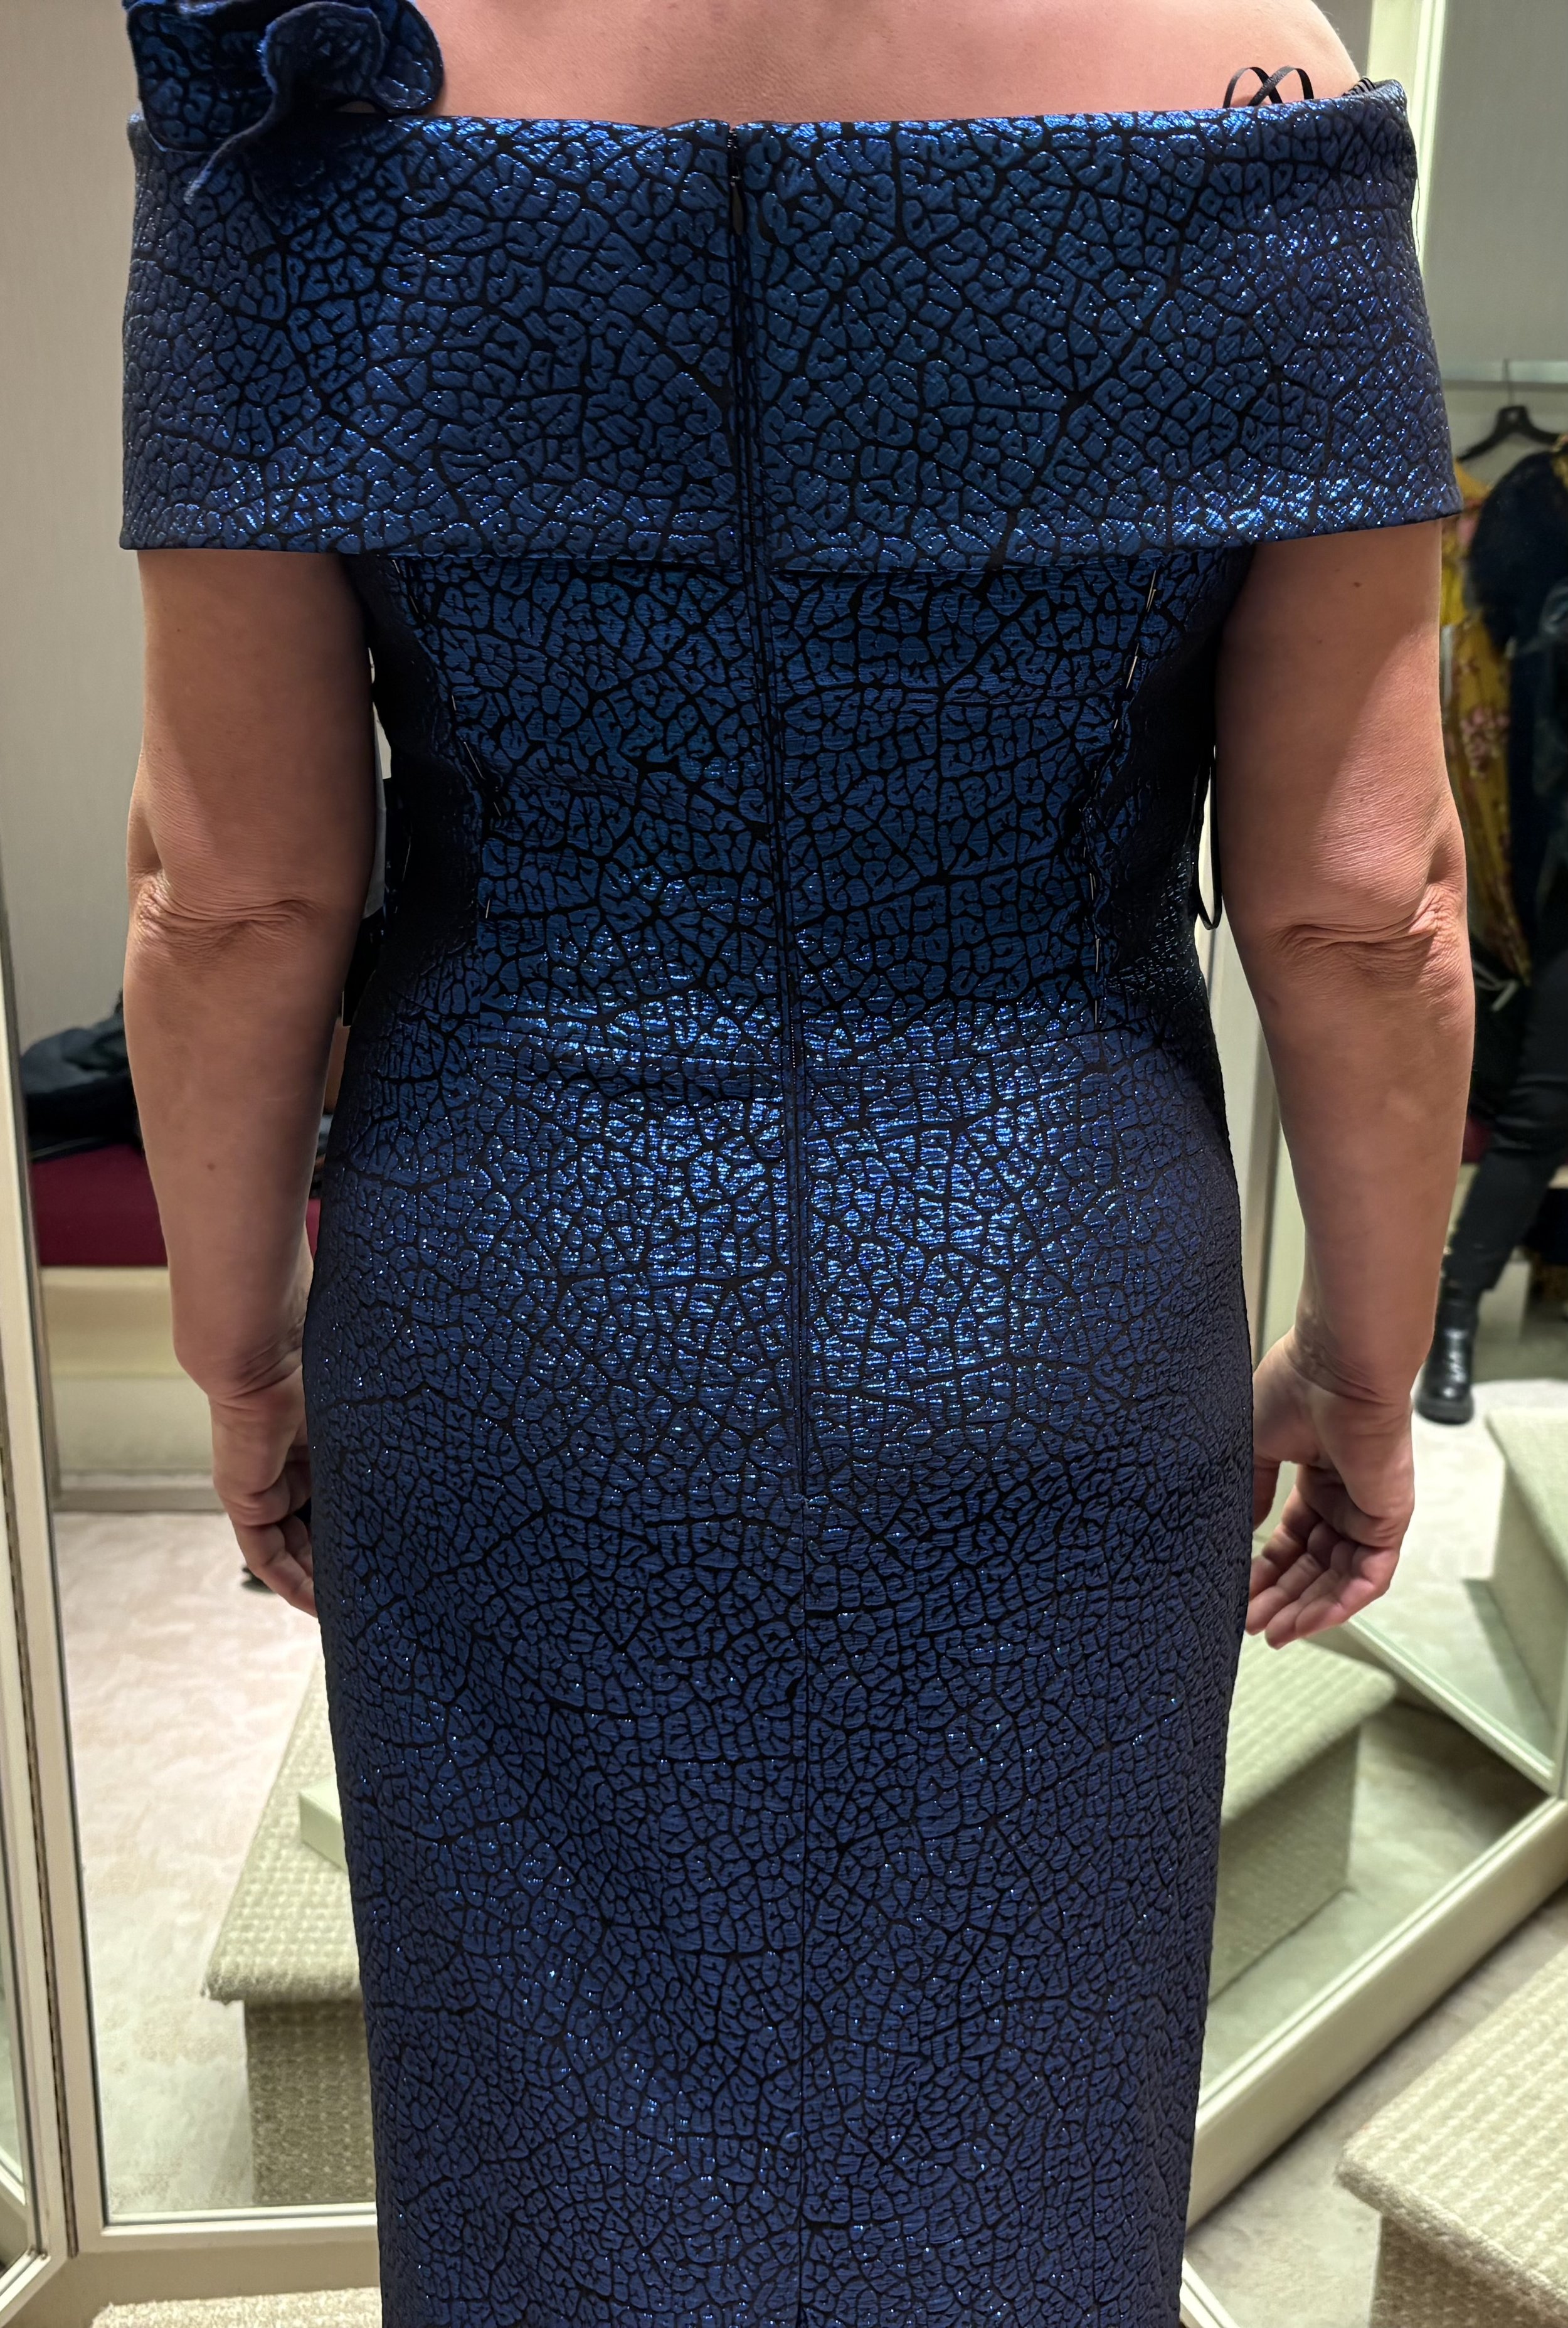
Shown above is a dress that needed to be taken in from the front darts, and the back at side. The armhole had to be deepened on the back to accommodate the side at back being taken in.
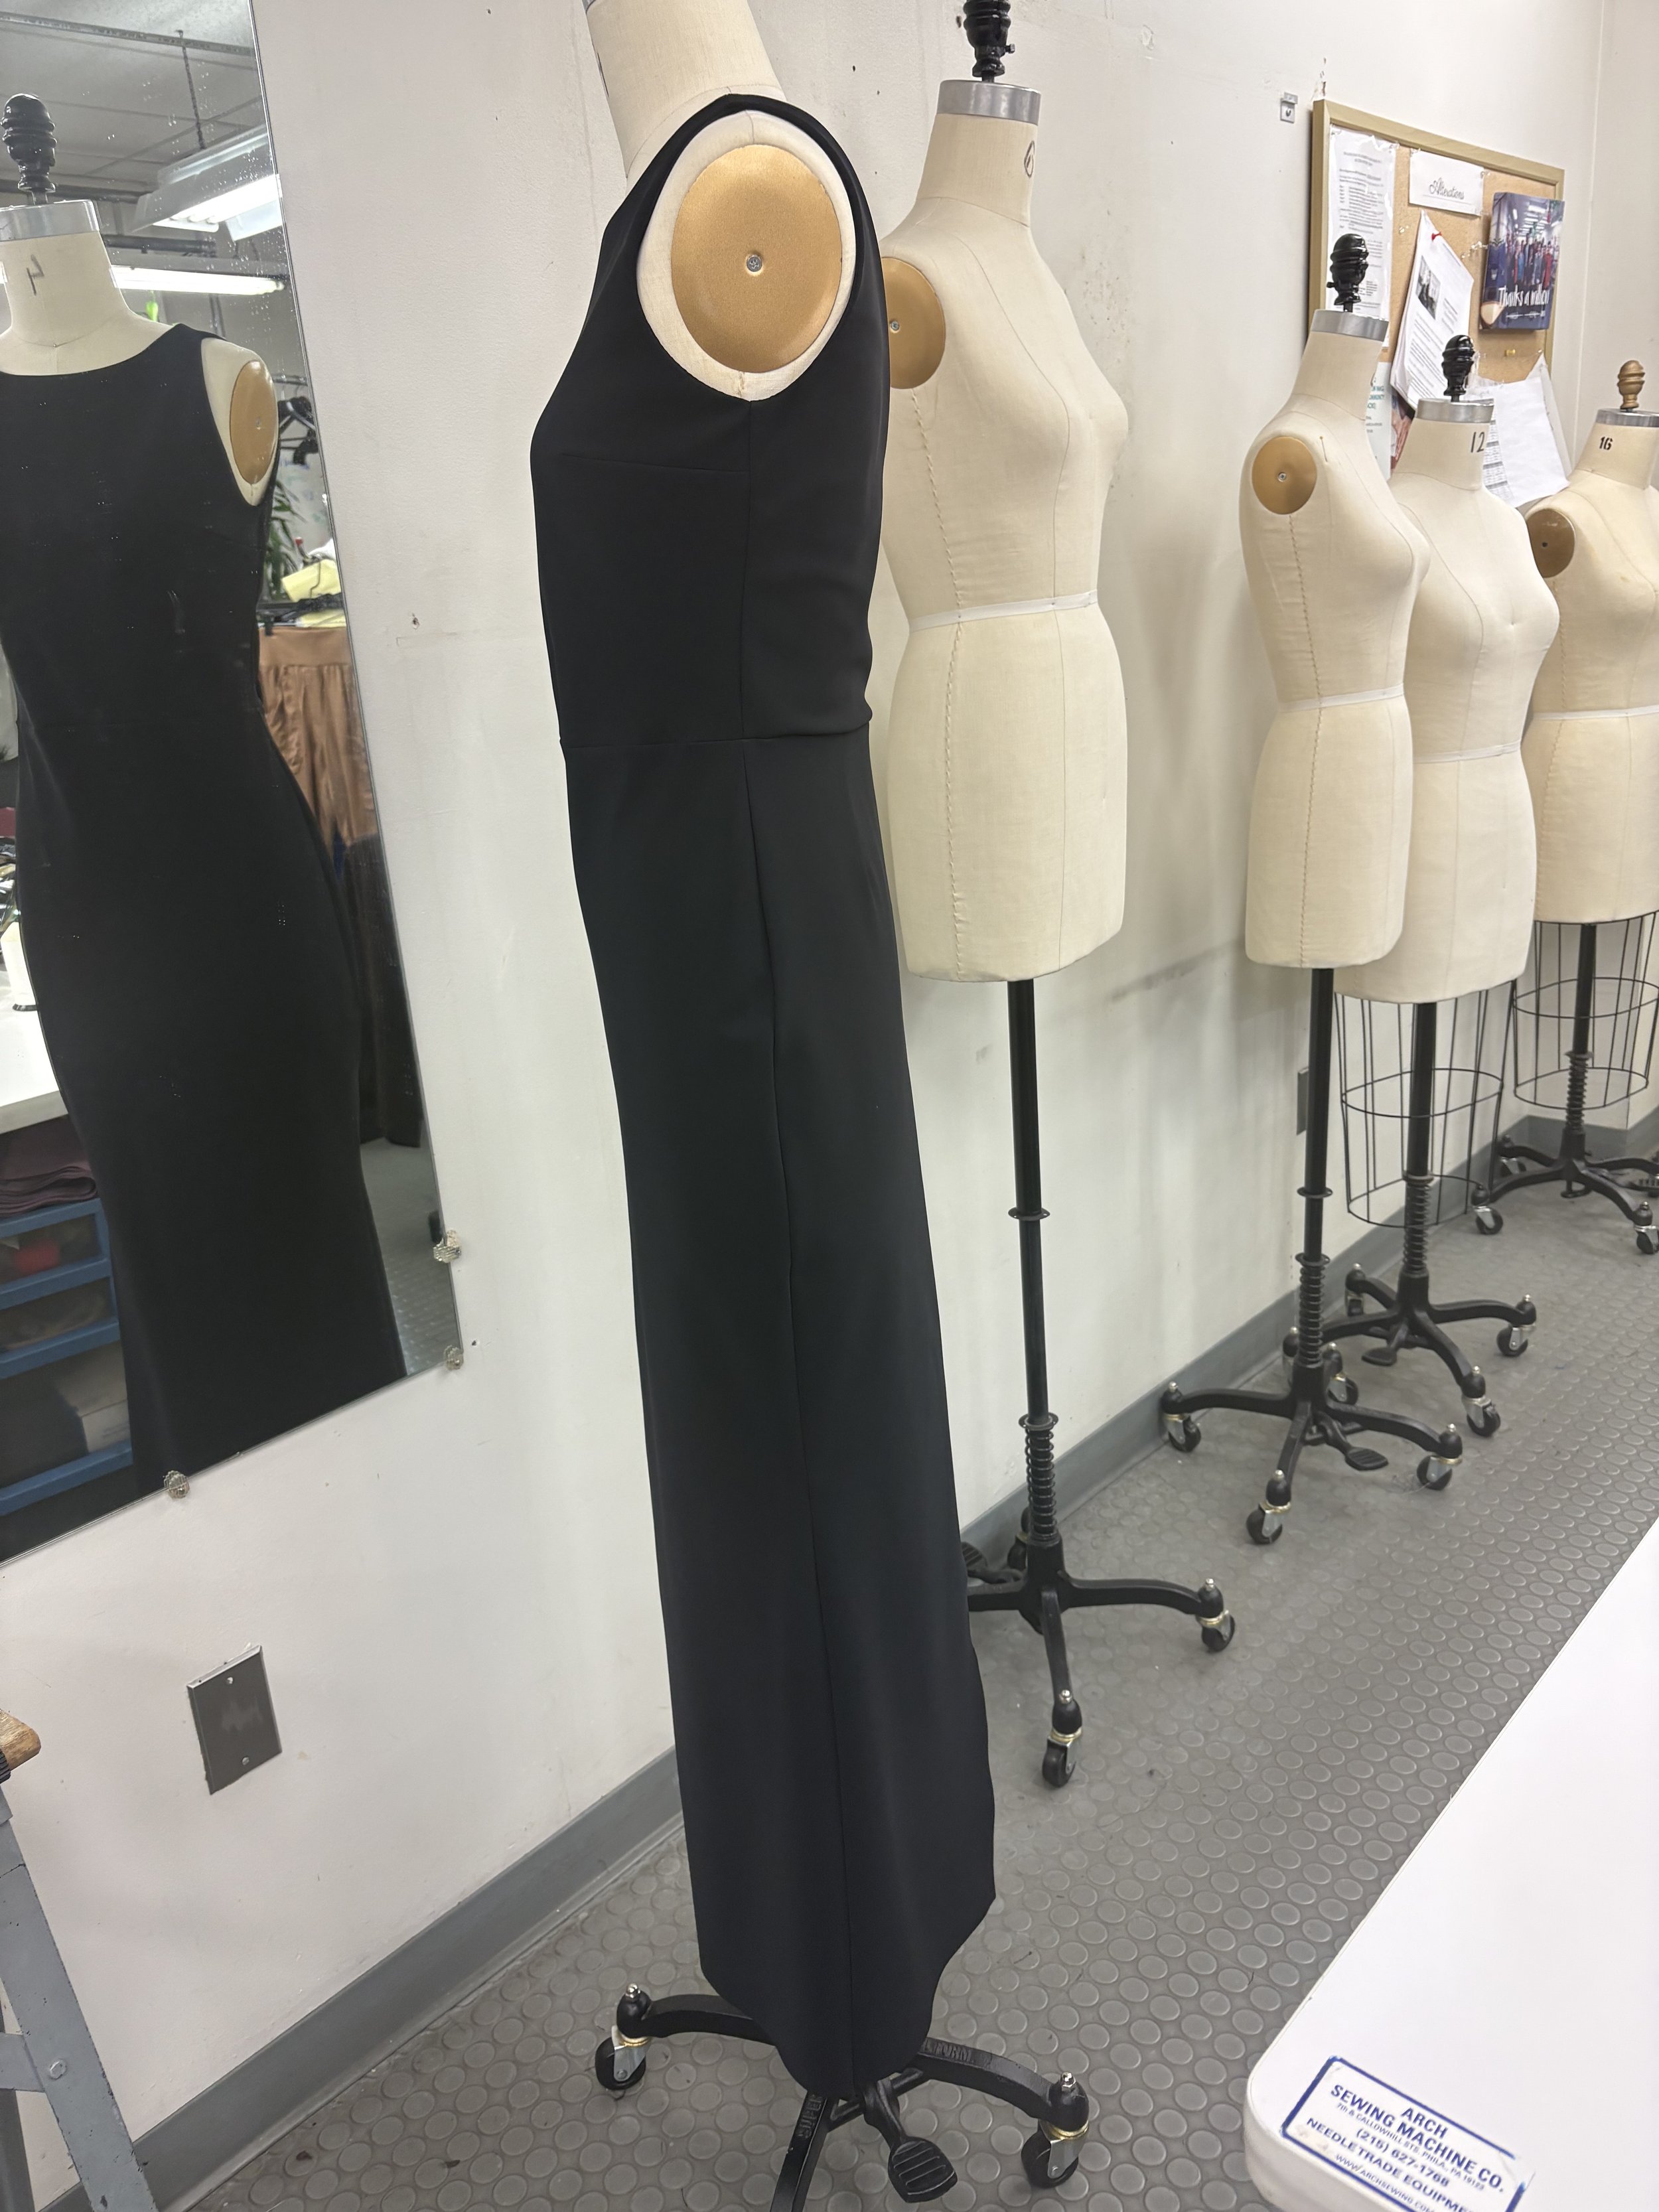

After performing the alteration the dress was laying nicely on the form and I could see that the armhole will be comfortable.
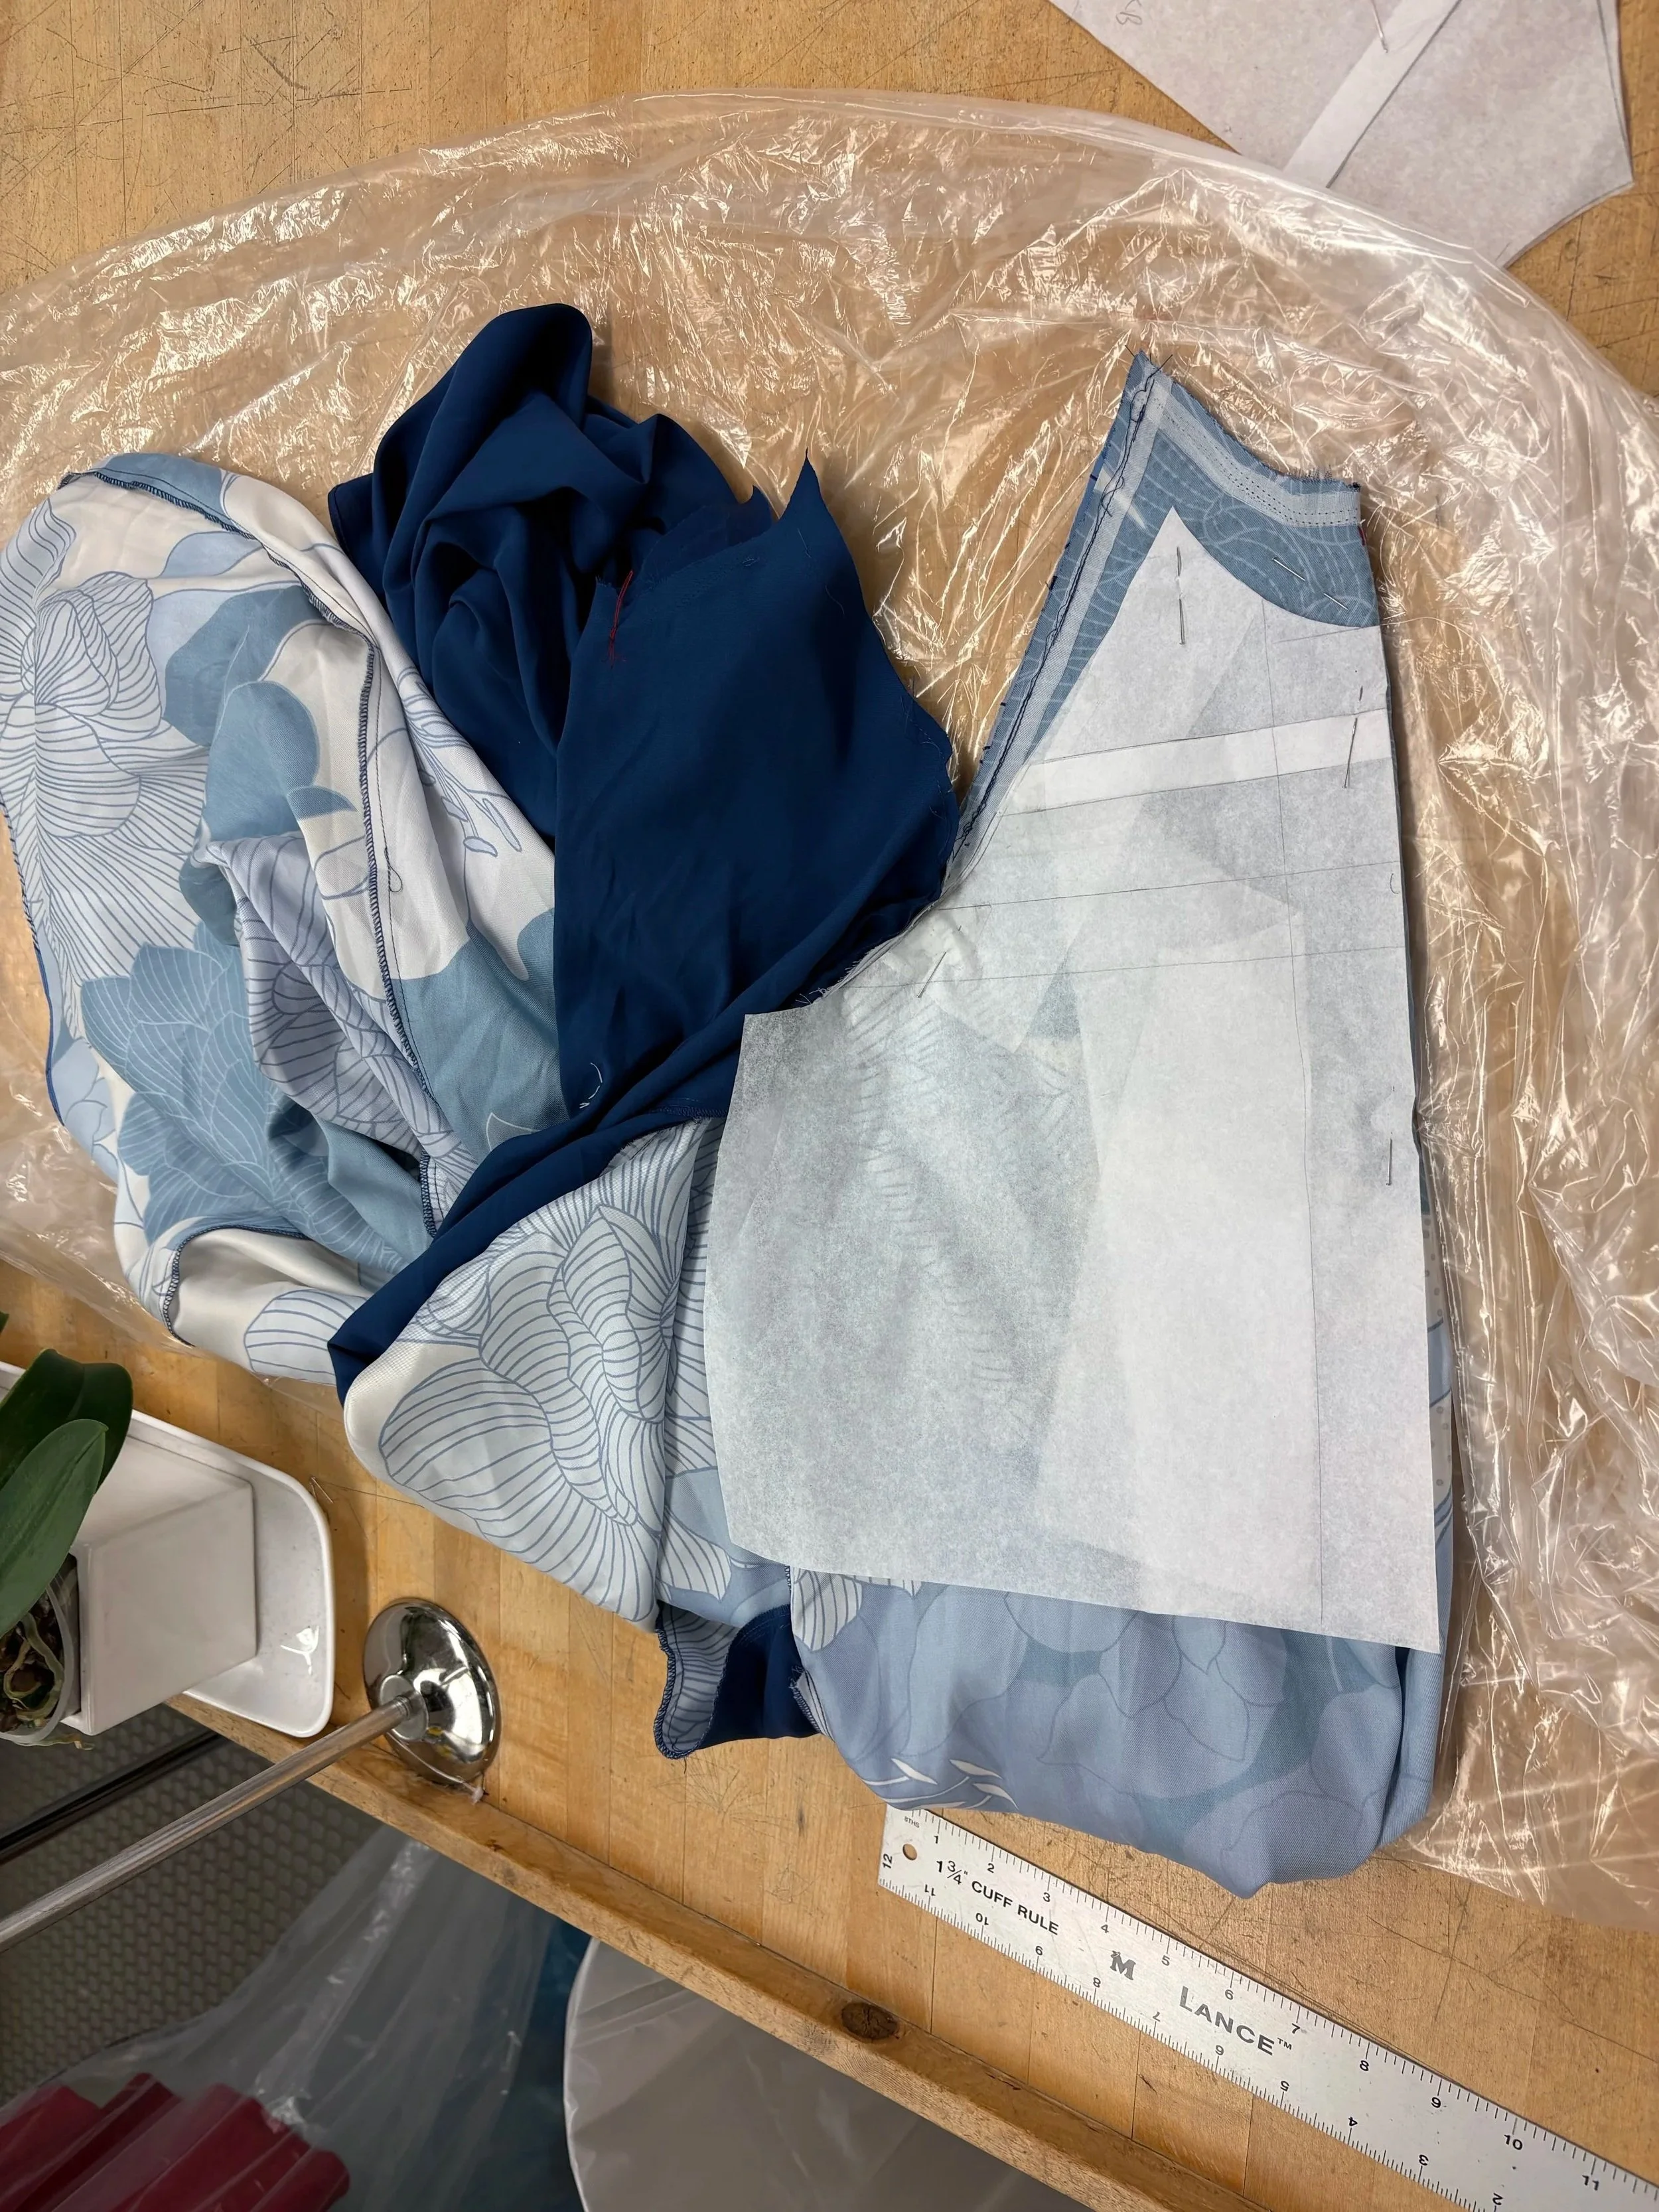
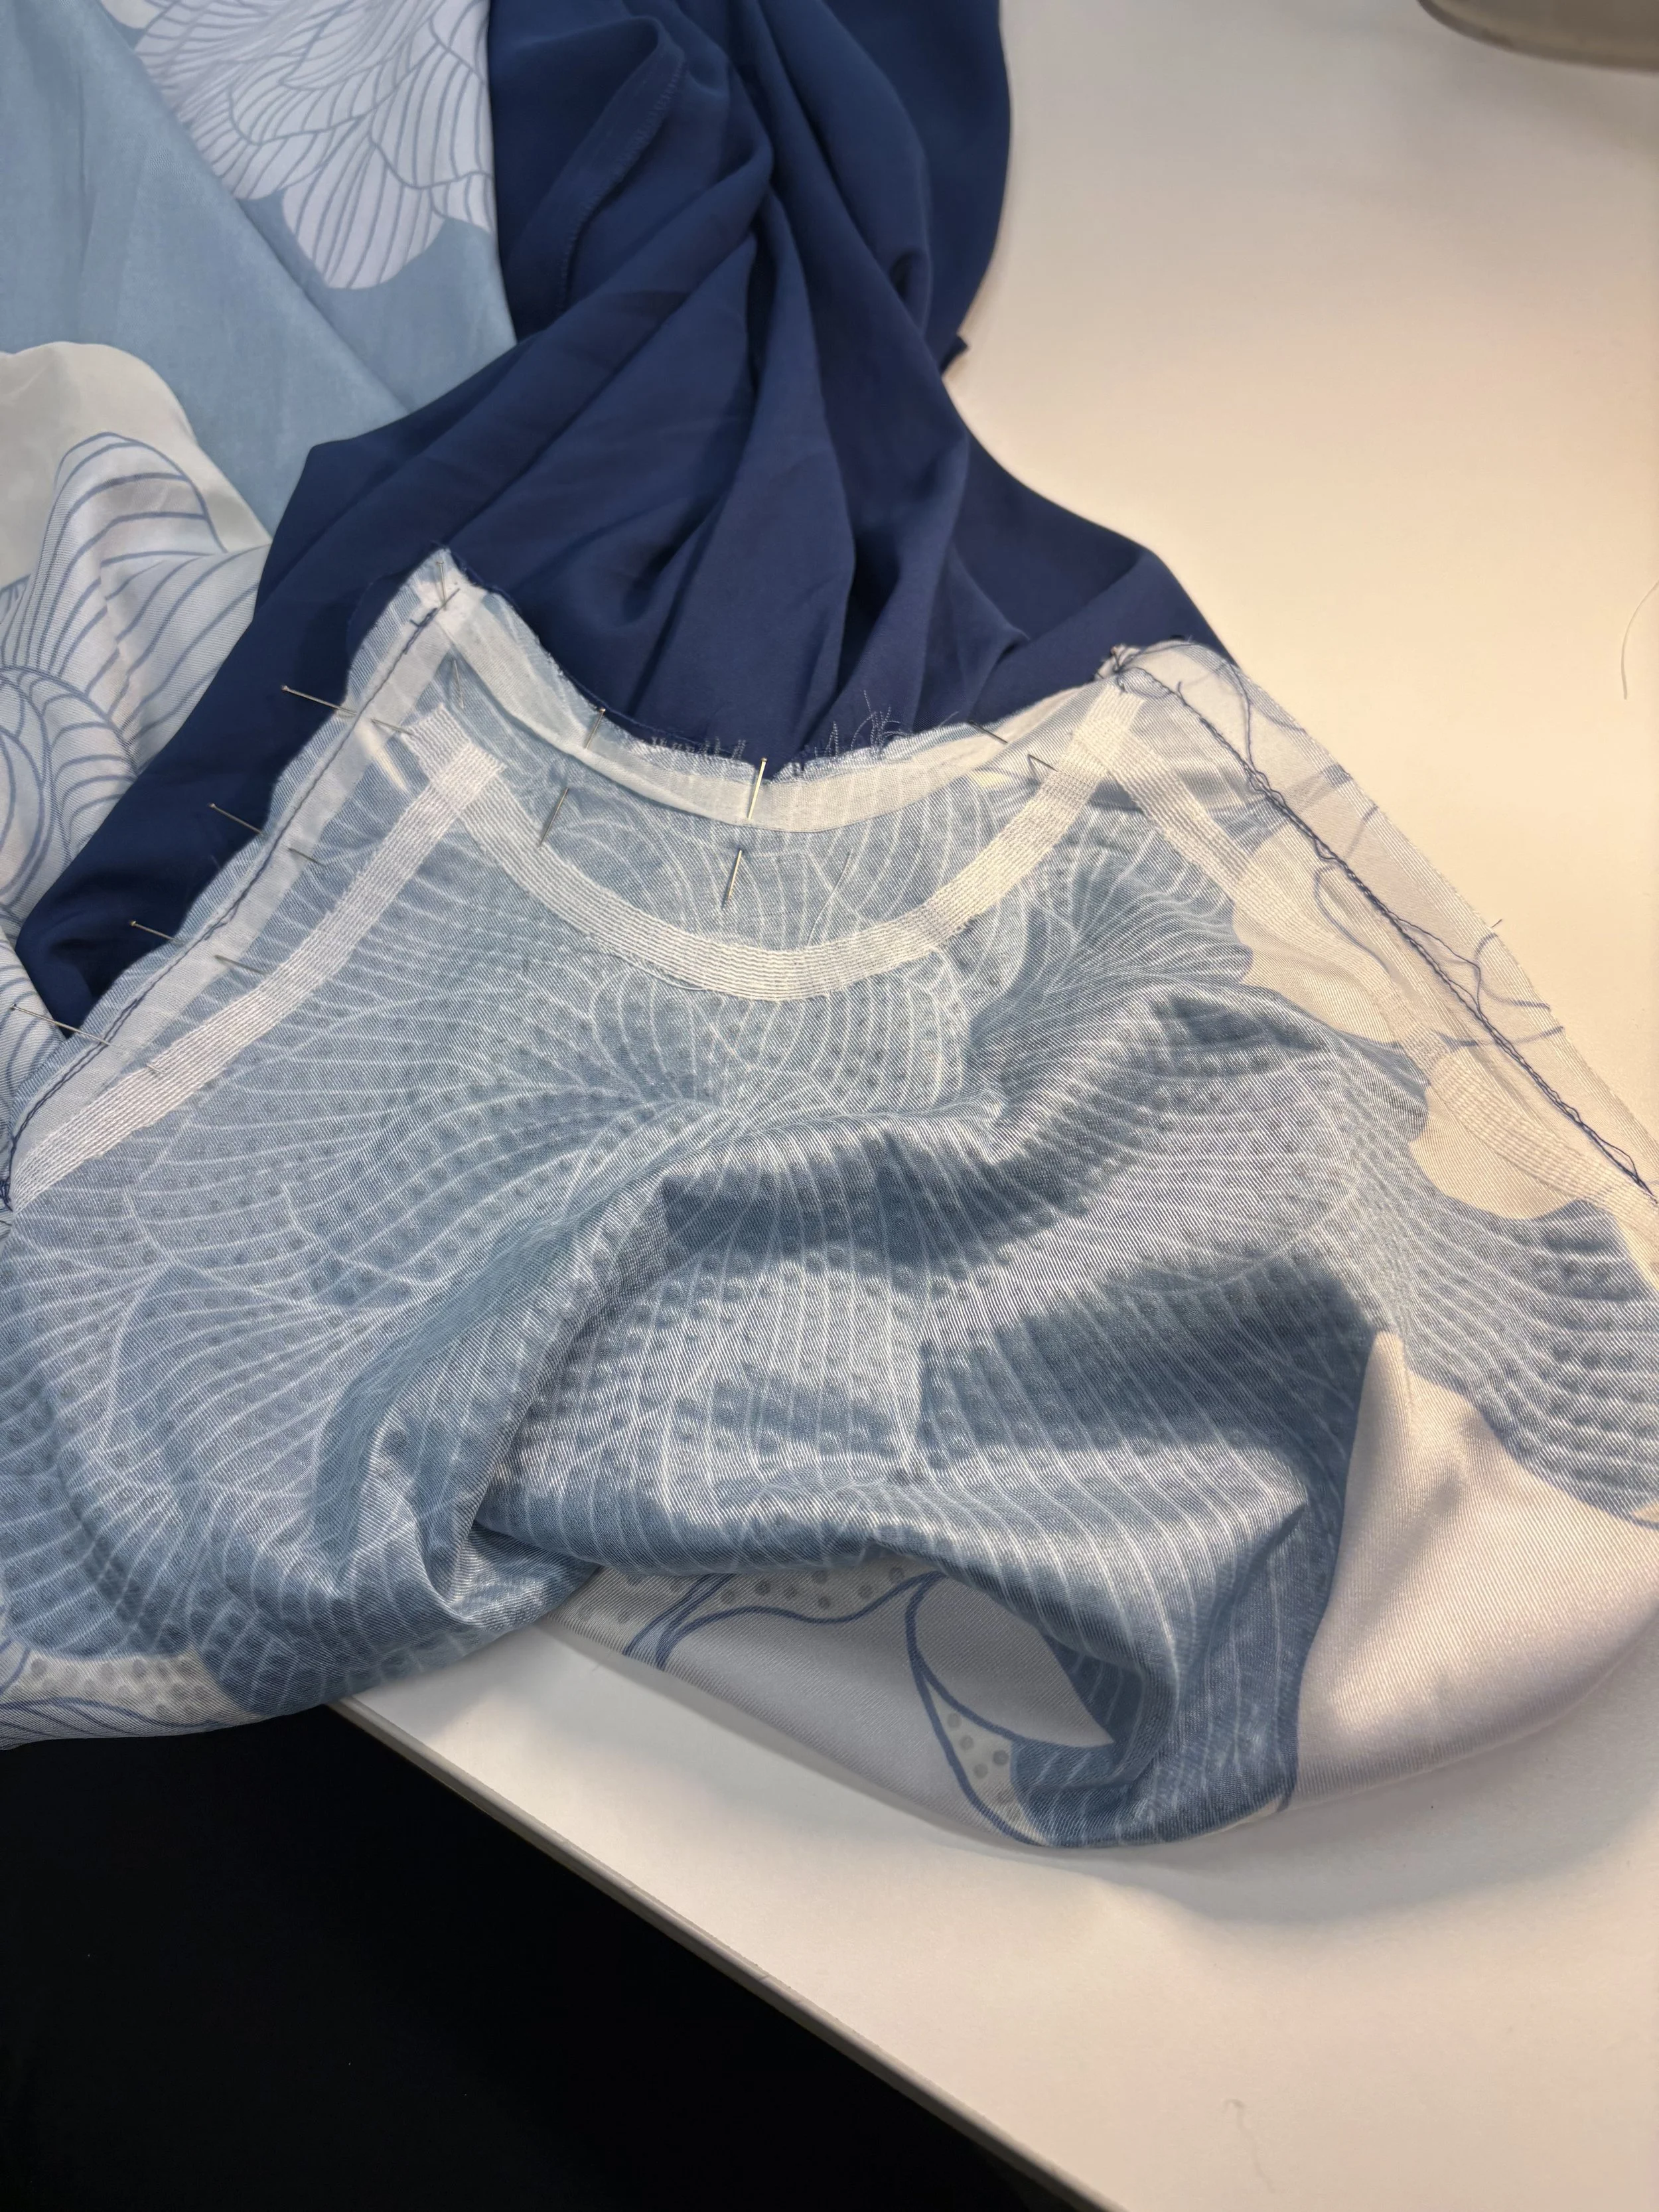
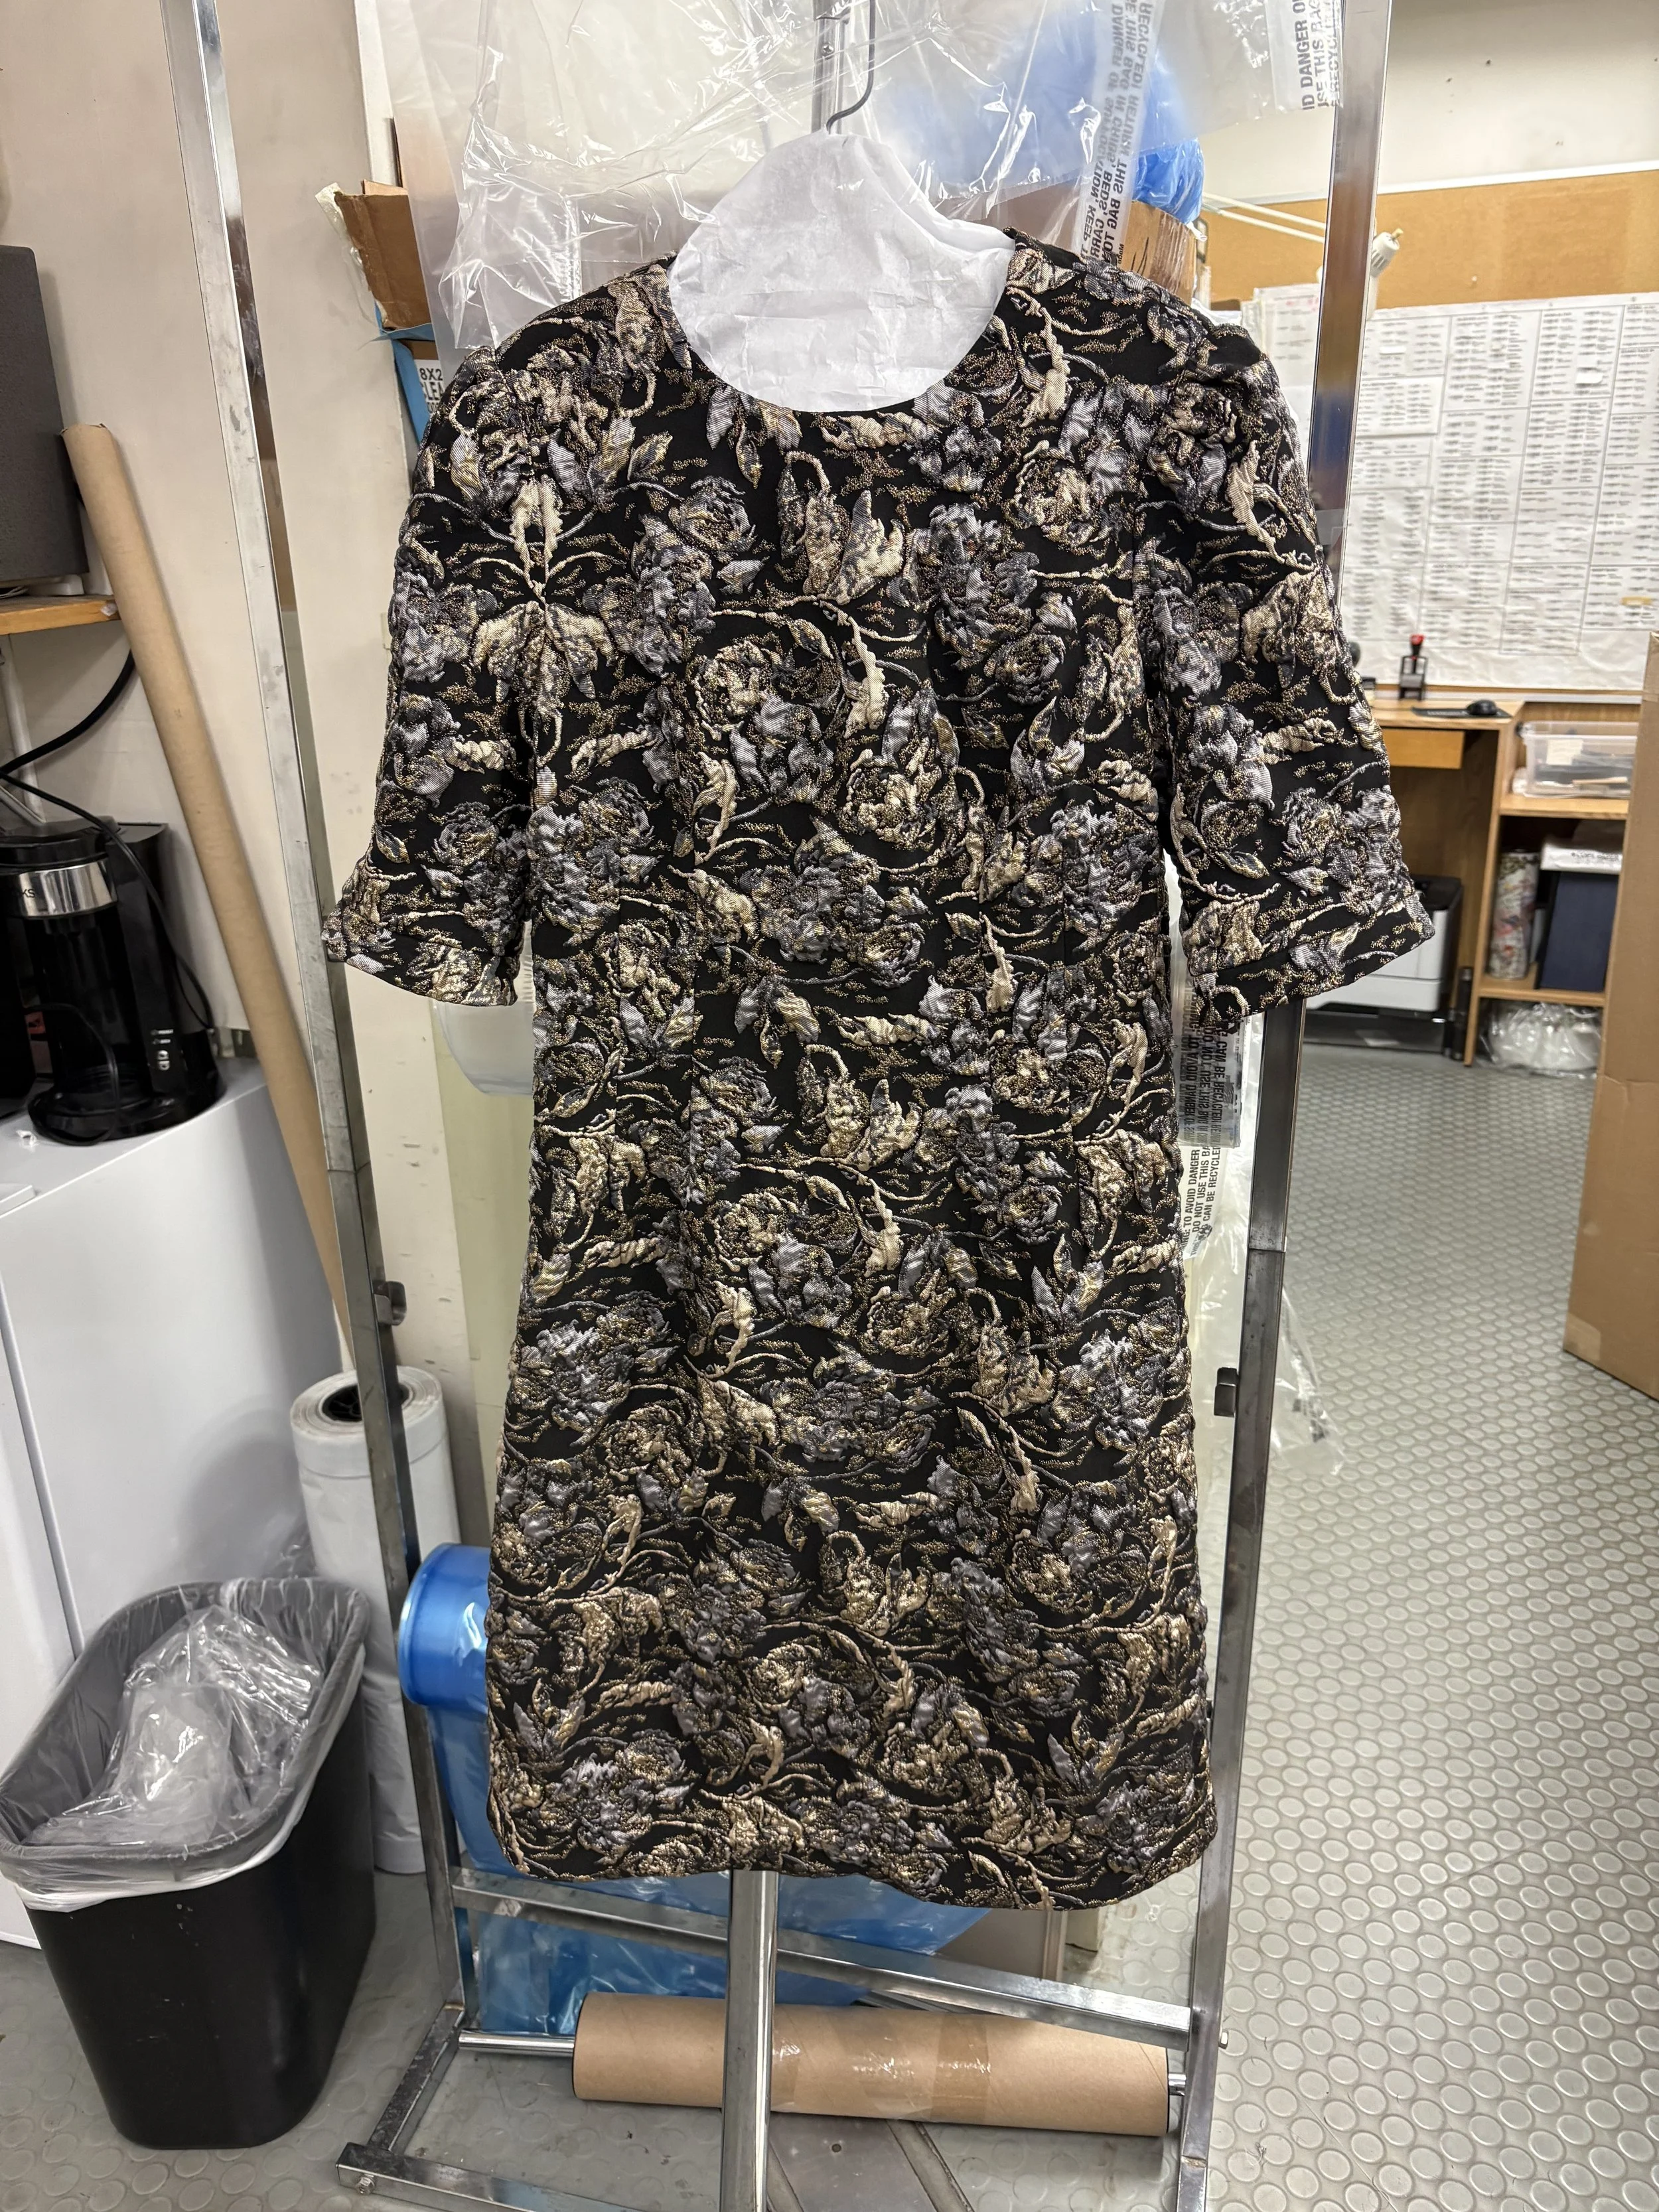
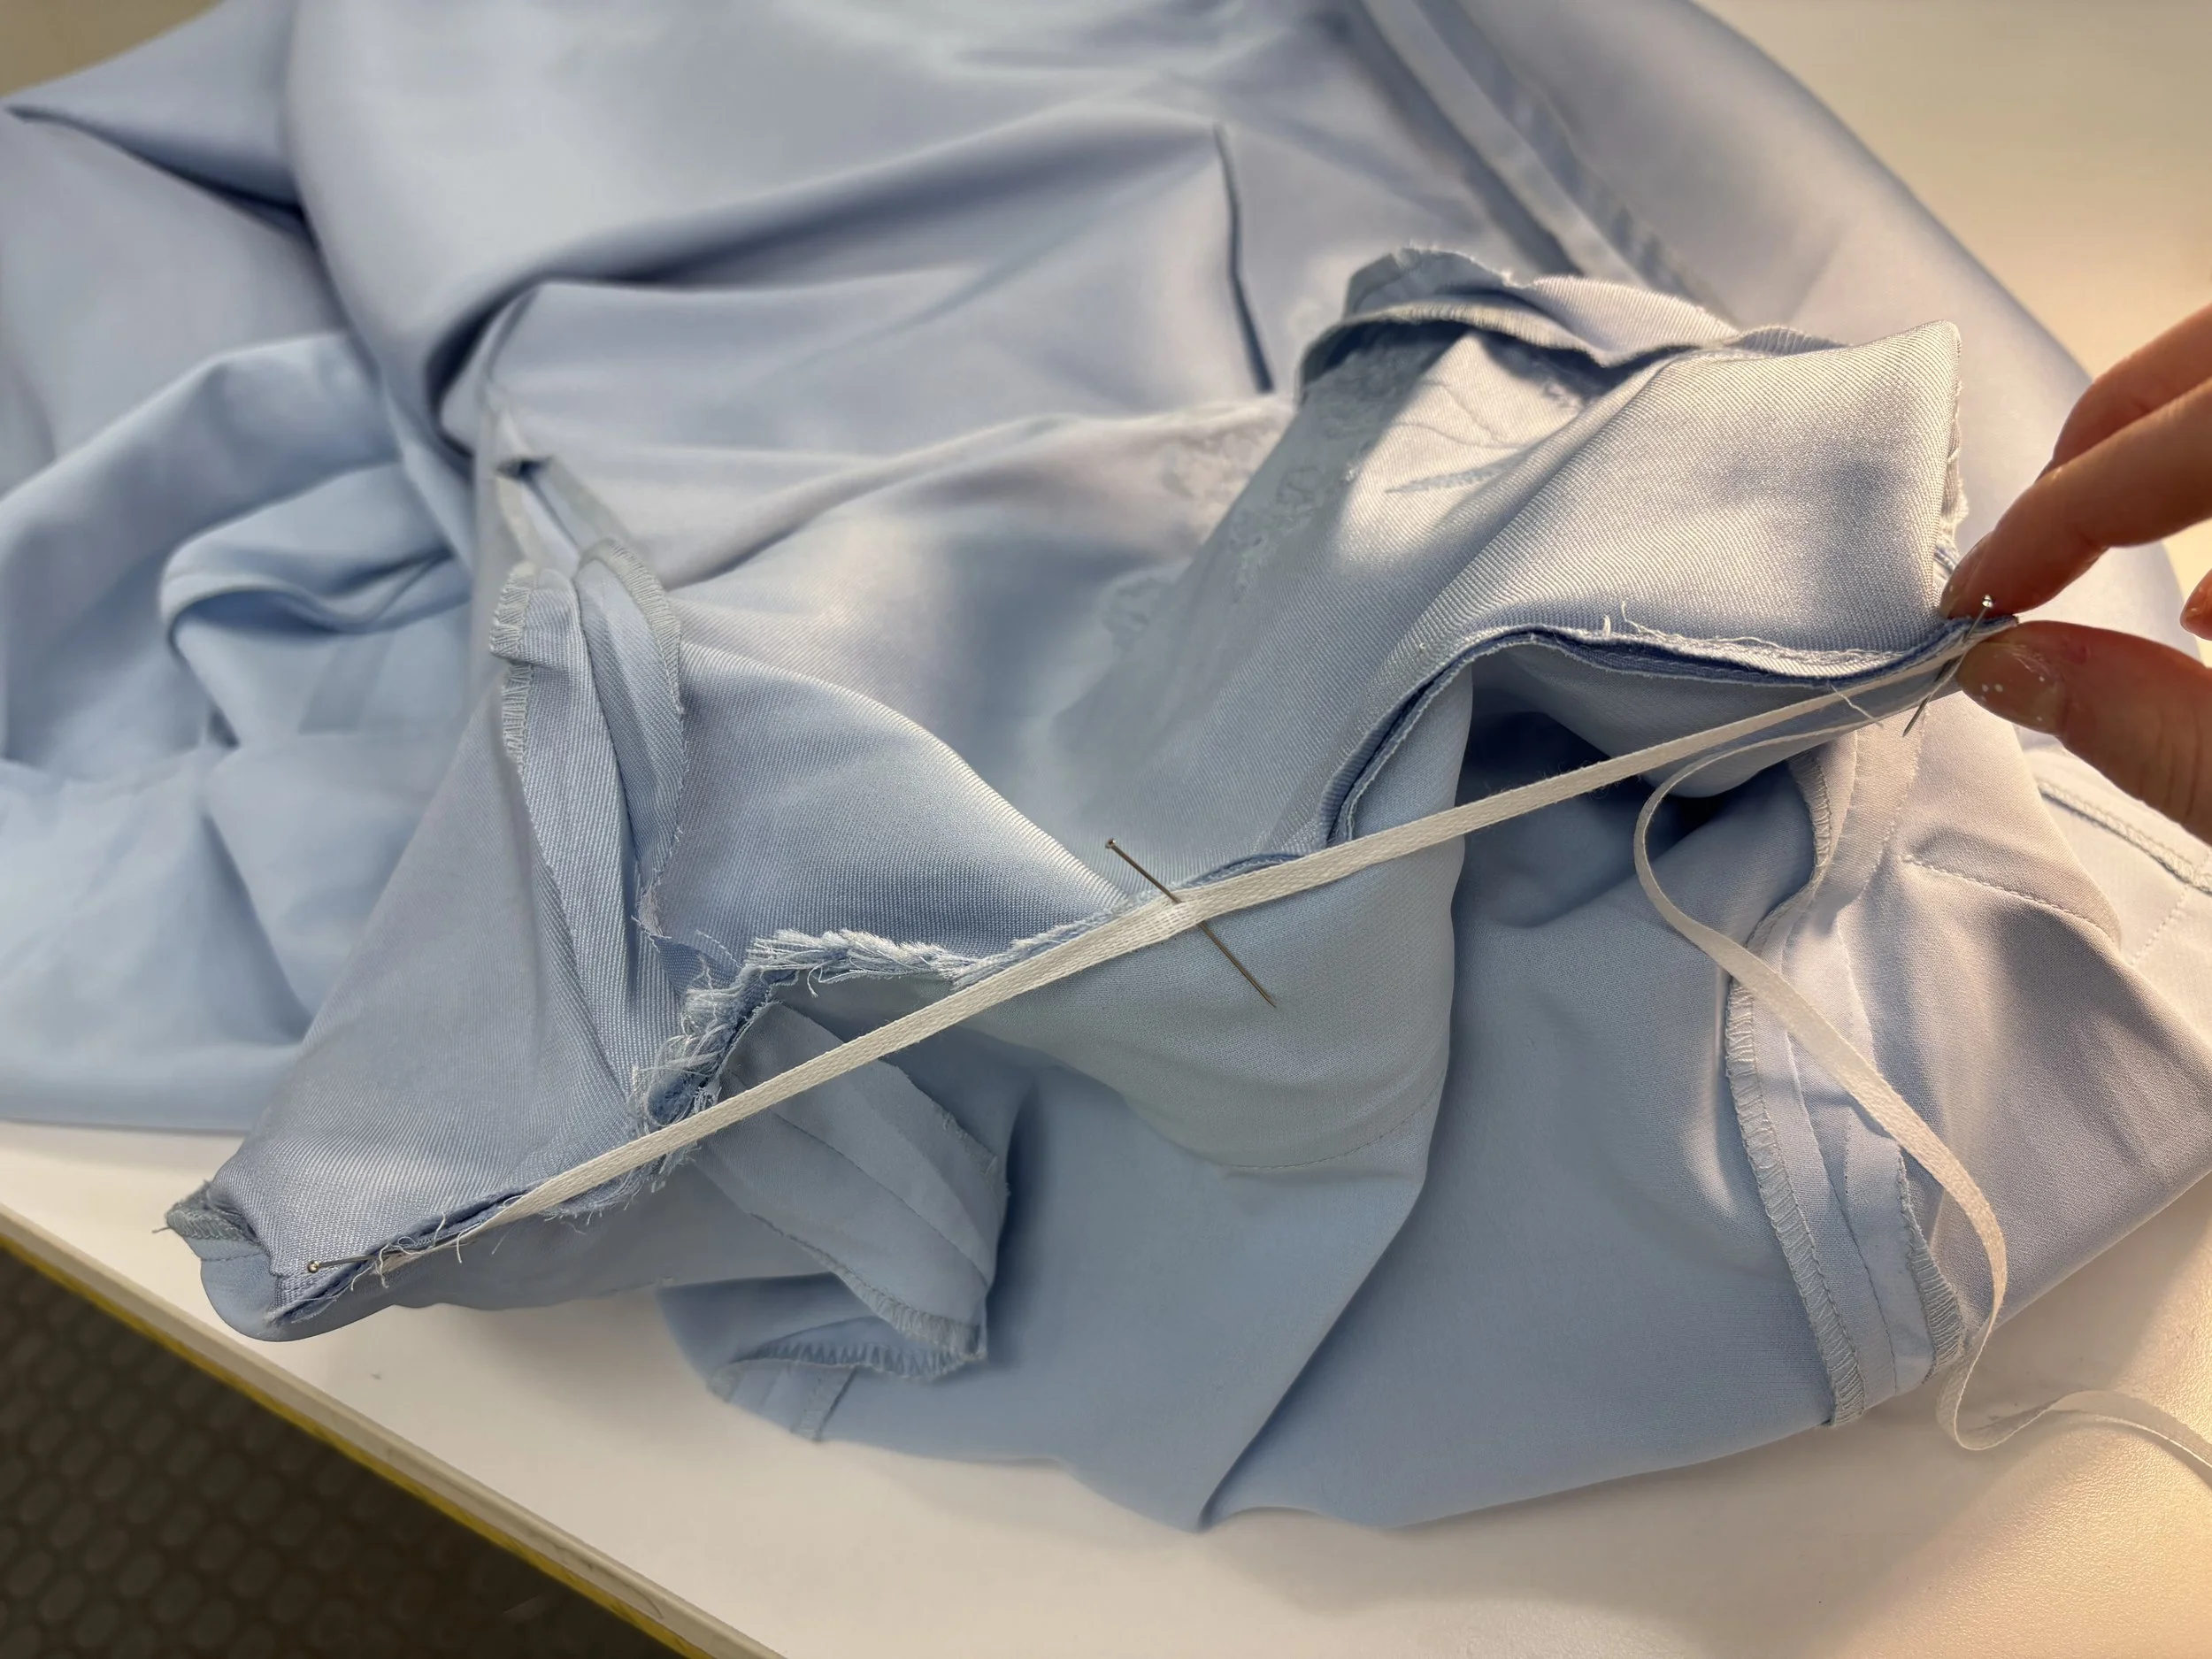
The dress pictured above is an aline haulter neck dress which was showing her bra at the armhole. Because the dress is flowy and not as fitted it was possible to shorten the front and back neck. I made a pattern of the front and back and shortened it the amount that was needed. I marked the new lines with a basting thread and retaped the neckline and armhole.
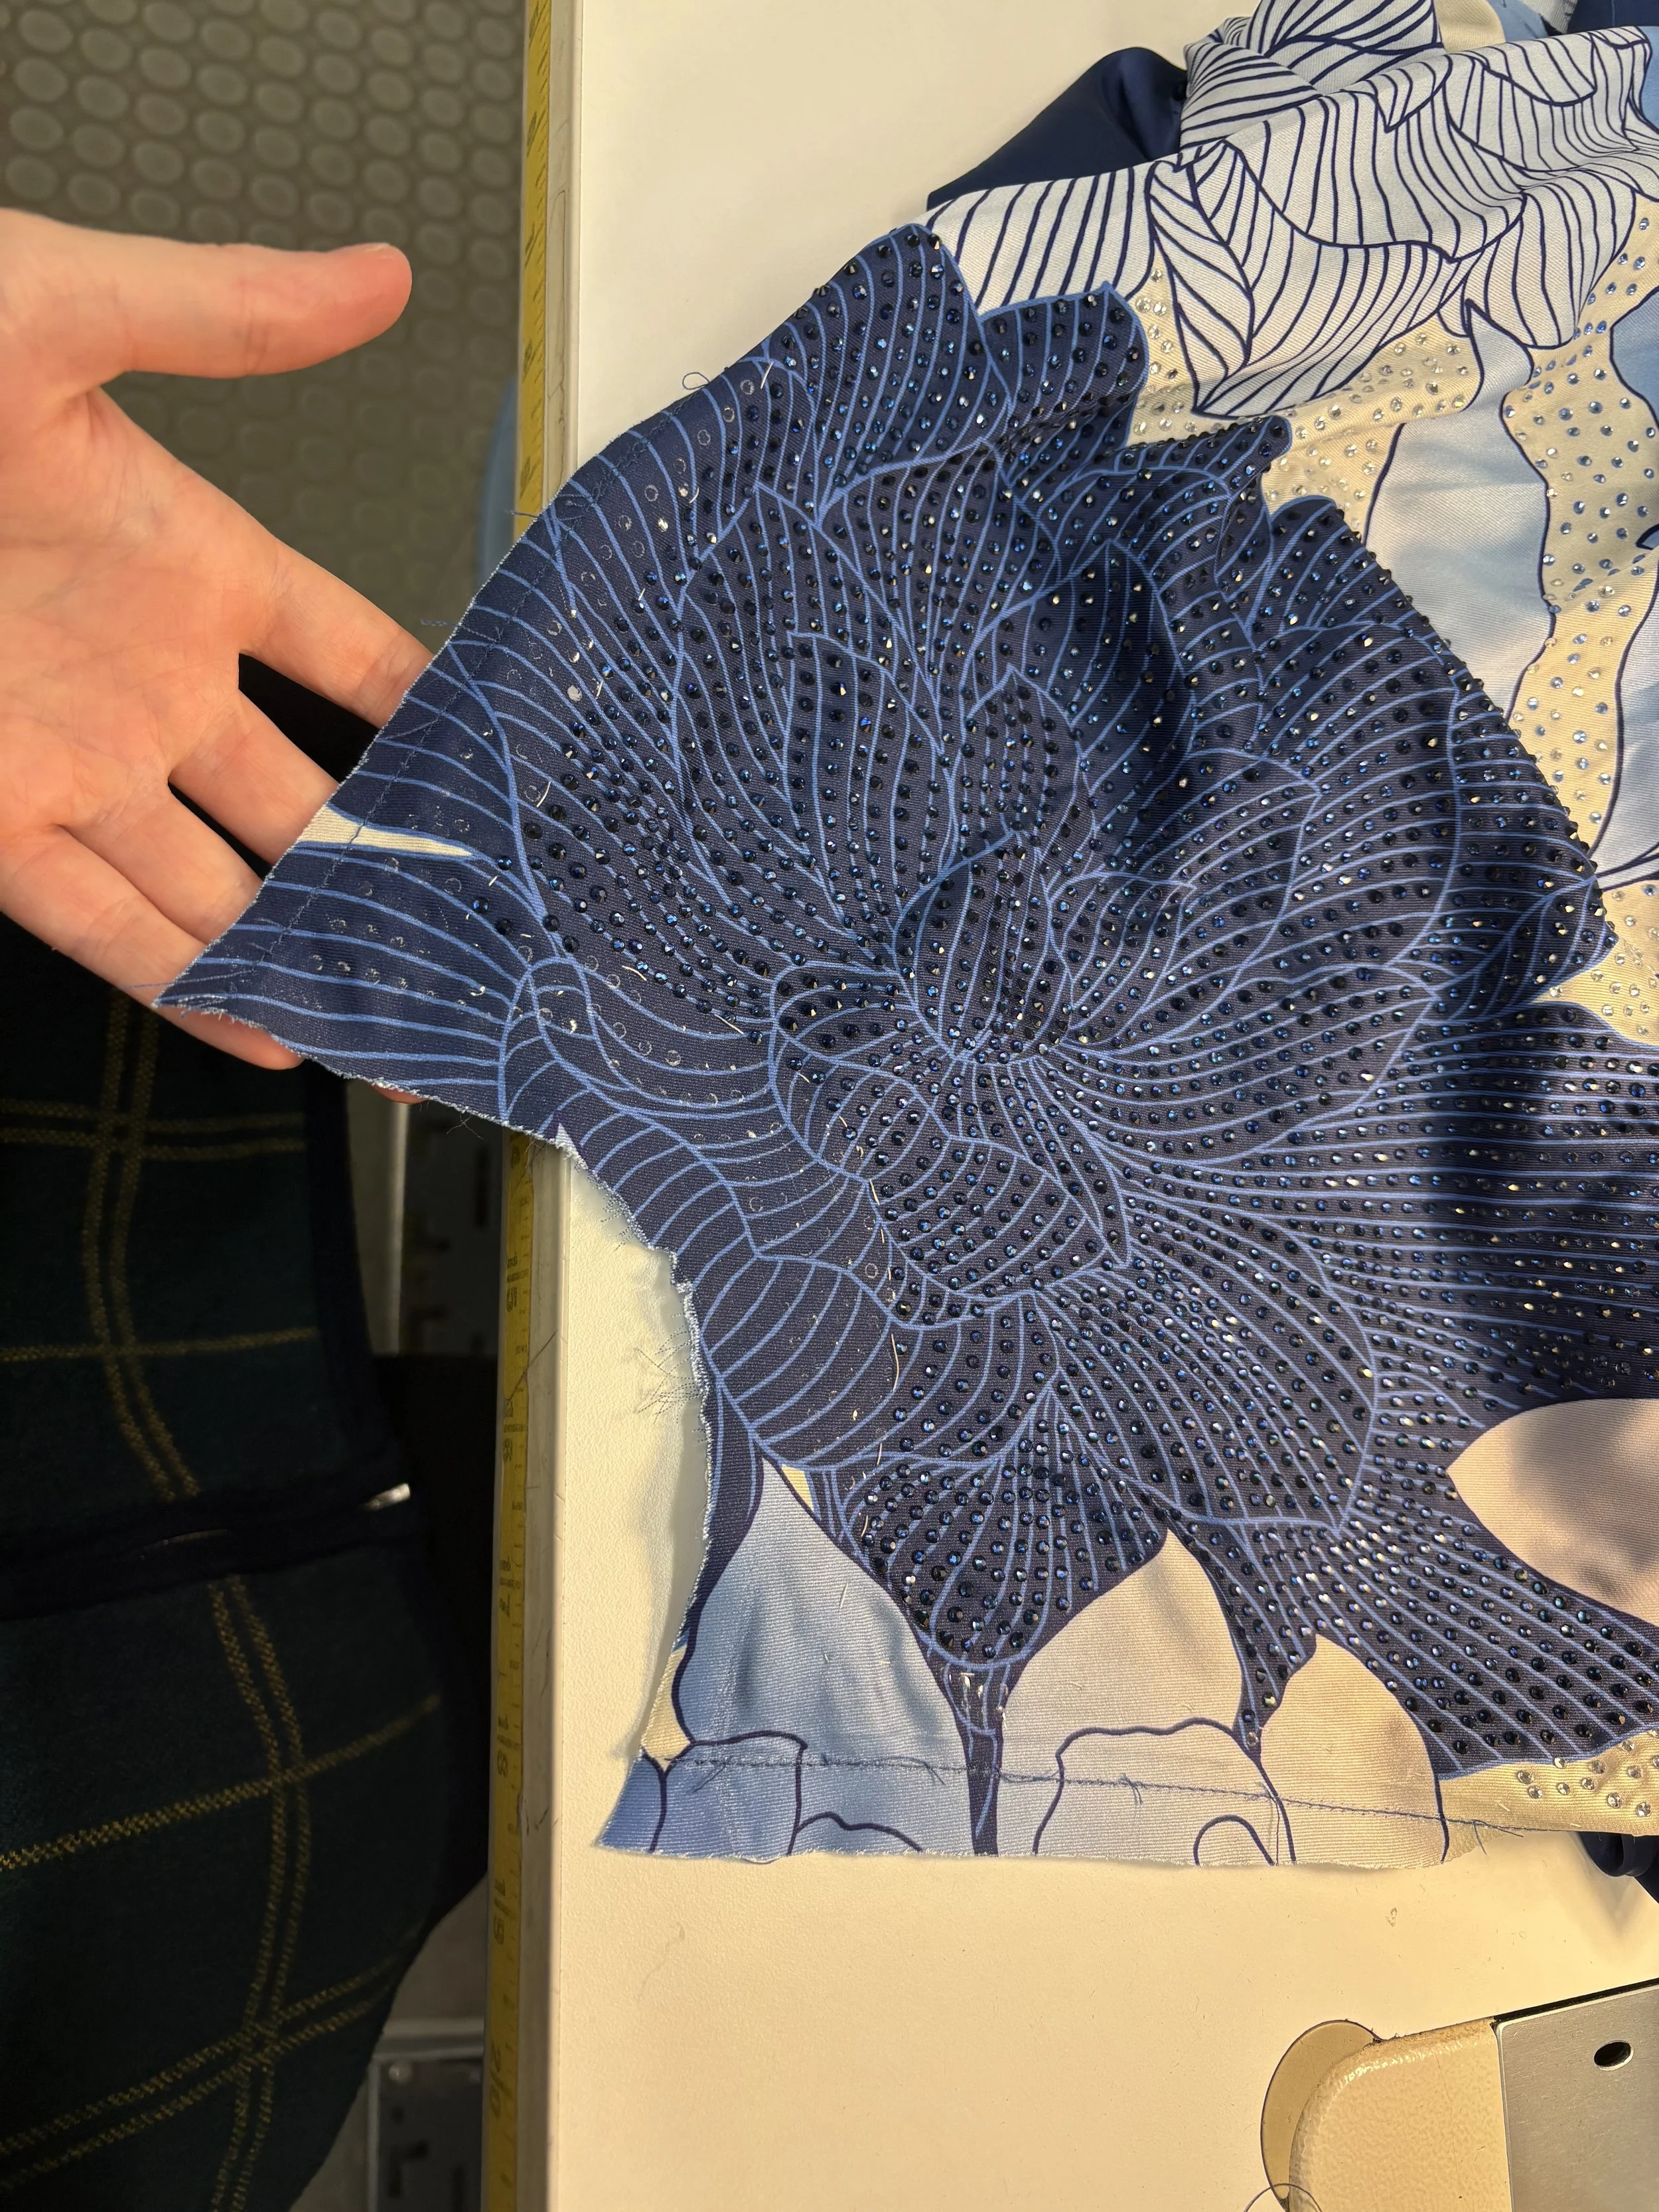
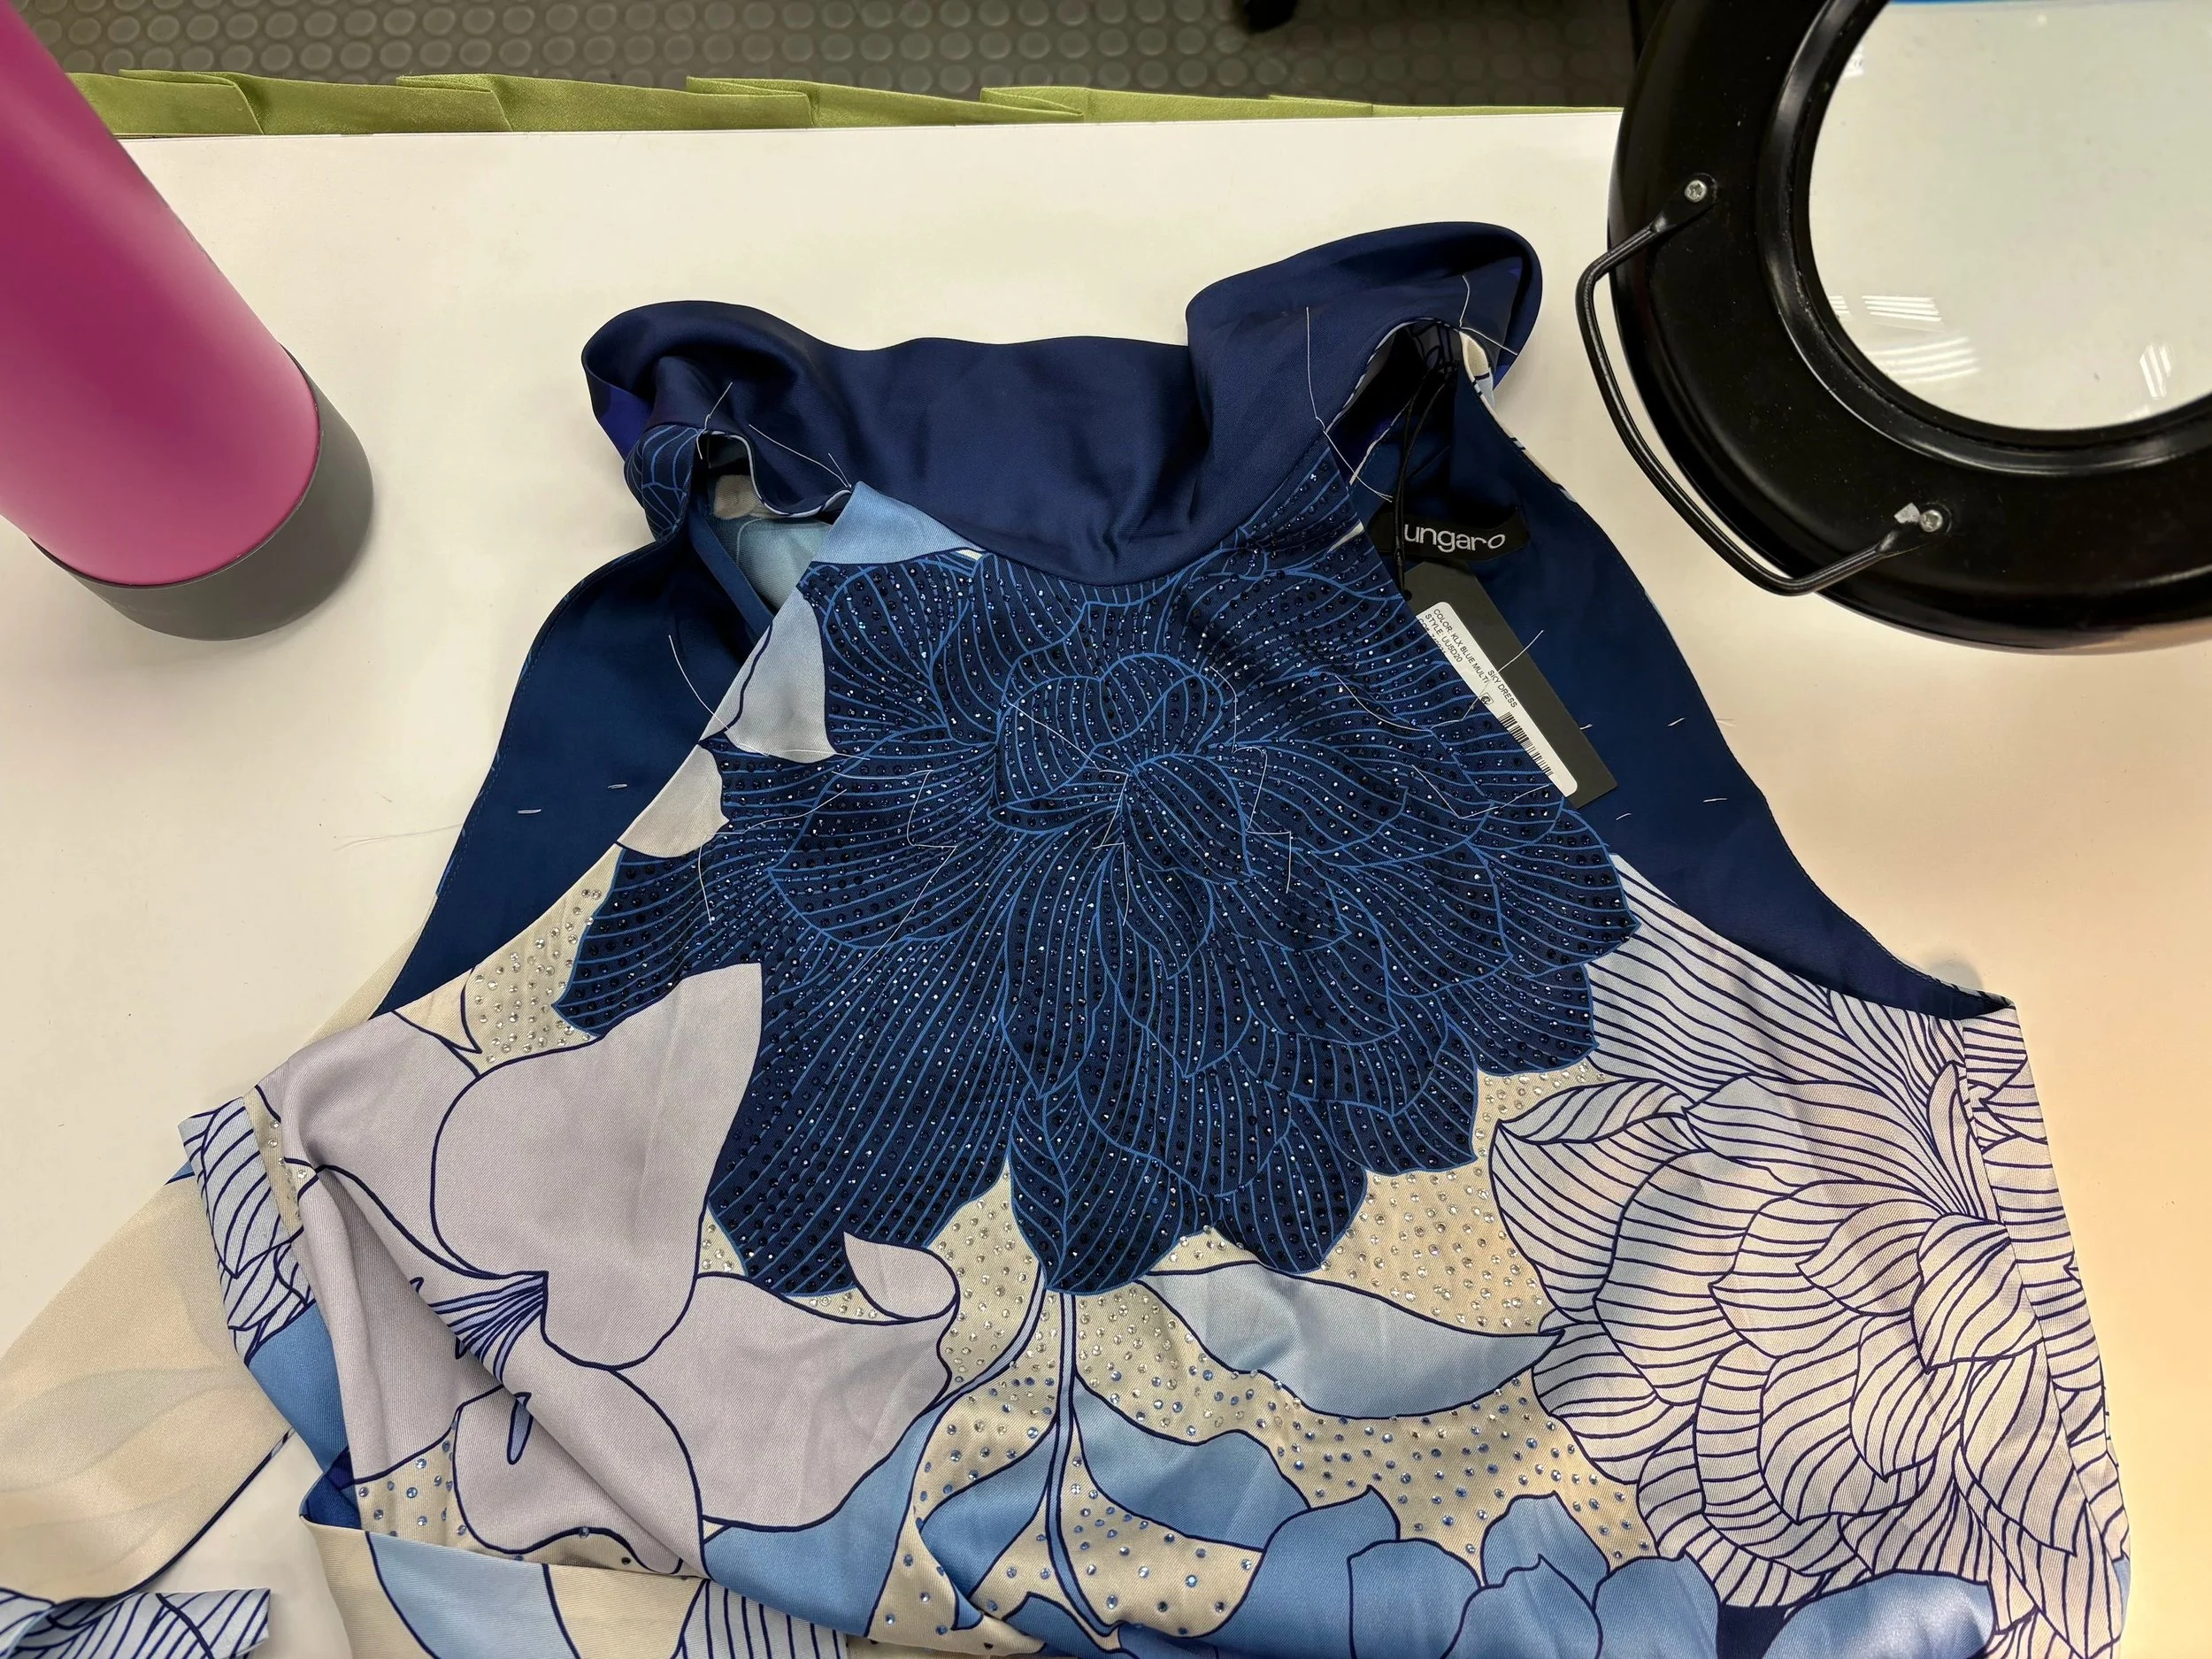
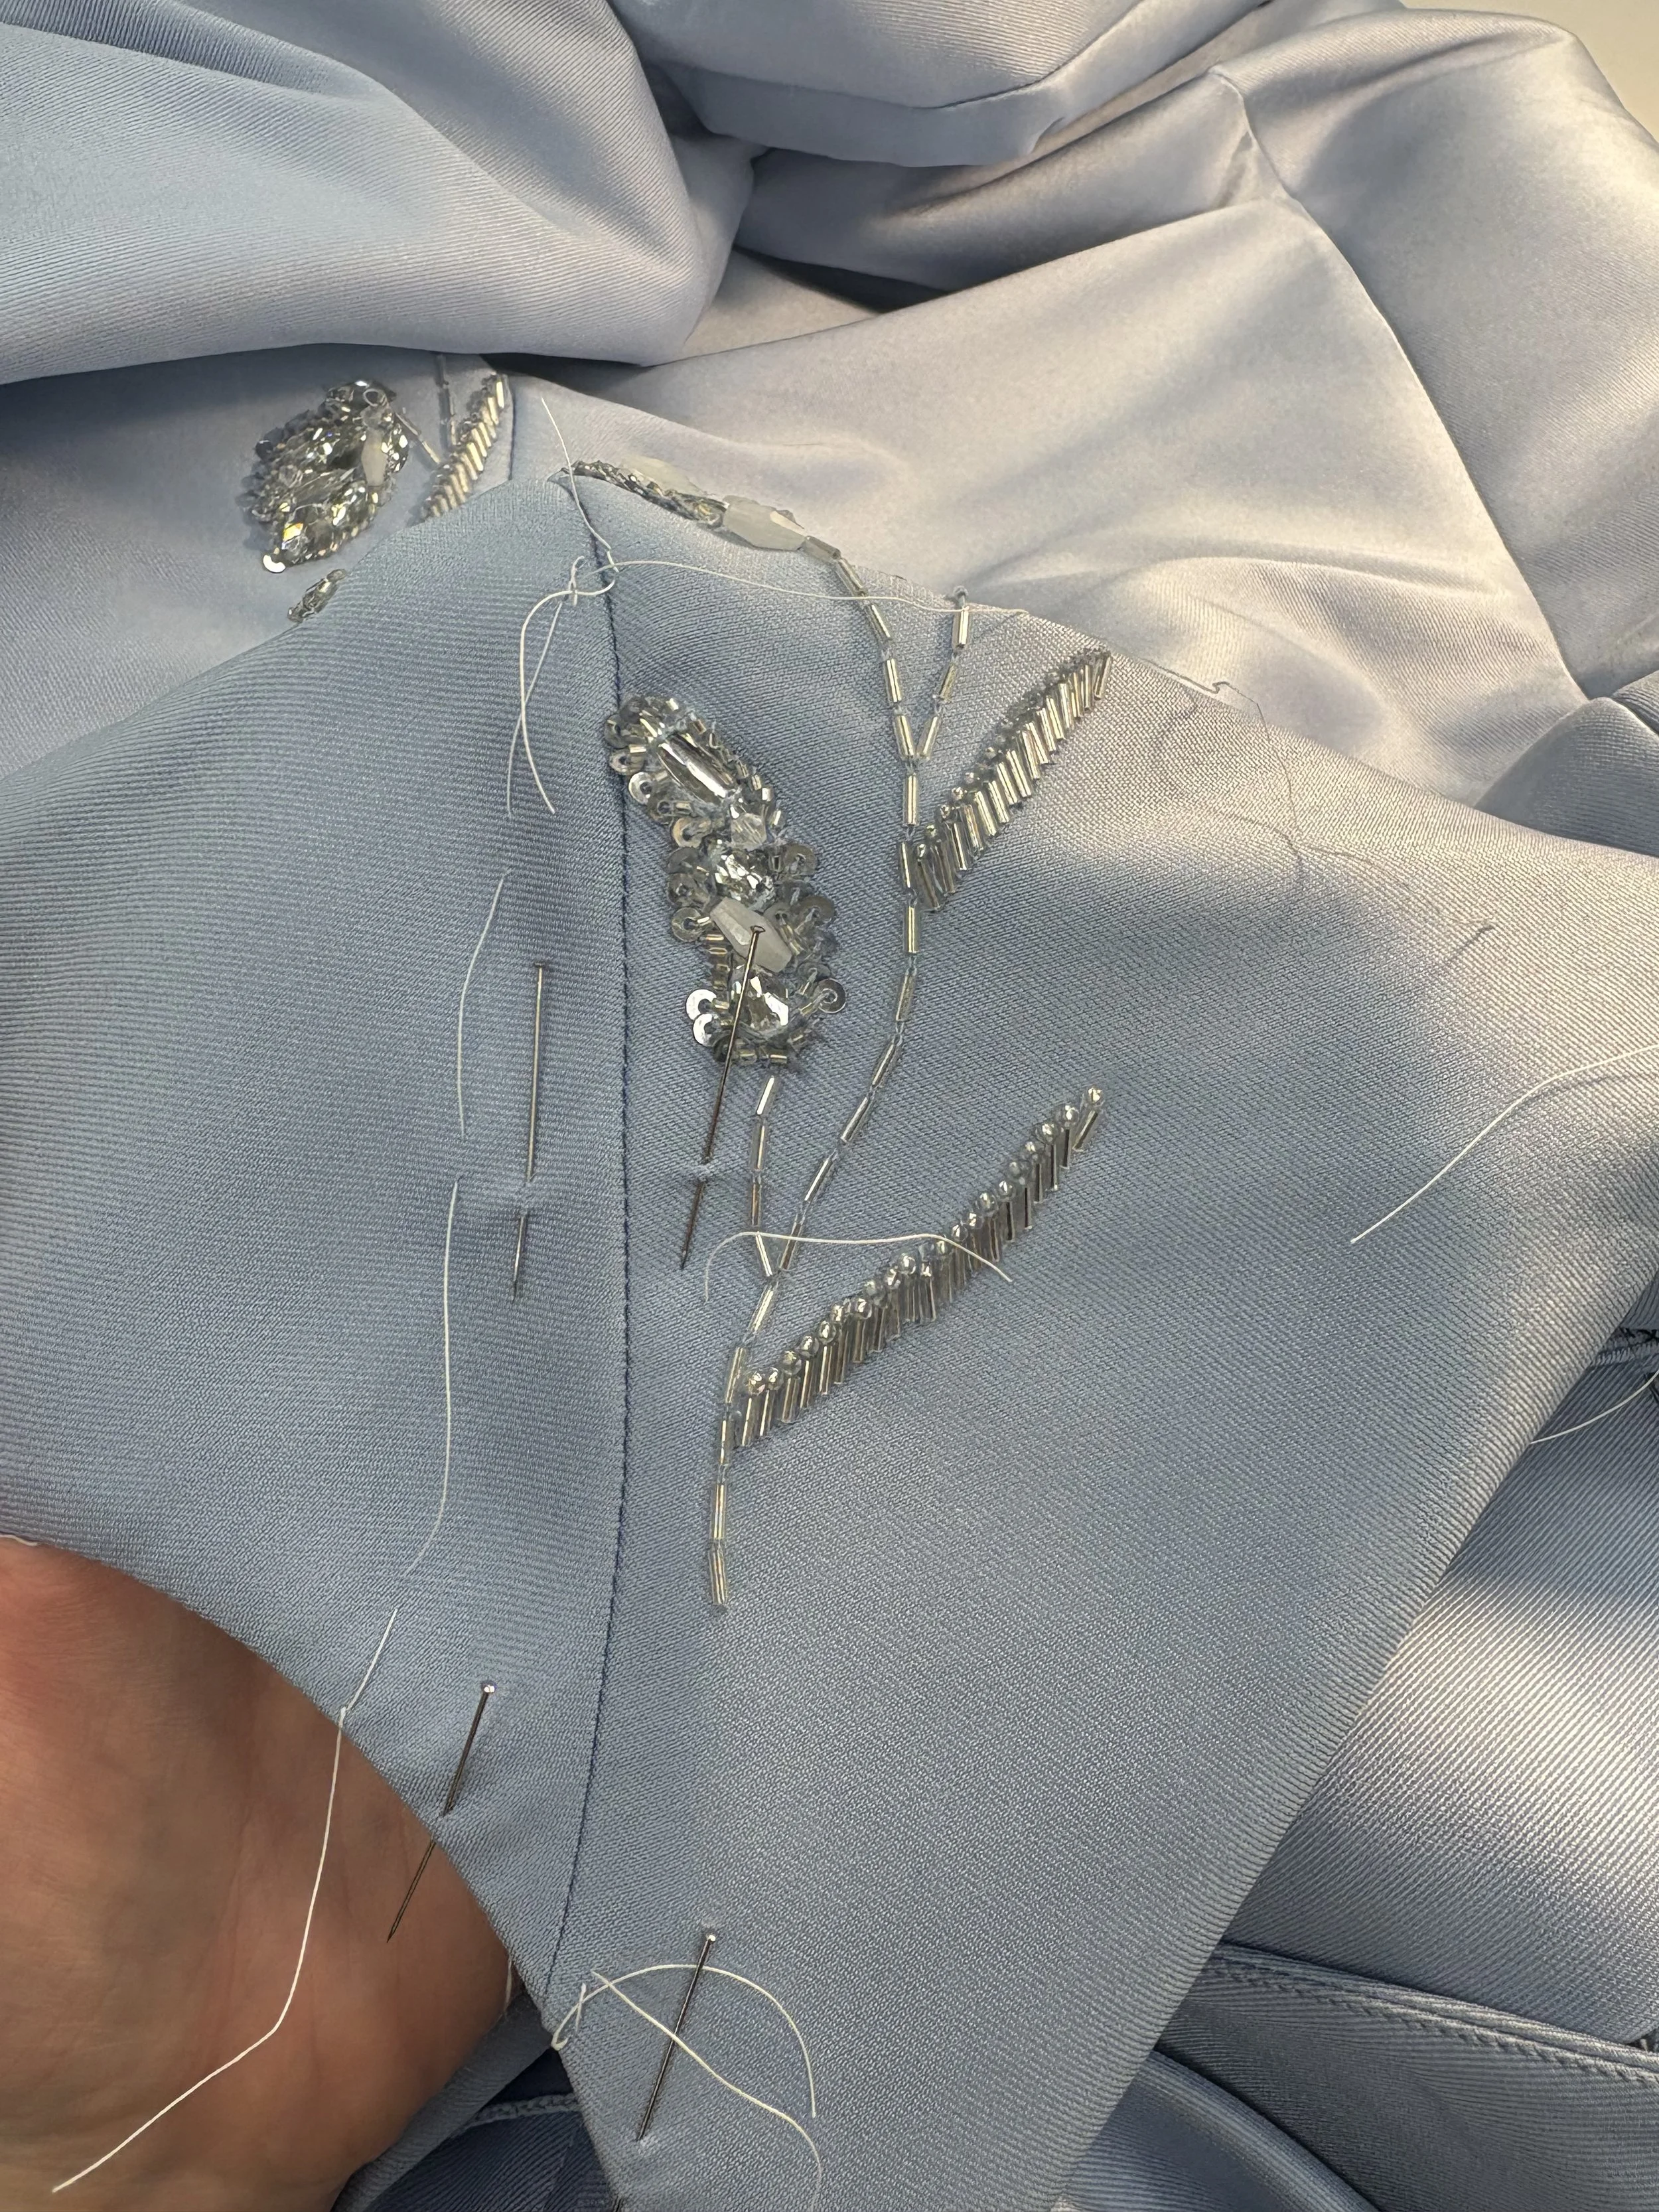
All of the rhinestones needed to be carefully removed just below the new neckline. One rhinestone removed in the wrong place would show the residue from the glue. The finished look is shown above.
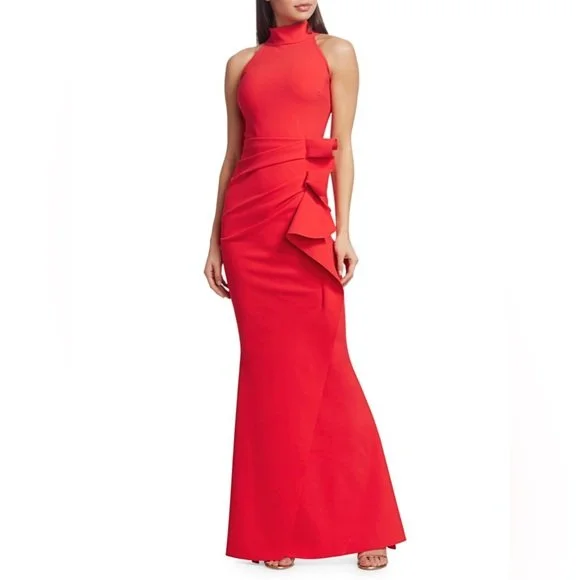
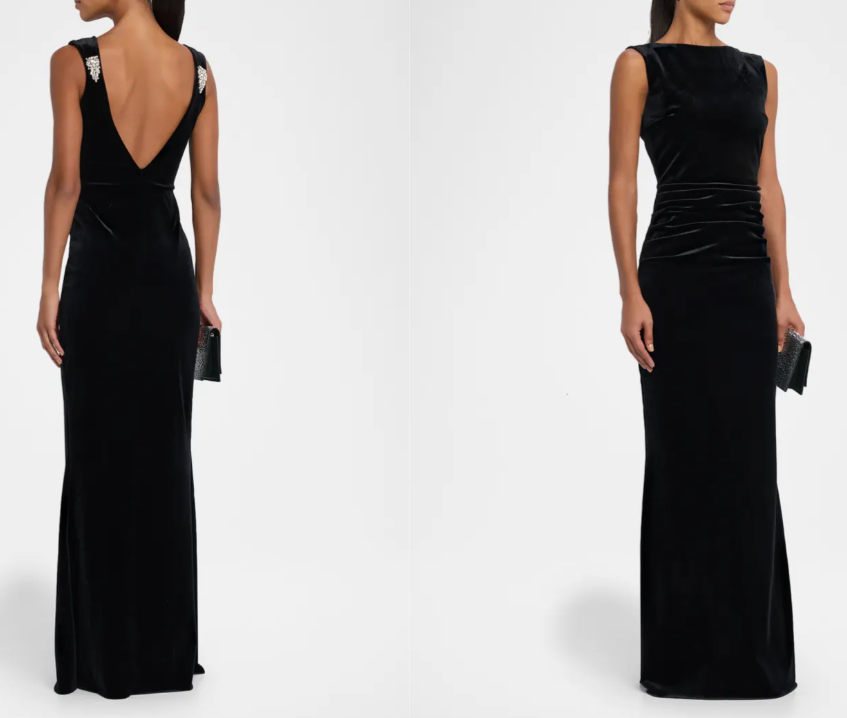
The dress pictured above was digging into her armhole so I had to slightly lower and deepen the armholes. I anchored the tape (rubber elastic) in place with pad basting. The dress also needed to be shortened from the waist at the back bodice. The pictured model is just to showcase the dress and came from google.
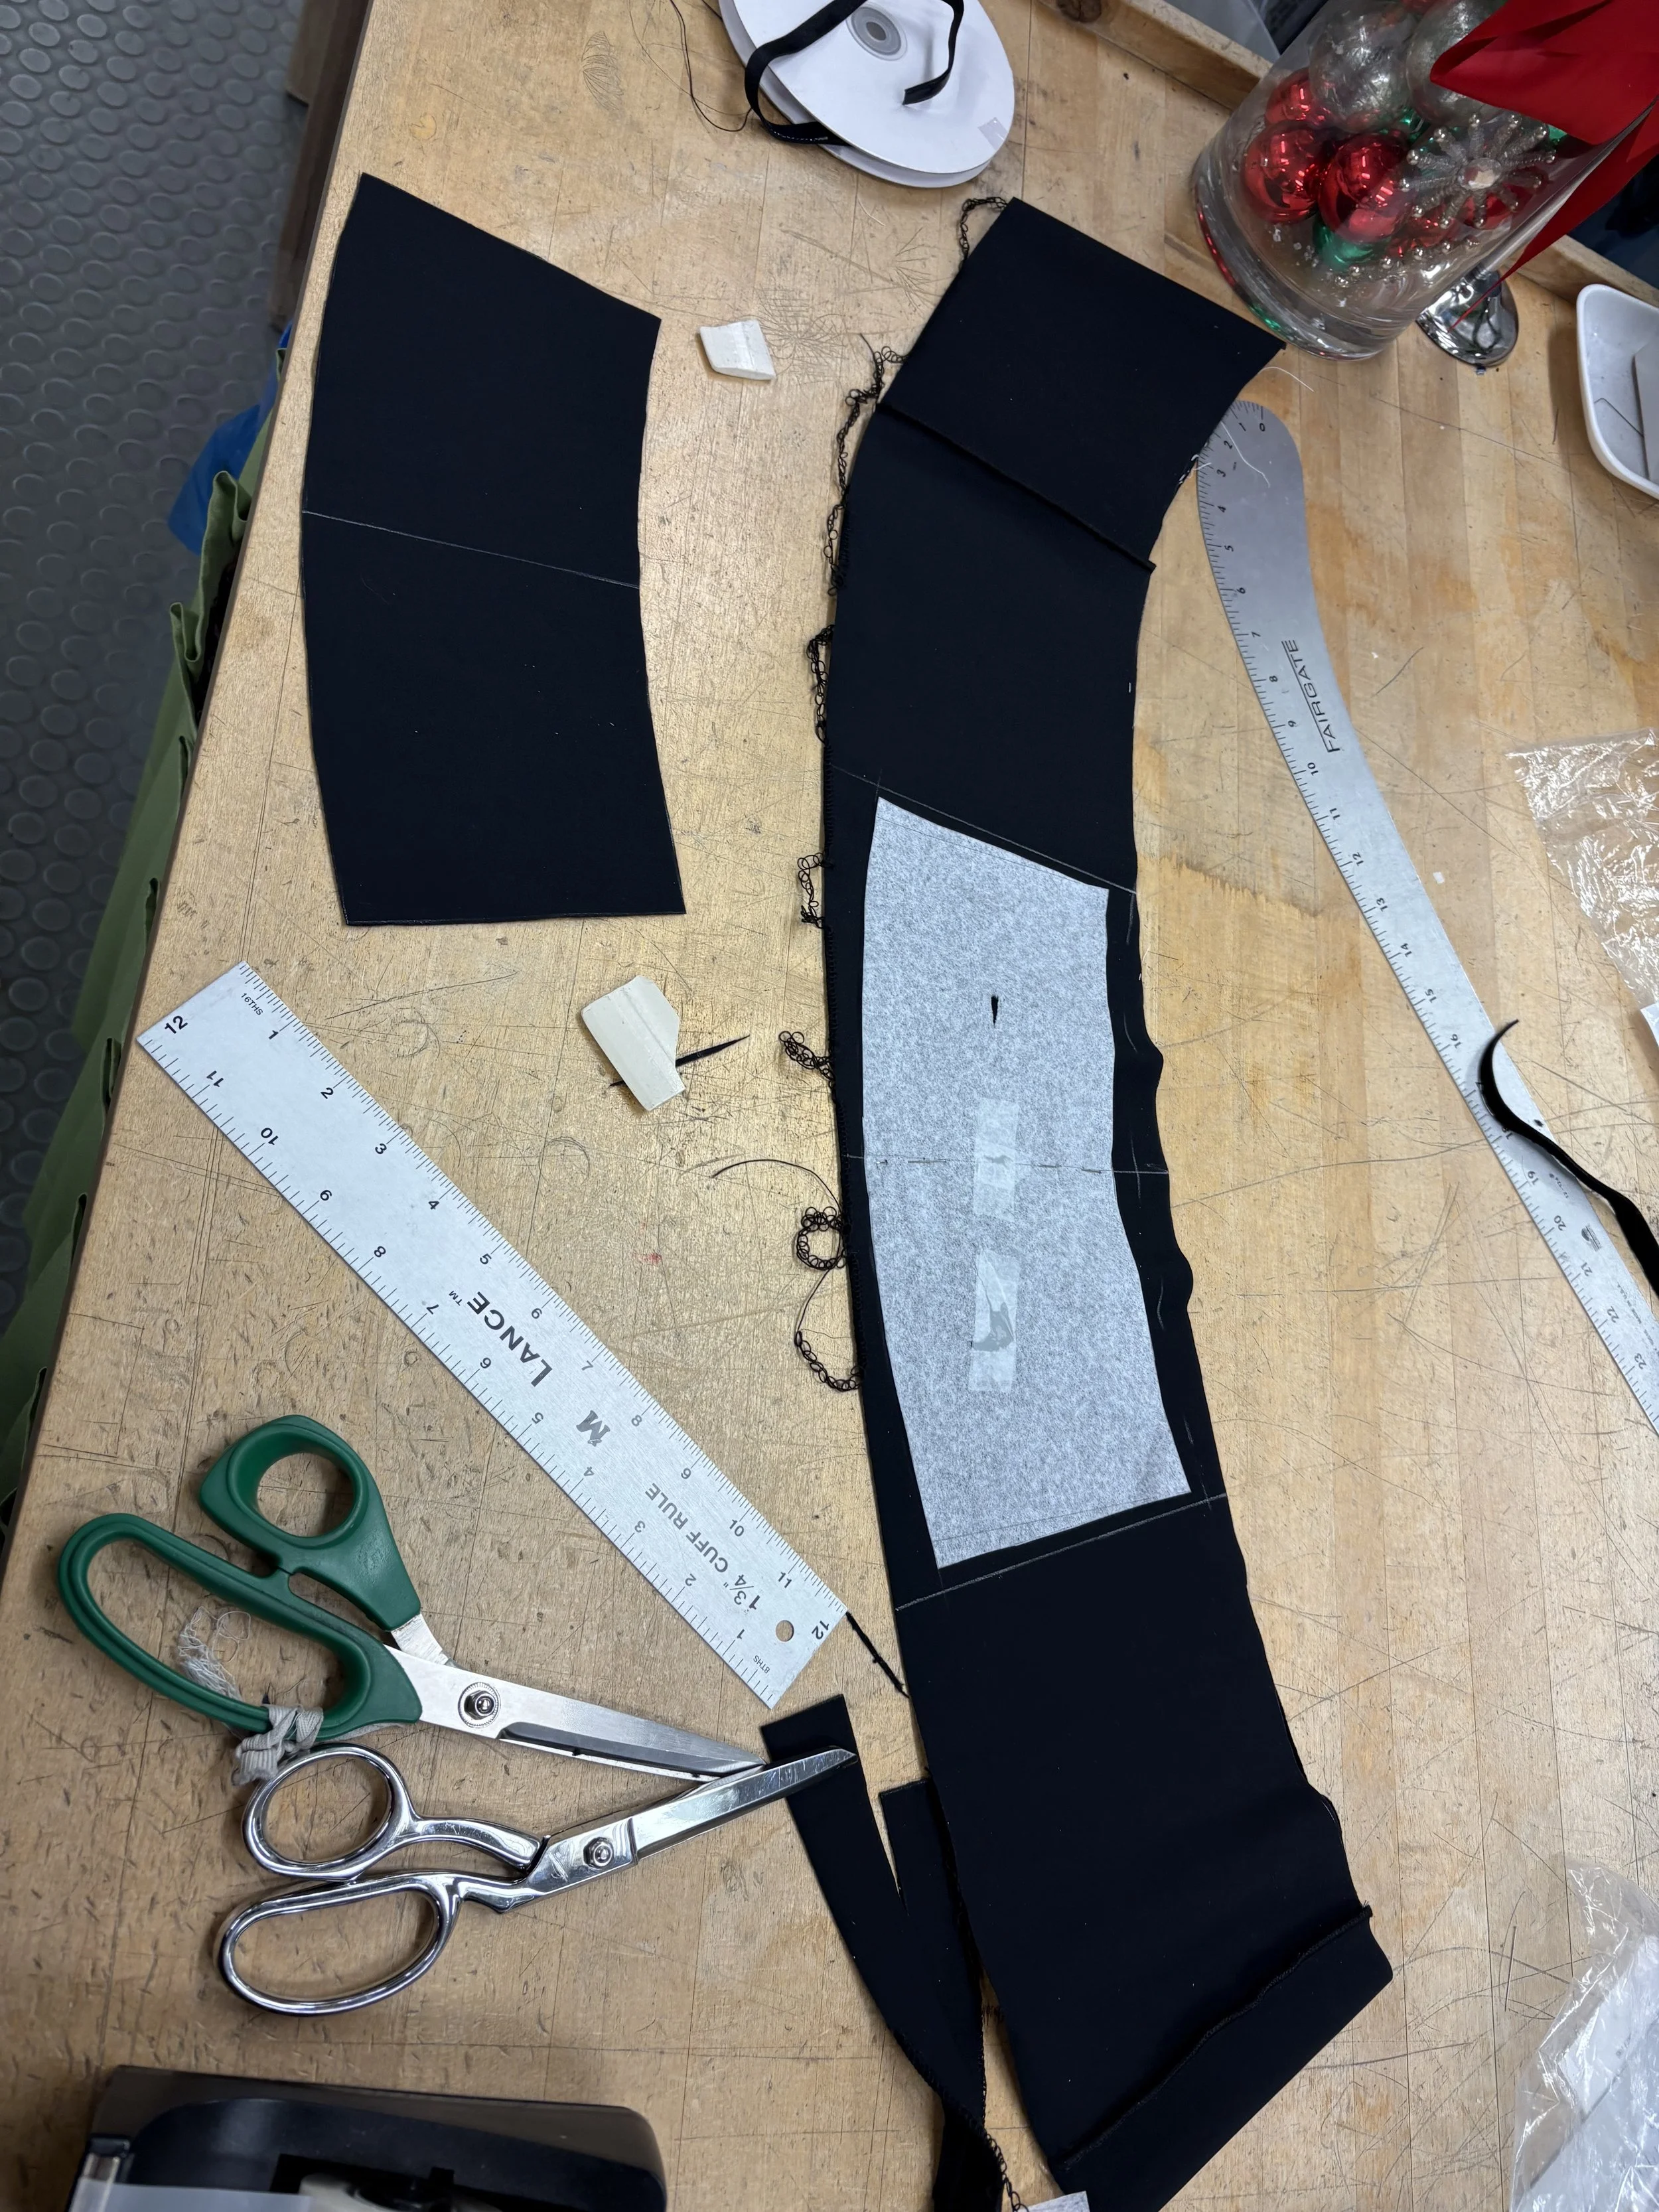
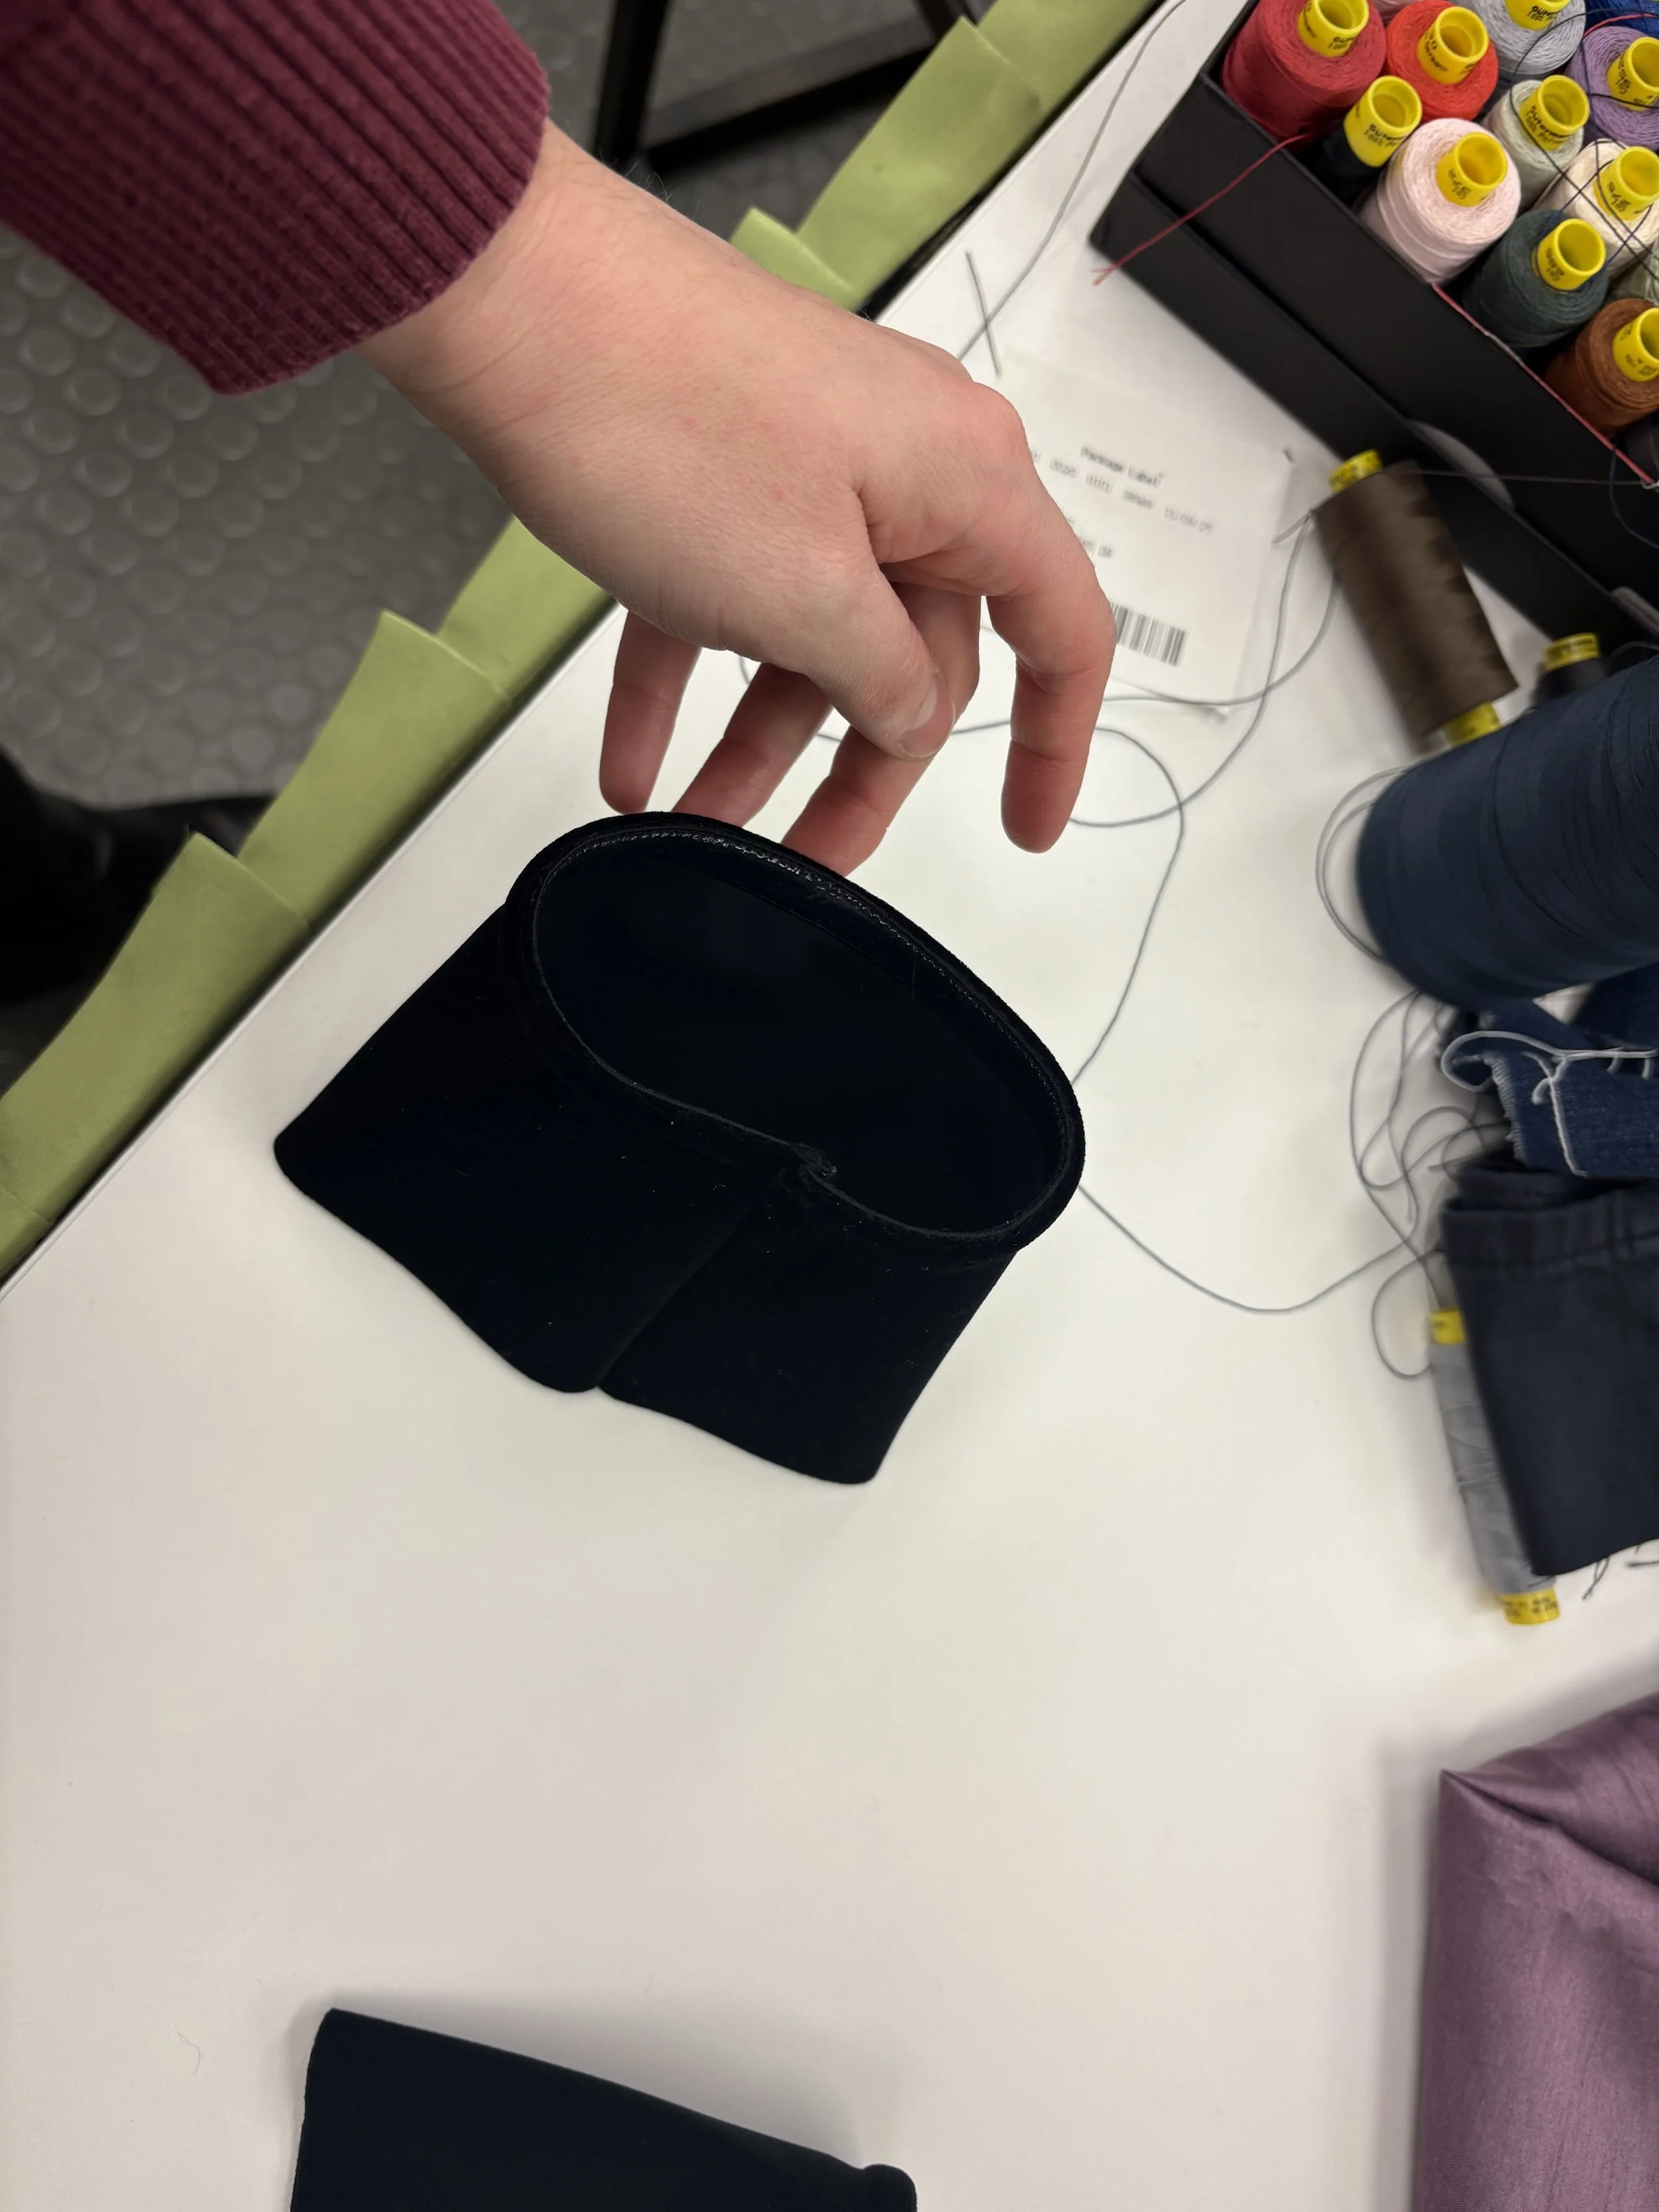
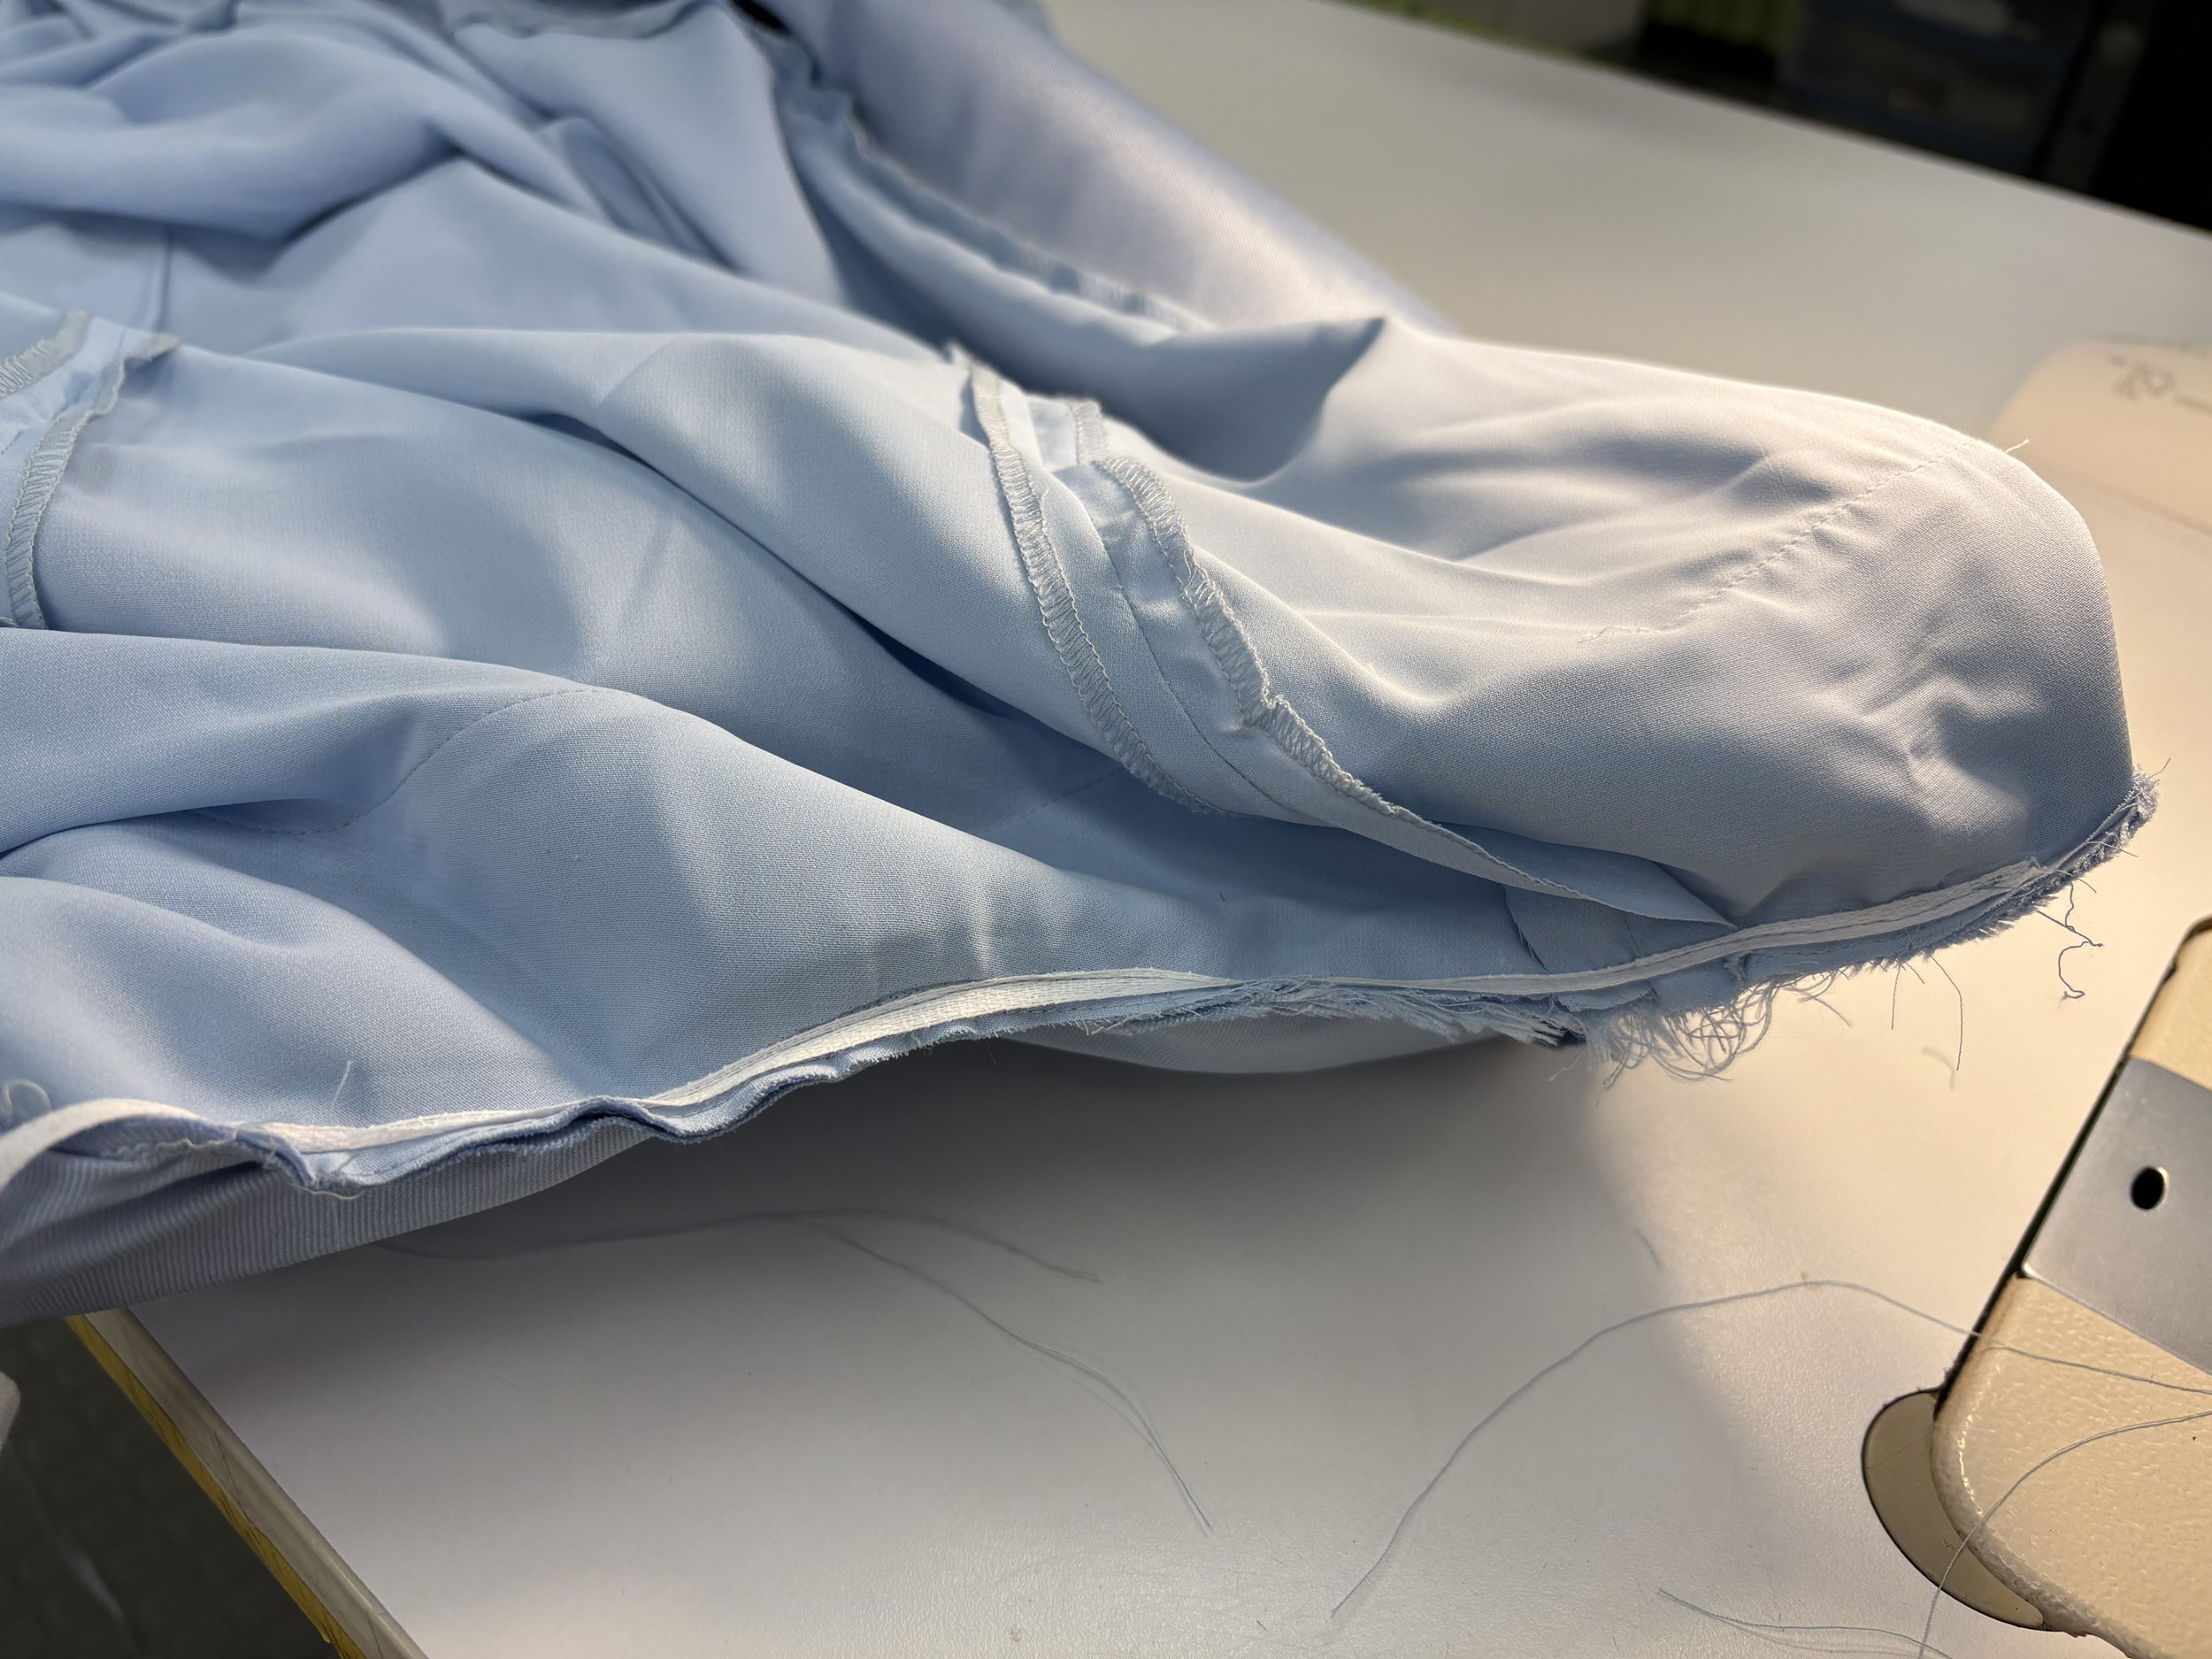
Pictured above is another sleeve alteration. I took fabric from the hem of the gown and made a sleeve that is detached from the dress. I took her bicep measurement and reduced the pattern to accommodate the stretch of the silicone gripper elastic I installed at the bicep.
The gown pictured above is also a photo from google just to showcase the dress. the back was gaping on her, so I stretched the rubber elastic inside a total of 5/8” across. This eased the back neckline closer to her body to eliminate the gaping.
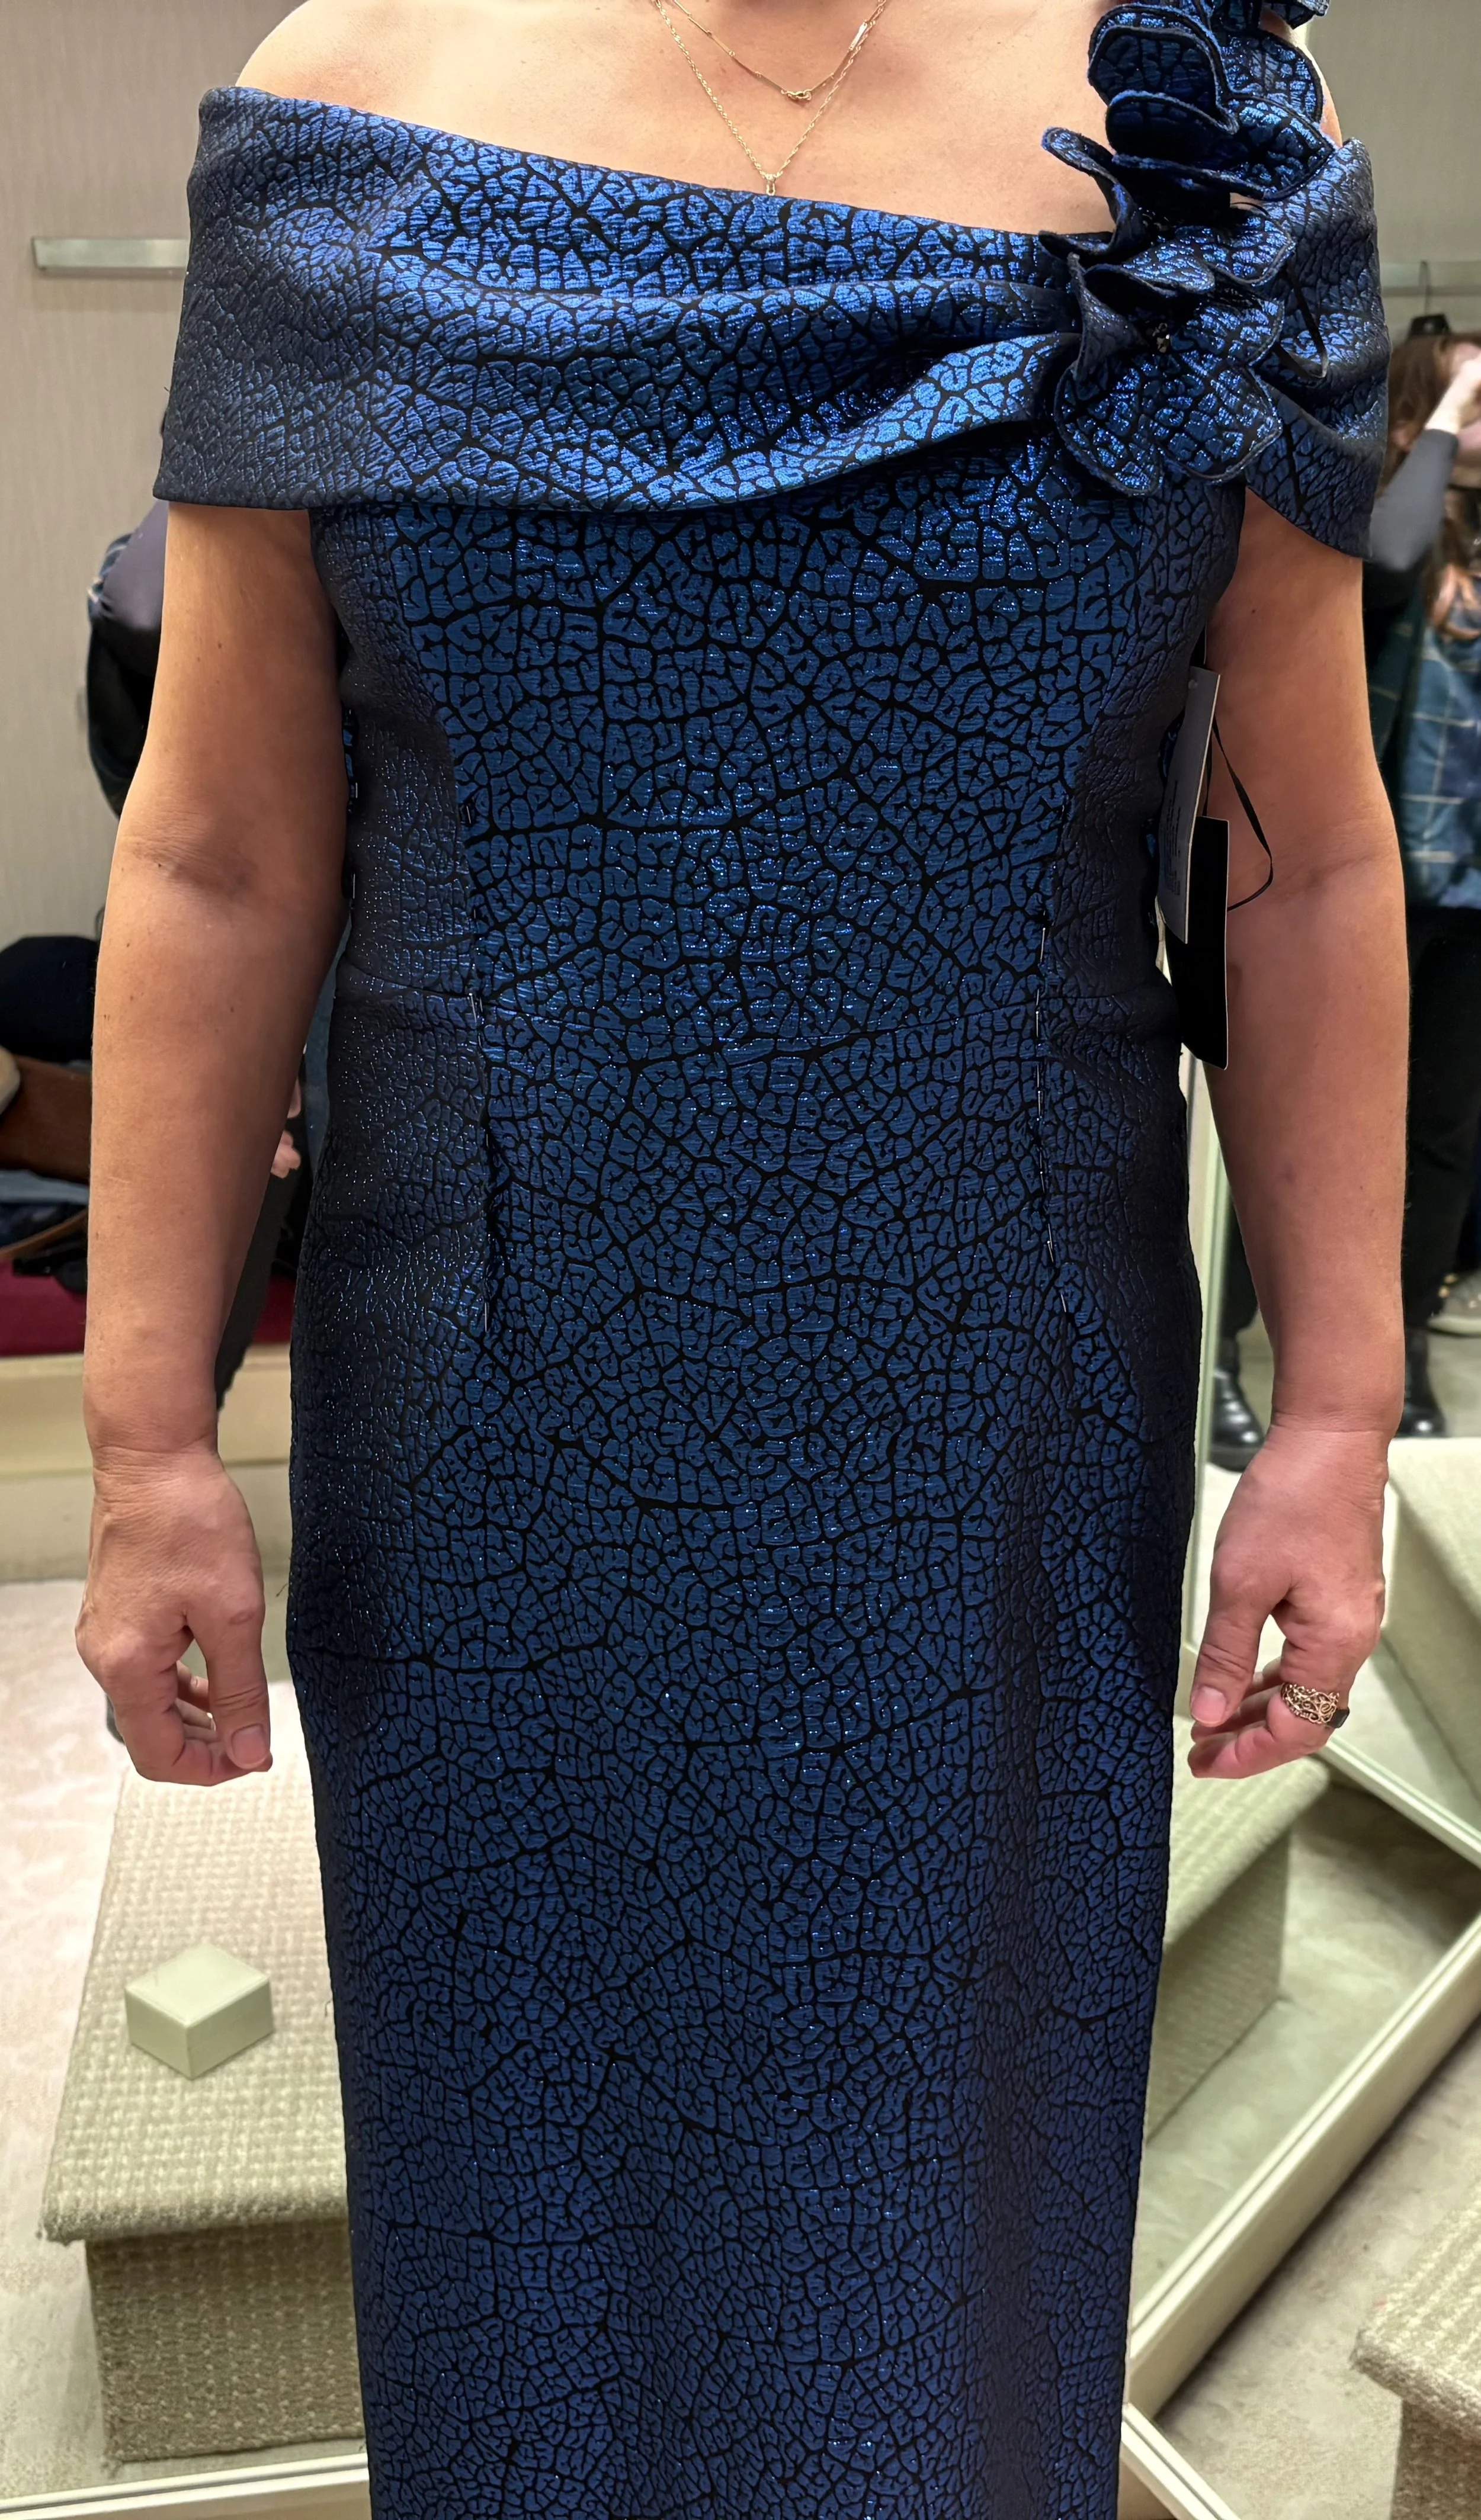
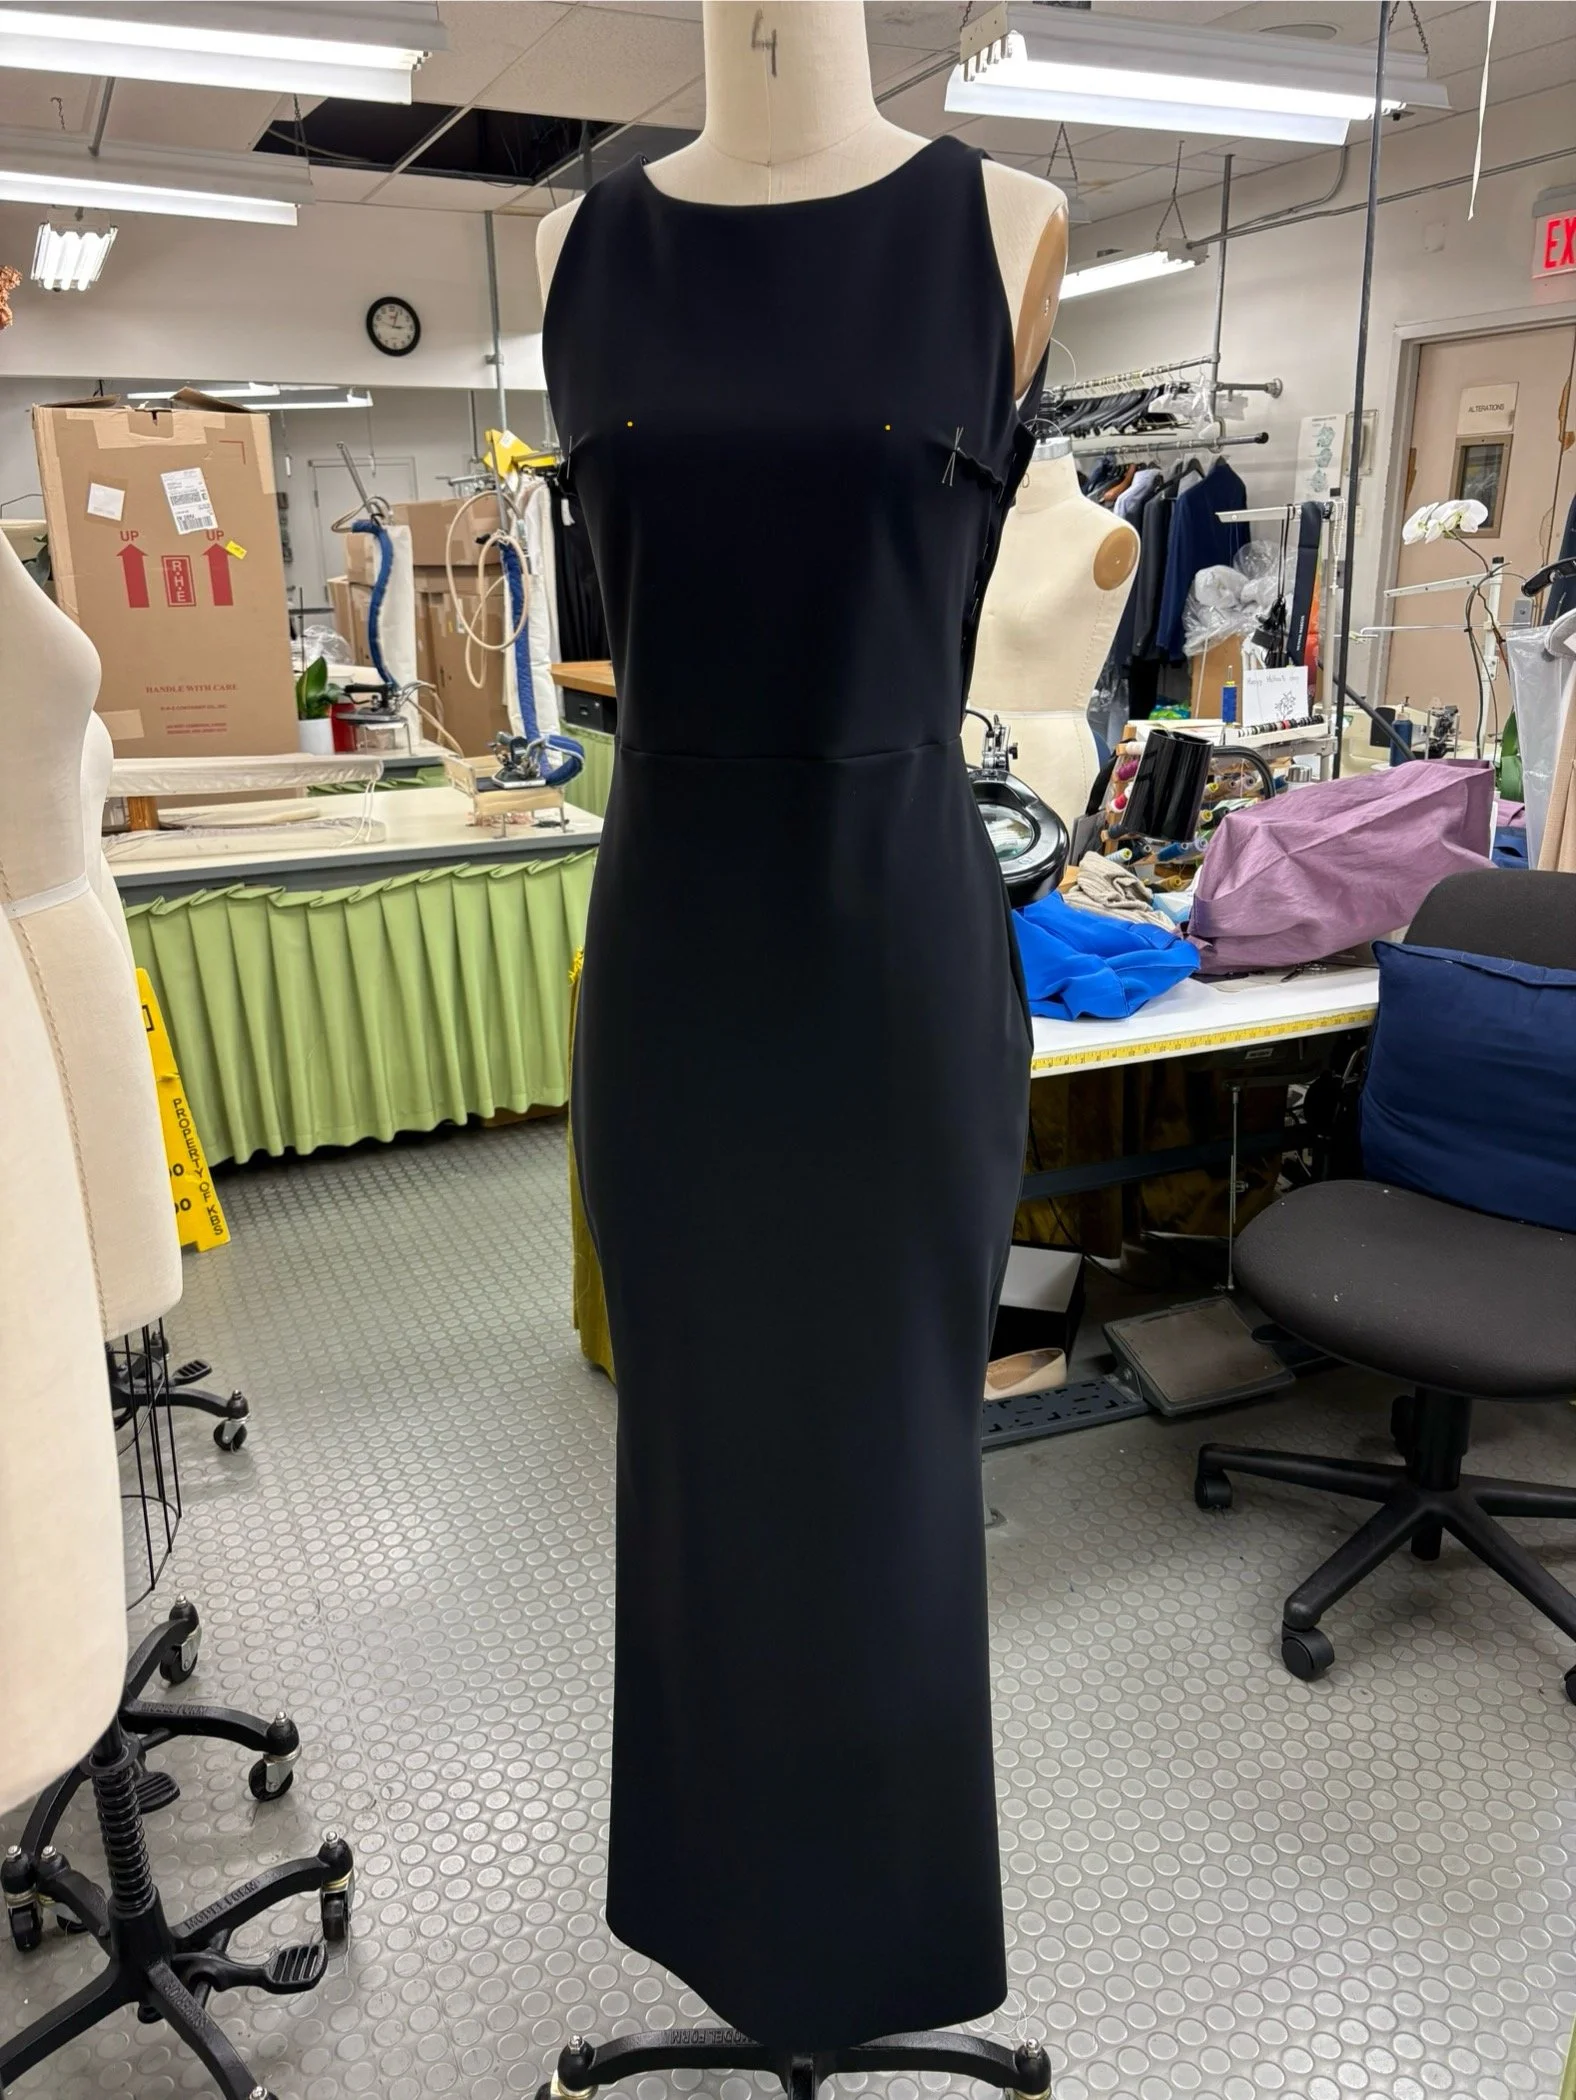
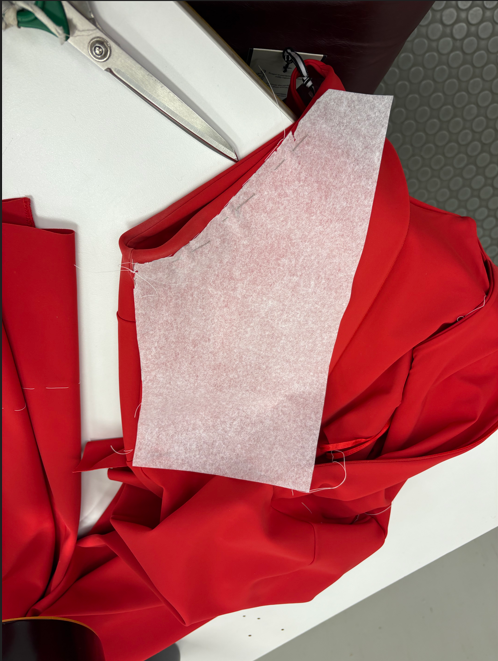
The dress pictured above fit her at the hips but needed to be take in at the waist and above the bust through the neckline. I pinned the bodice and skirt at the princess seams and side seams. The sash had to be eased back into the neckline.
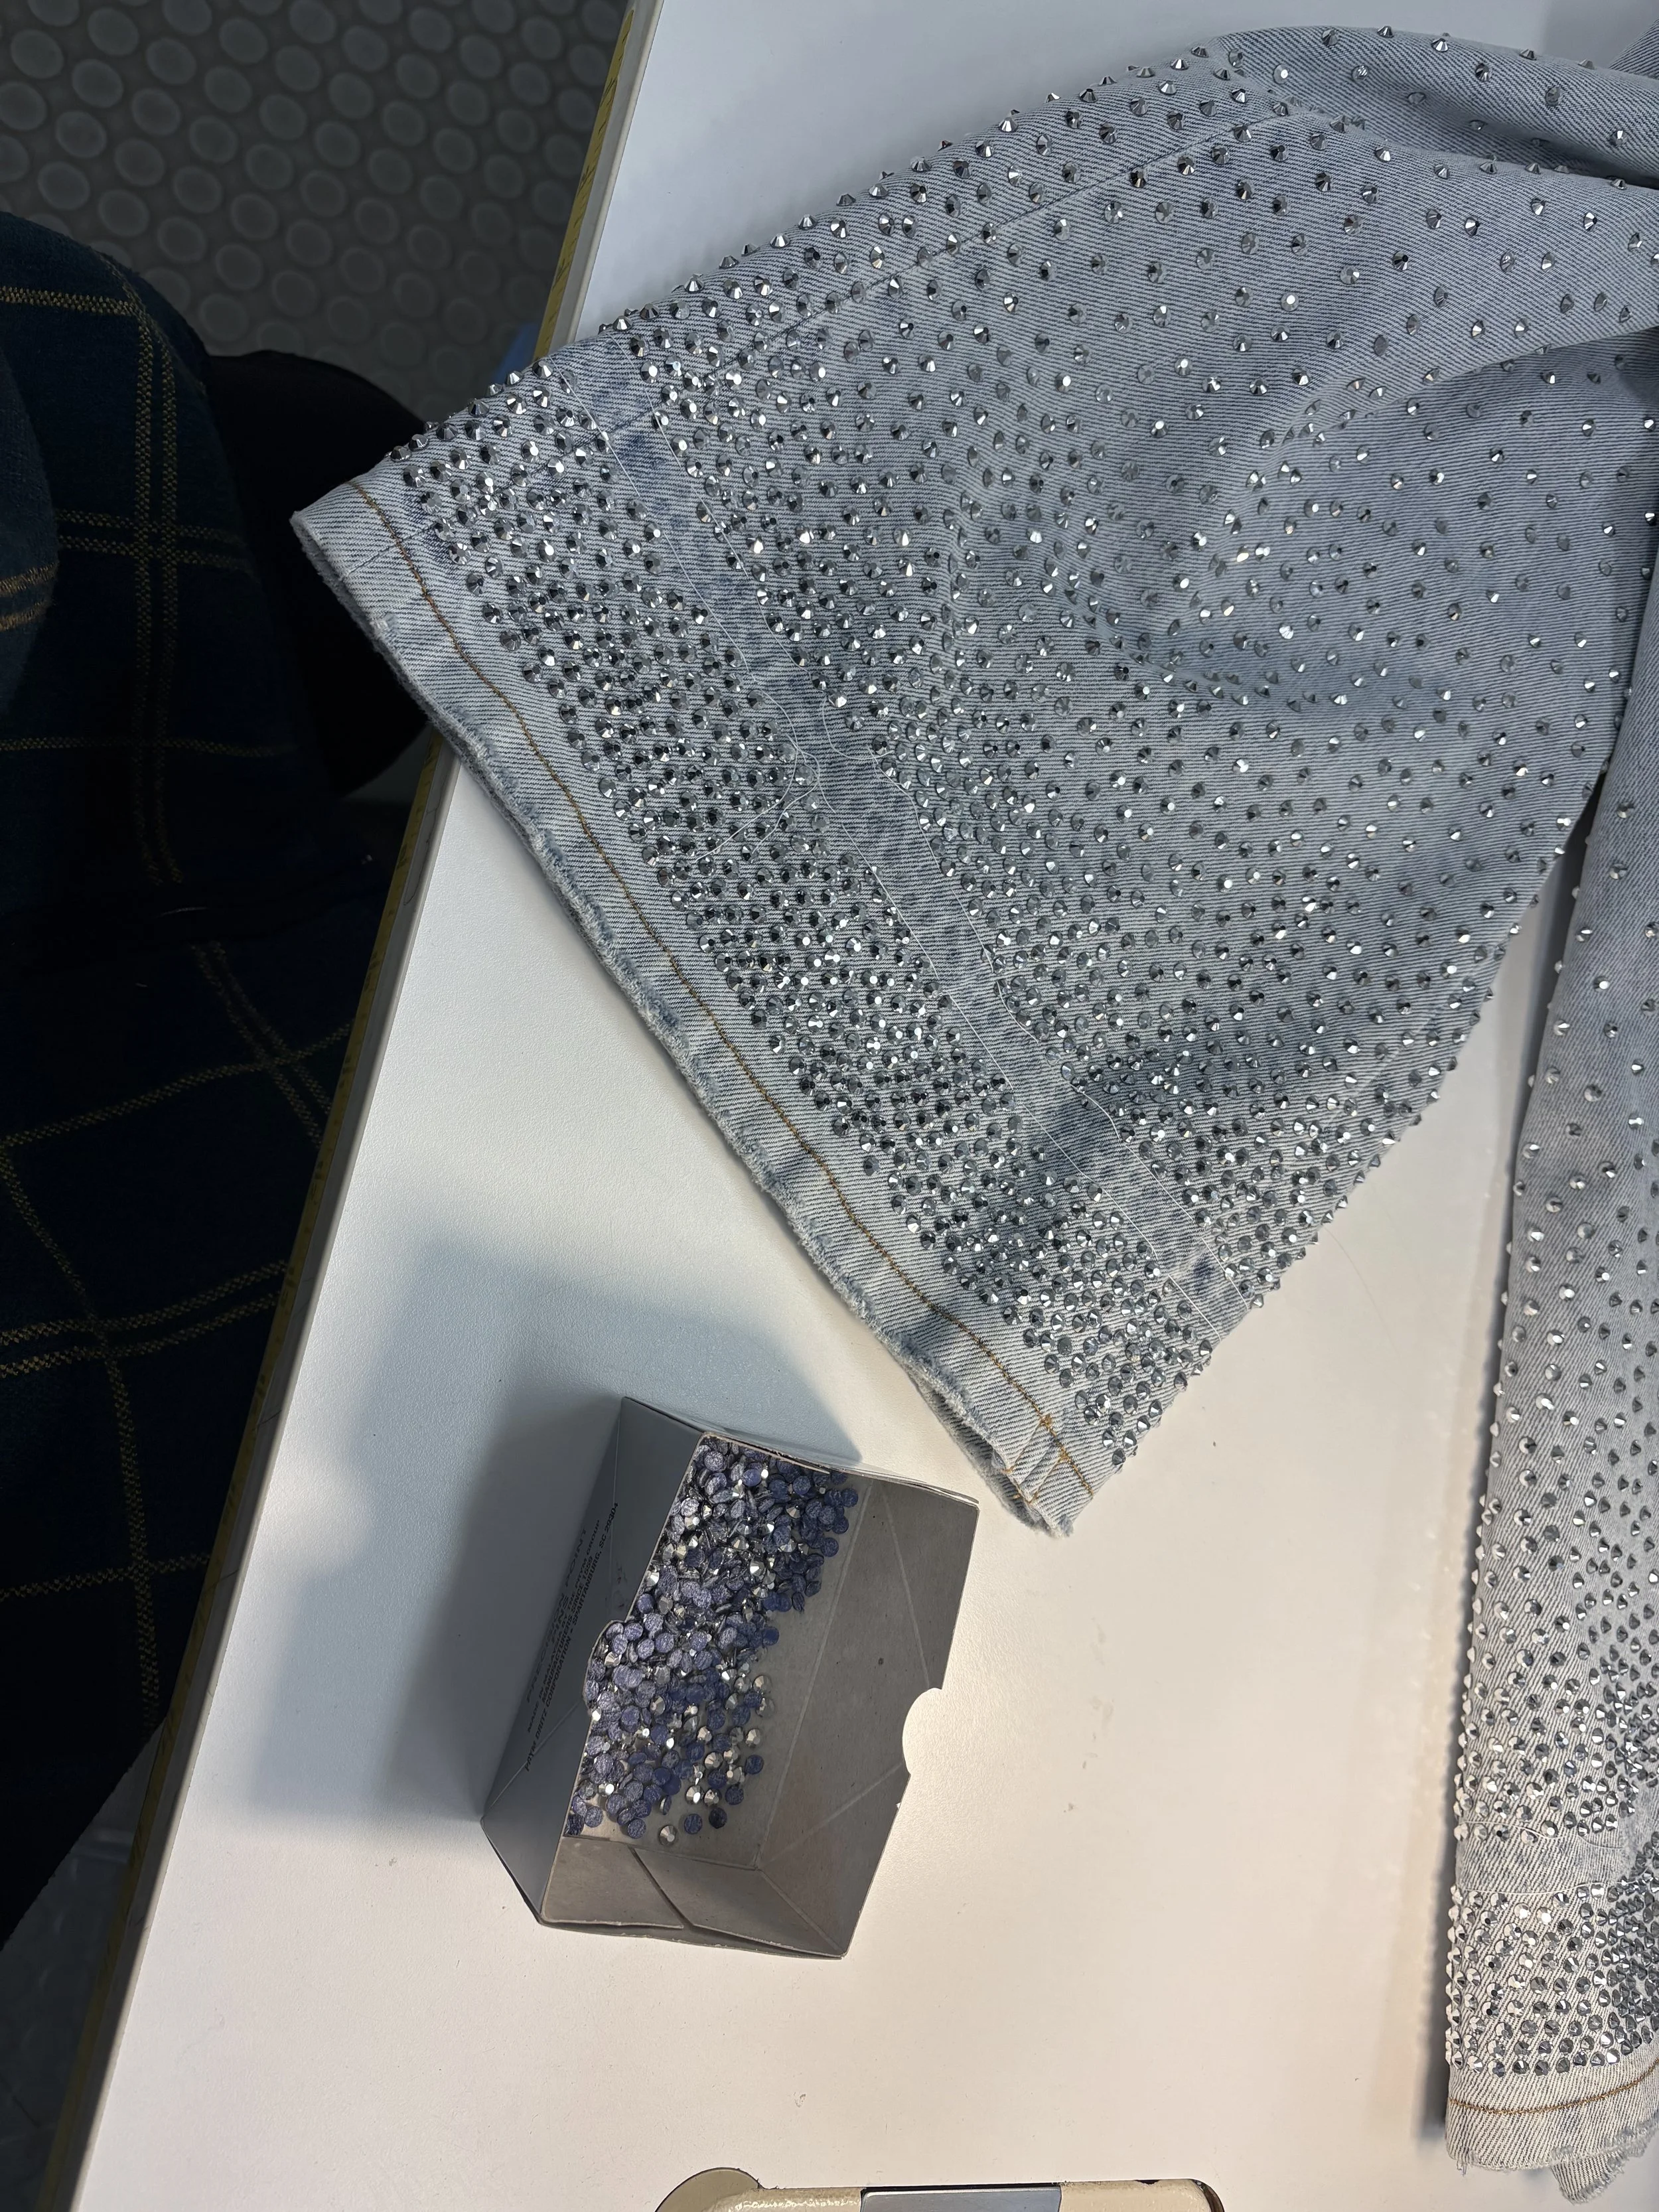

These jeans needed to be hemmed. I removed the rhinestones exactly where the original hem would be reattached to avoid any of the glue residue showing. I had to use a narrow straight stitch foot to avoid hitting the rhinestones while getting the necessary even pressure distributed along the seamline to stitch properly.
Pictured above are my markings to take in the neckline of a one strap asymmetrical gown.
It wasn’t enough to just take it in through the princess seams through the neckline. I also eased a total of 7/8” across the front neckline to a tape to shrink it to her body. Shown above is the before and after.
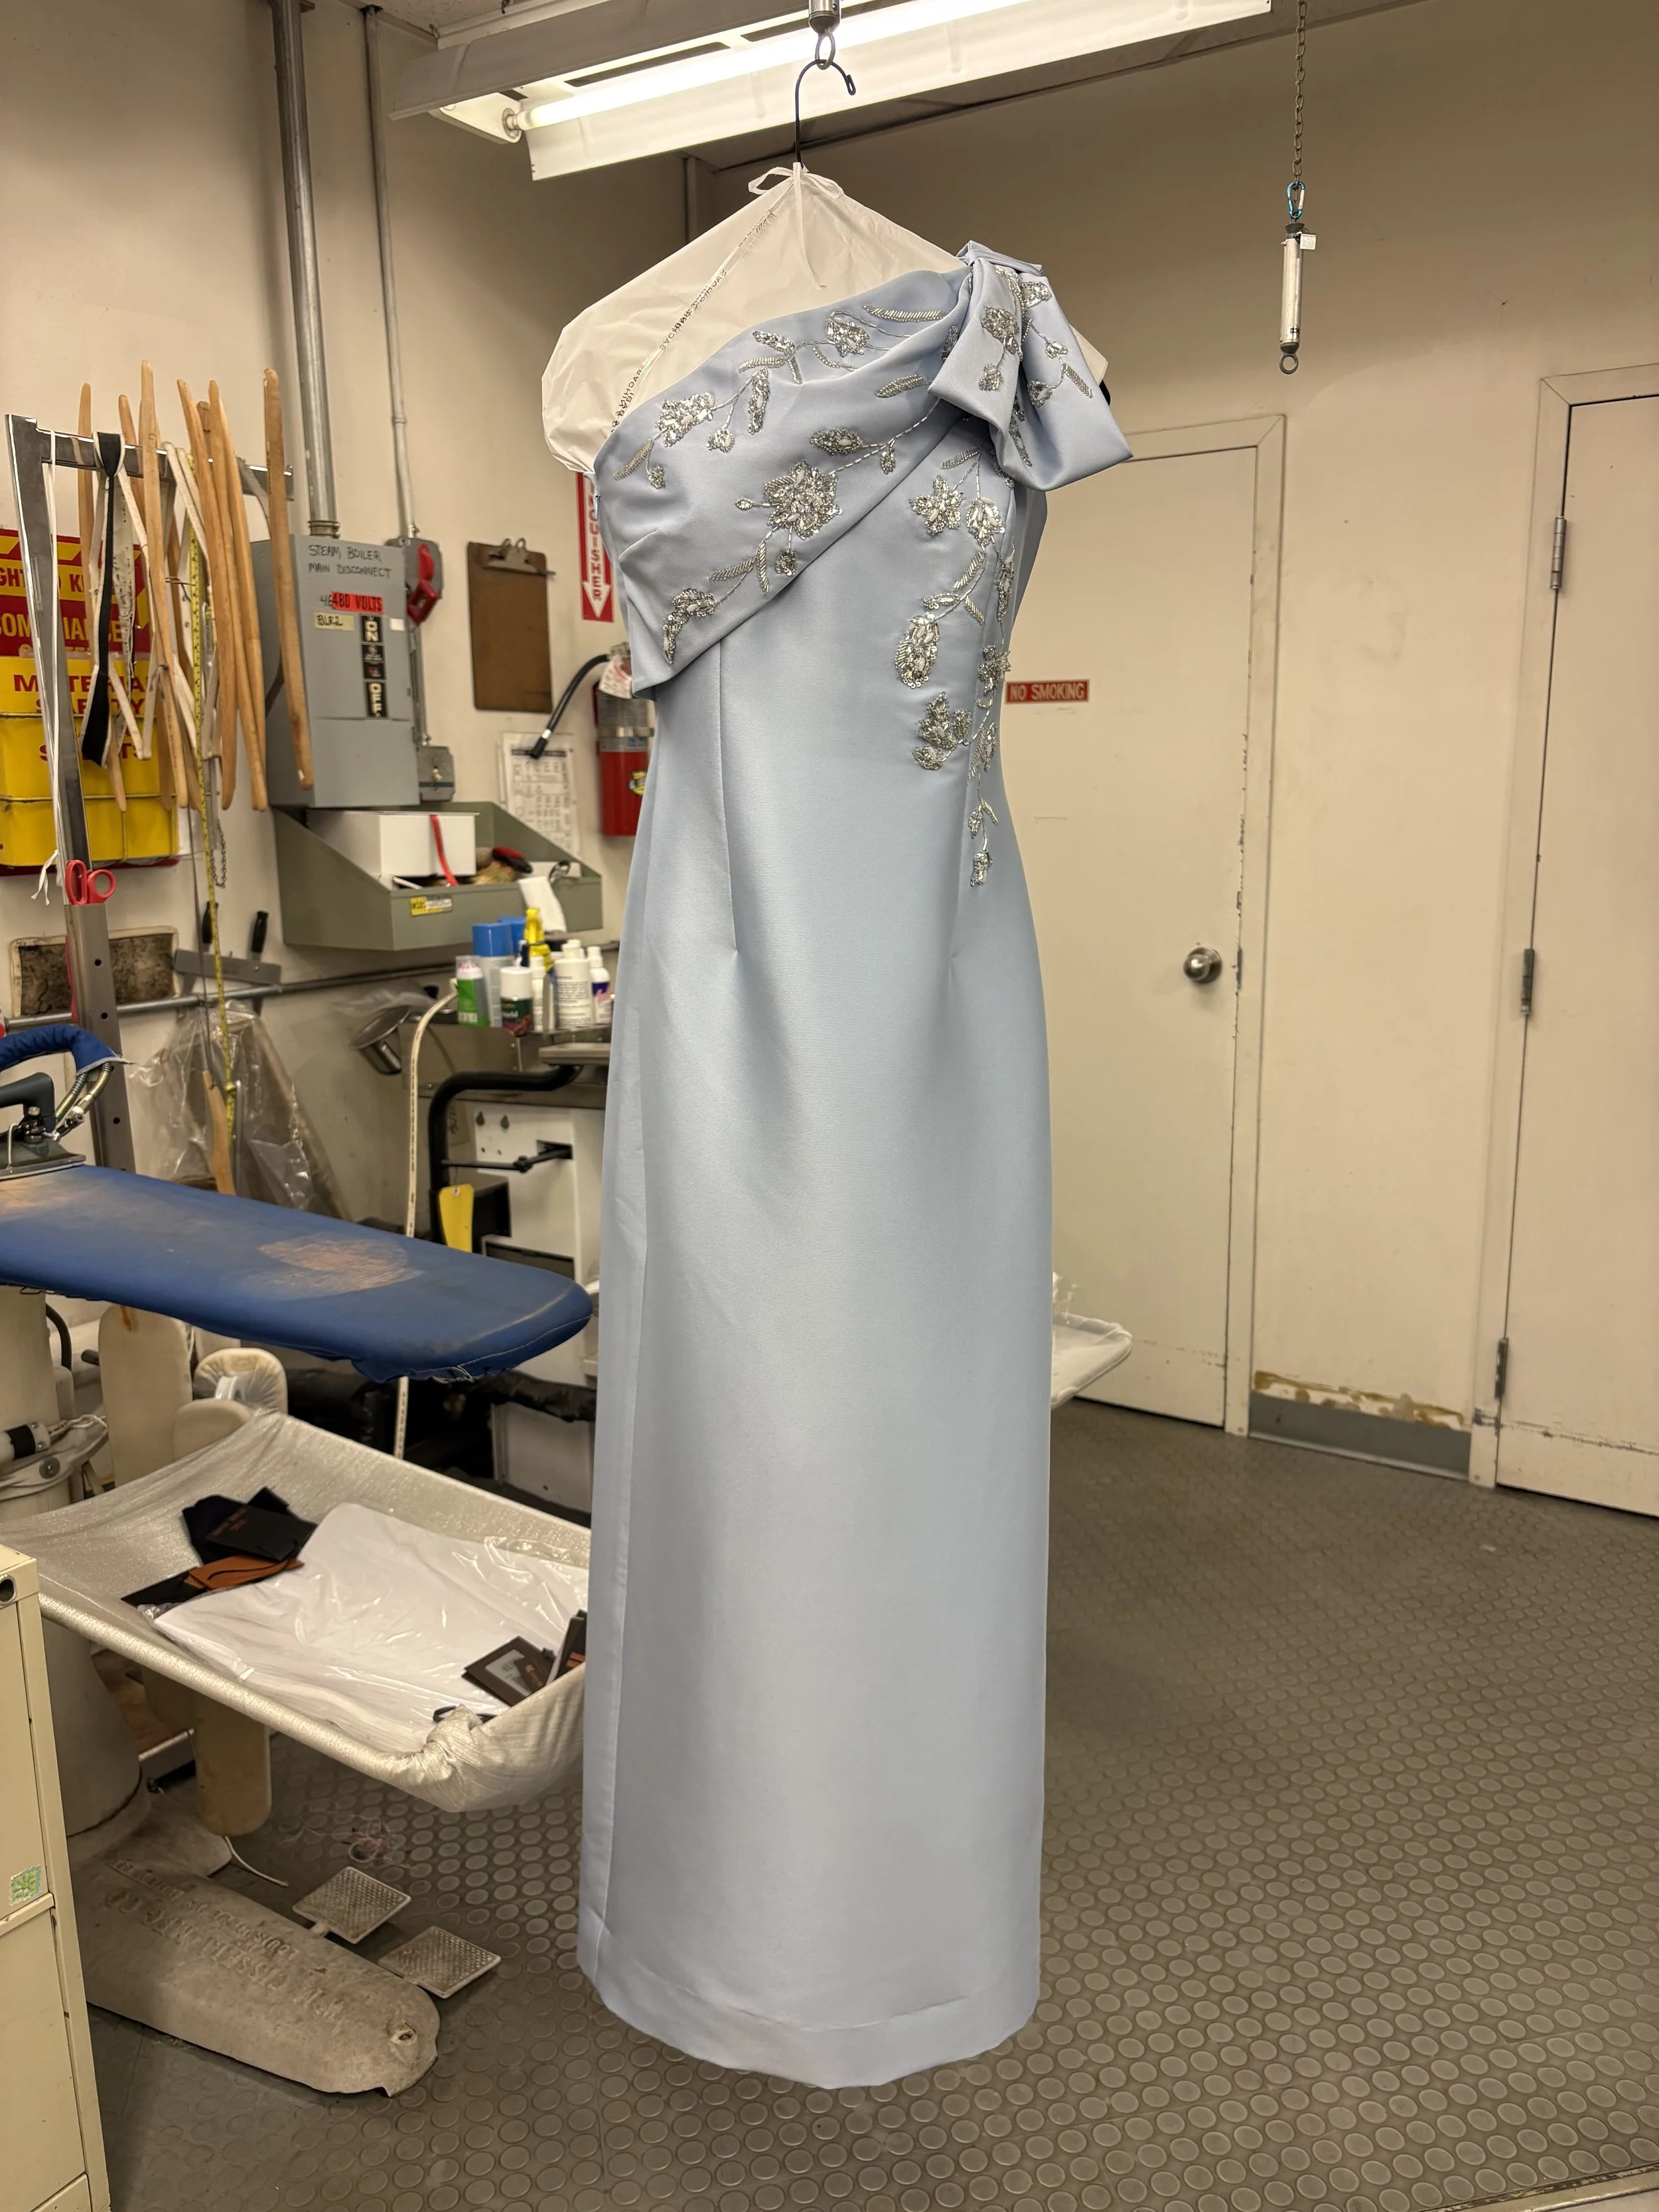
The gown is hanging from a cardboard form so that everything is laying perfectly for the client to try it on.
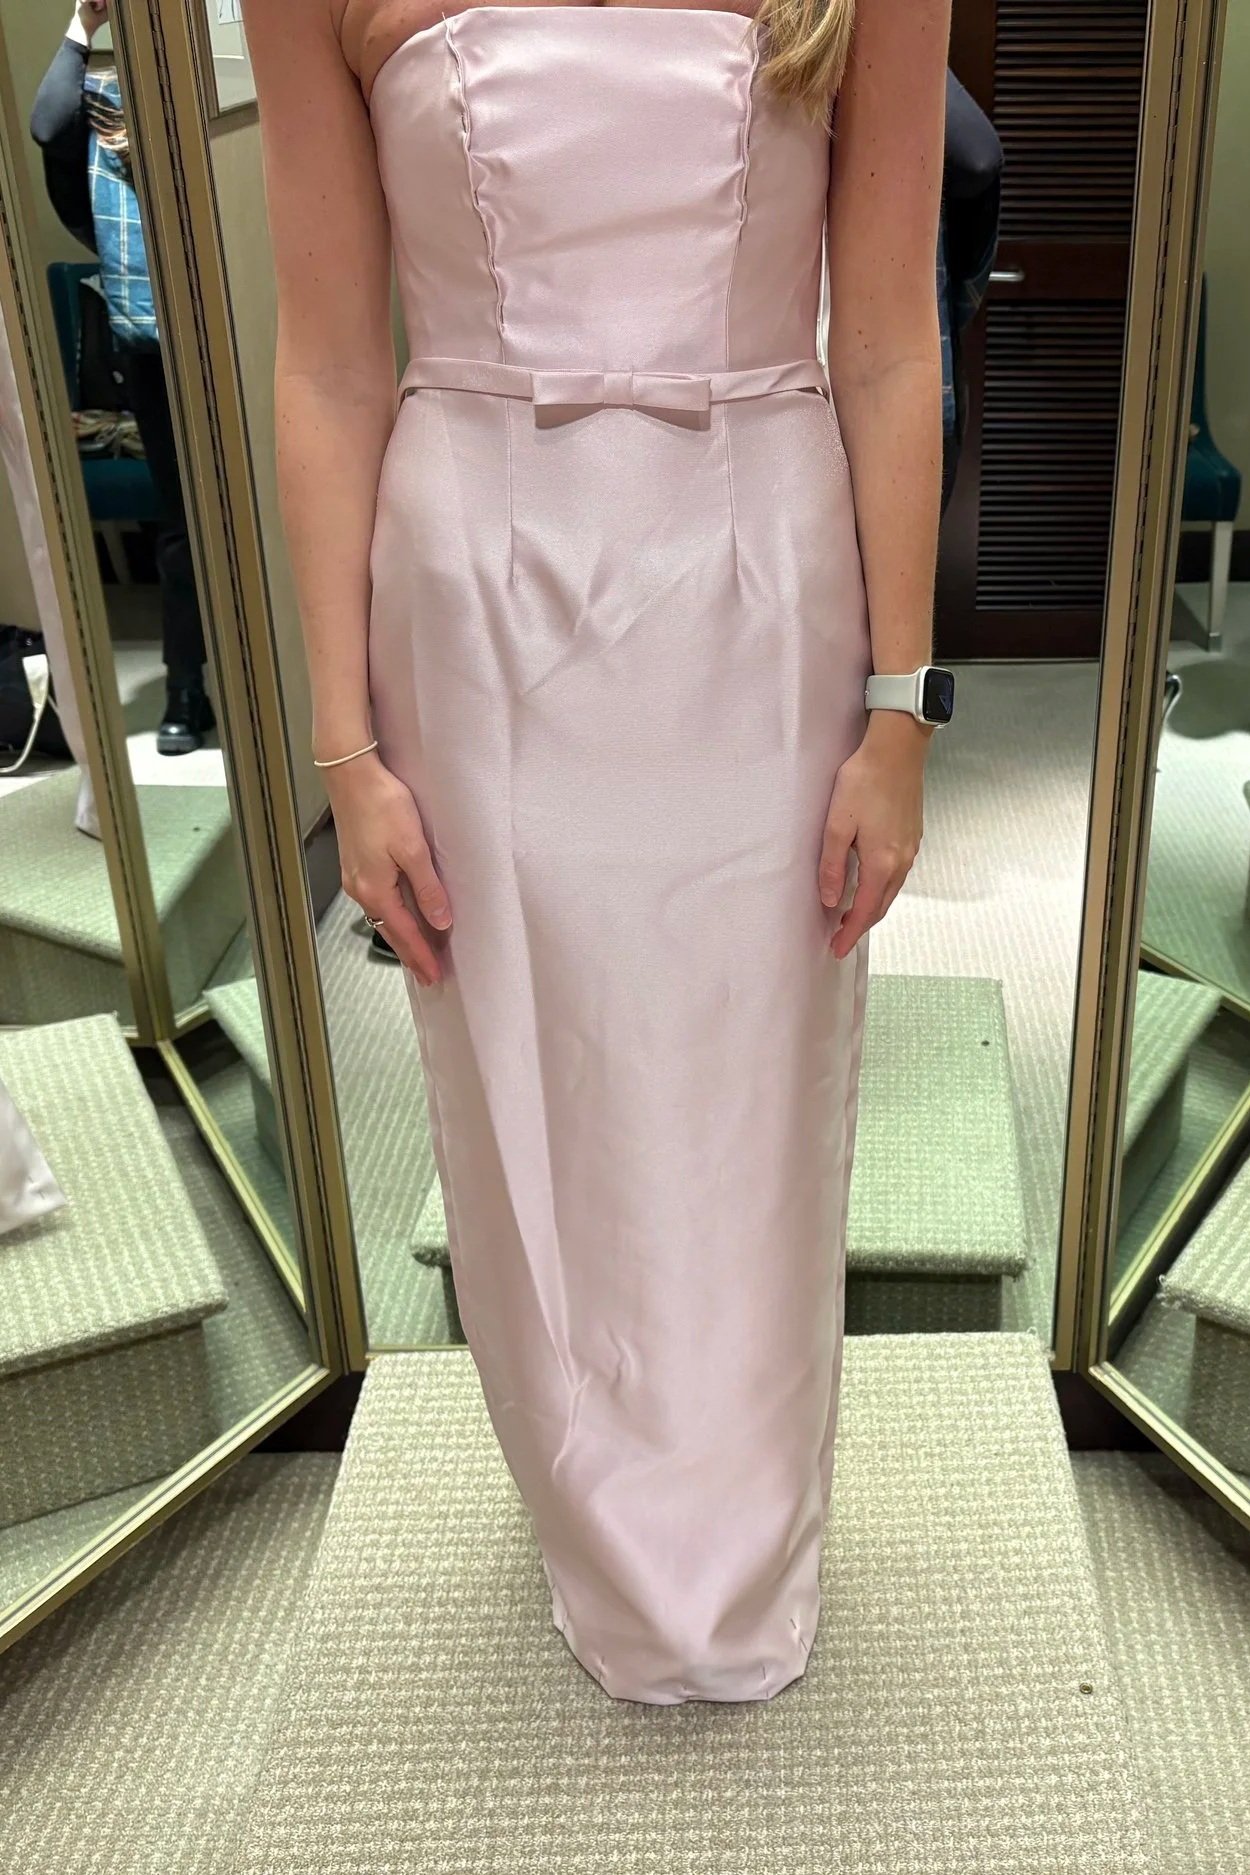
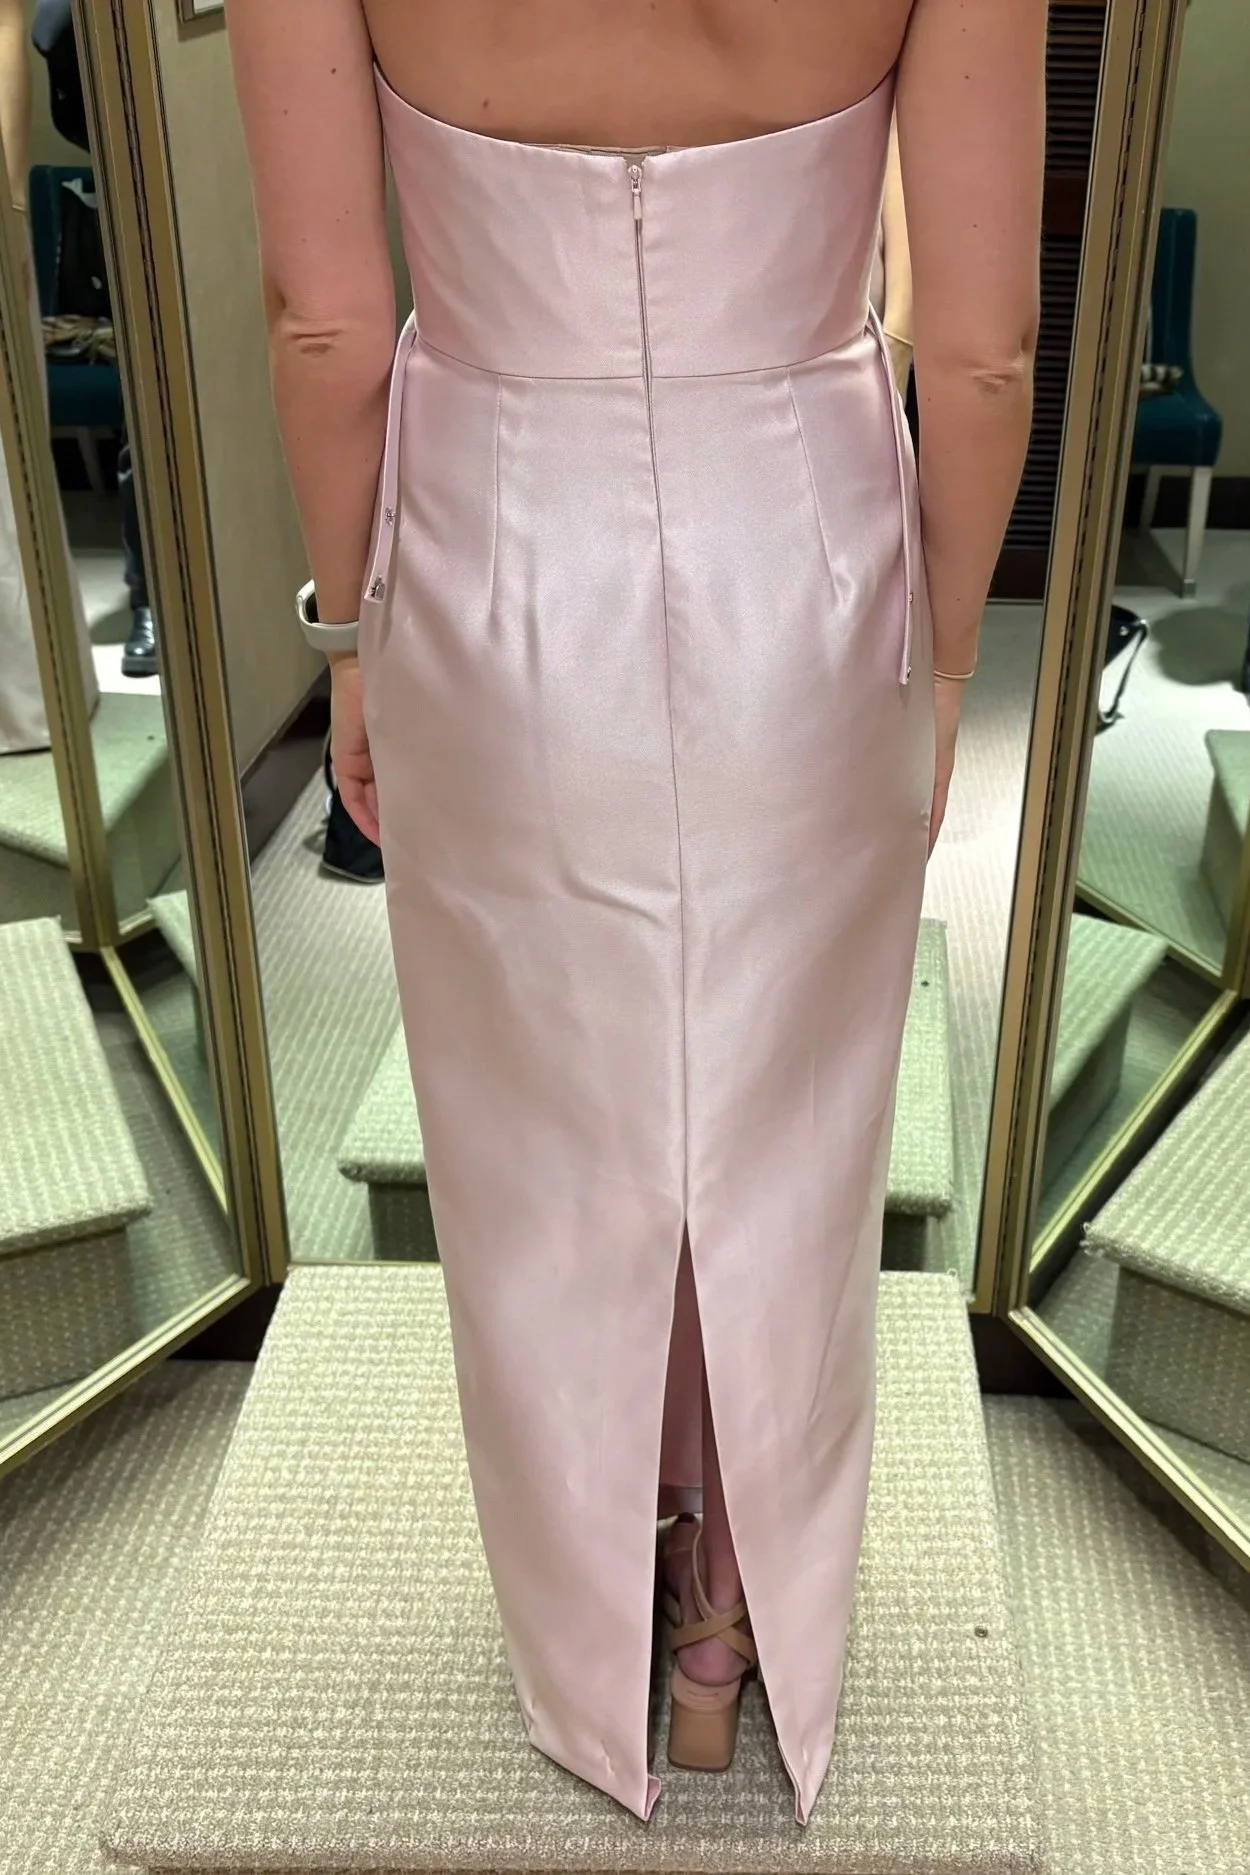
The above gown needed to be taken in on the princess lines on the bodice. The gown is boned to give it structure and stop the dress from falling down on the wearer. To help even more, I took her waist measurement to install a waist stay that will lock in the garment at the waist. She will not have to keep pulling it up all night. She wanted it floor length as well.